Pearl Necklace Vintage Restoration: Troubleshooting Guide
Discover expert troubleshooting for your pearl necklace vintage finds. Learn to clean, restring, and authenticate estate pearls safely.

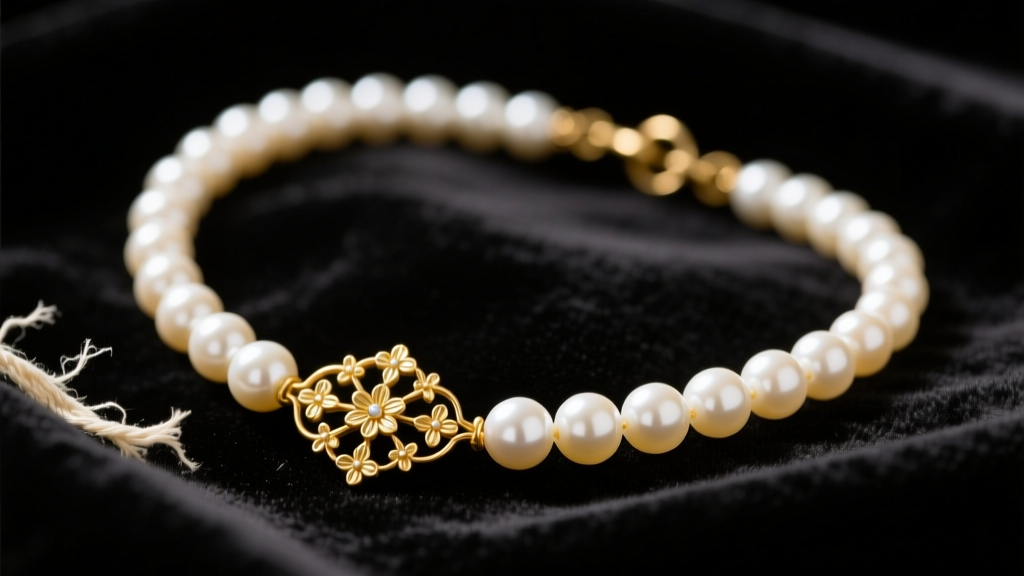
Diagnosing Common Issues in Estate Pearl Jewelry
Acquiring a pearl necklace vintage piece from an estate sale, antique shop, or family inheritance is a thrilling experience. However, organic gemstones are highly susceptible to environmental degradation, chemical exposure, and structural fatigue over decades of wear. Before attempting any cleaning or repairs, you must perform a thorough diagnostic assessment to avoid causing irreversible damage to the nacre or the underlying silk.
The Stretch and Fray Test
The most critical failure point in any vintage pearl strand is the silk thread. Silk is a protein fiber that degrades when exposed to acidic sweat, cosmetics, and UV light. To test the structural integrity, gently pull the strand taut between your hands. If you observe more than 1mm of exposed thread between the pearls, or if the pearls shift and gap significantly, the silk has stretched beyond its tensile limit. Wearing a strand in this condition risks a catastrophic break and the loss of irreplaceable vintage pearls.
Identifying Nacre Delamination
Inspect the pearls under a bright, daylight-balanced LED lamp. Look closely at the drill holes and the surface for signs of peeling, flaking, or a chalky white residue. Nacre delamination (often called 'dry rot' by jewelers) occurs when the conchiolin—the organic glue holding the aragonite platelets together—dries out and fails. Unfortunately, peeling nacre cannot be restored; the affected pearls must be replaced to maintain the strand's aesthetic continuity.
The Authenticity Test: Real vs. Faux Vintage Pearls
The mid-20th century saw a massive surge in high-quality imitation pearls, most notably Majorica pearls, which feature a glass core coated in guanine essence (derived from fish scales). Troubleshooting a vintage strand begins with verifying its authenticity.
- The Tooth Test: Gently rub the pearl against the biting edge of your front tooth. Genuine nacre feels distinctly gritty or sandy due to its microscopic crystalline structure. Faux pearls will feel perfectly smooth or waxy.
- Drill Hole Inspection: Use a 10x jeweler's loupe to examine the drill hole.
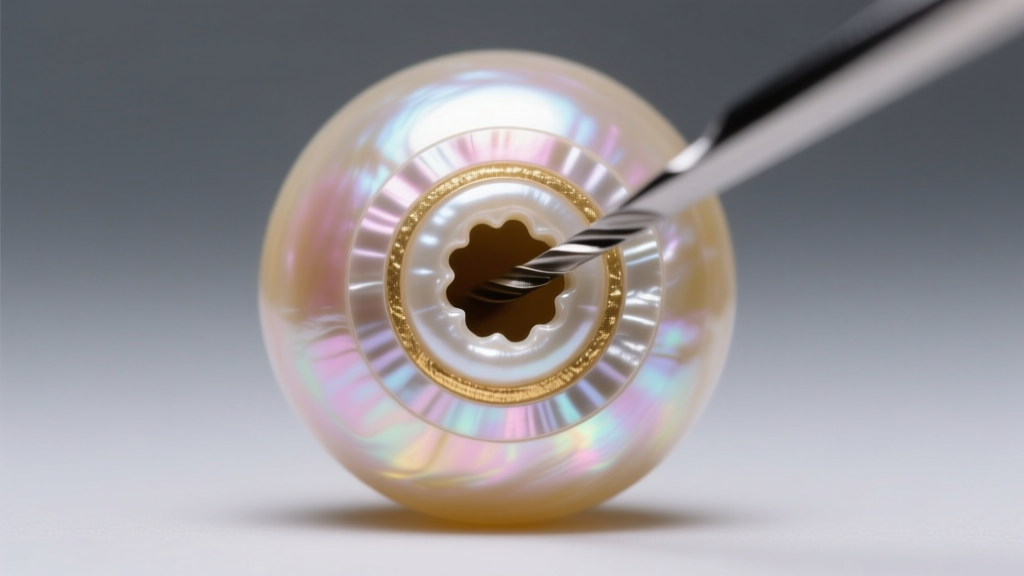 Real pearls will show sharp, clean edges with visible concentric layers of nacre. Imitation pearls often reveal a glass or plastic core beneath a chipped, painted, or dipped coating, and the hole edges may appear rounded or melted.
- Weight and Temperature: Glass-core vintage faux pearls are significantly heavier than saltwater Akoya or freshwater pearls. Furthermore, real pearls feel cool to the touch and take a few seconds to warm to your skin, while plastic imitations warm instantly.
For definitive verification, especially with high-value estate pieces, consult a certified gemologist who can perform X-ray fluorescence (XRF) testing, as recommended by the Gemological Institute of America (GIA).
Safe Cleaning Protocols for Aged Nacre
A common troubleshooting mistake is applying modern jewelry cleaning methods to vintage pearls. Nacre is composed of calcium carbonate, which ranks a mere 2.5 to 4.5 on the Mohs hardness scale and is highly reactive to acids and harsh chemicals.
What NEVER to Use
Never place a pearl necklace vintage piece in an ultrasonic cleaner; the high-frequency vibrations will shatter the nacre layers. Avoid ammonia-based cleaners, baking soda, vinegar, and commercial silver dips, all of which will chemically etch the surface and permanently dull the pearl's luster.
The Distilled Water Method
To safely remove decades of accumulated oils and cosmetic residue, mix a solution of lukewarm distilled water and a single drop of pH-neutral liquid castile soap. Dip a soft, lint-free microfiber cloth into the solution, wring it out until it is barely damp, and gently wipe each pearl individually. Never submerge the strand, as water trapped inside the drill holes will rot the silk thread from the inside out. Allow the strand to dry completely flat on a clean cotton towel for 24 hours before storing or wearing.
Restringing: When to DIY and When to Call a Pro
If your diagnostic tests revealed stretched silk, restringing is mandatory. While DIY restringing is possible for simple freshwater strands, vintage Akoya or South Sea pearls require professional knotting to protect the drill holes and maintain the piece's value. According to the American Gem Society, proper knotting prevents pearls from rubbing against each other and ensures that if the strand breaks, only one pearl is lost.
Silk Thread Sizing and French Wire
Professional stringers use 100% silk thread, typically from the Griffin brand, matched precisely to the pearl's drill hole diameter (usually 0.7mm to 0.9mm for vintage pieces). Furthermore, the first and last three pearls must be threaded through 'French wire' (also known as gimp or bullion)—a microscopic coiled metal spring that prevents the clasp from fraying the silk.
| Griffin Silk Size | Thread Diameter | Ideal Pearl Hole Size | Best Application |
|---|---|---|---|
| Size 0 | 0.30mm | 0.40mm - 0.50mm | Seed pearls, delicate vintage chokers |
| Size A | 0.40mm | 0.50mm - 0.60mm | Small Akoya pearls (4mm - 5.5mm) |
| Size B | 0.45mm | 0.60mm - 0.70mm | Standard vintage Akoya (6mm - 7mm) |
| Size C | 0.50mm | 0.70mm - 0.80mm | Larger cultured estate pearls |
| Size D | 0.60mm | 0.80mm - 0.90mm | Heavy South Sea or large baroque pearls |
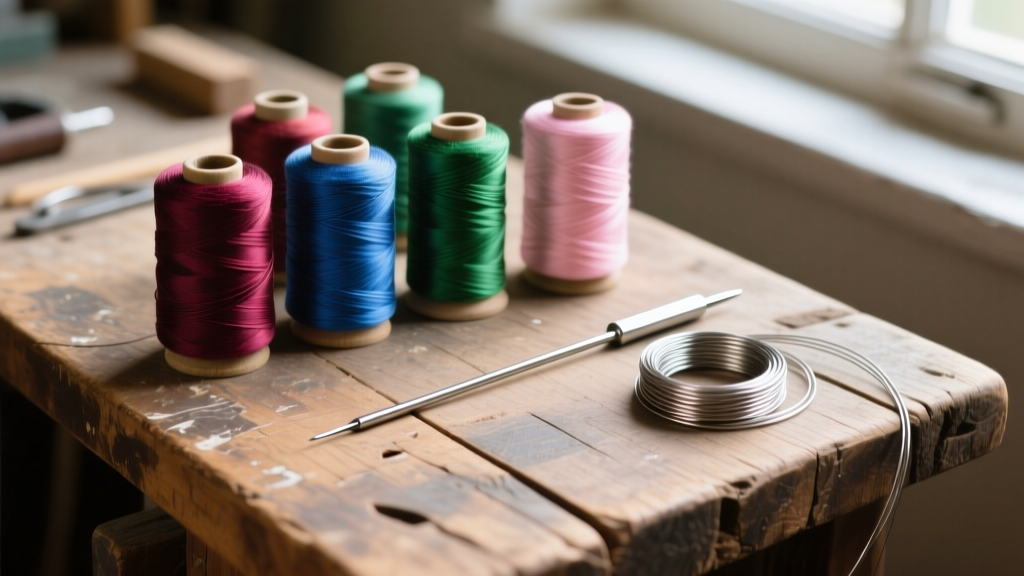 When knotting, the silk must be pulled taut using a specialized awl or knotting tool to ensure the knot sits flush against the pearl. Any gap between the knot and the pearl will result in a loose, unprofessional appearance and accelerated wear.
Upgrading the Clasp Without Ruining the Value
Many vintage pearl necklaces feature base metal or low-karat gold clasps that have tarnished, corroded, or suffered mechanical failure. Upgrading the clasp is a common troubleshooting step, but it must be done thoughtfully to preserve the estate value.
Choosing the Right Mechanism
For vintage strands, the 'fishhook' clasp is historically accurate and highly secure, but it can be difficult to operate with one hand. A modern 14k or 18k gold box clasp with a figure-eight safety latch is the preferred upgrade for heavy, high-value strands. When soldering the new clasp to the French wire, a skilled jeweler will use a laser welder or carefully pack the pearls with heat-absorbing gel to prevent the thermal shock from cracking the adjacent pearls.
Hallmarking and Provenance
If the original clasp features a specific maker's mark or historical hallmark, consult an antique jewelry appraiser before replacing it. In some cases, retaining the original, albeit worn, clasp is vital to the piece's provenance and overall market valuation.
Proper Storage to Prevent Future Degradation
Once your vintage pearl necklace is cleaned and restrung, improper storage can undo all your troubleshooting efforts within months.
- Avoid Plastic Bags: Never store pearls in polyvinyl chloride (PVC) or standard plastic zip-lock bags. These plastics emit chemical gases as they degrade, which will react with the calcium carbonate and cause the pearls to yellow and pit.
- Humidity Control: Pearls require a slight amount of ambient moisture to prevent the nacre from cracking. Store them in an untreated cotton or linen pouch, which allows the gems to 'breathe' while protecting them from dust and scratches.
- Isolate from Harder Gems: Because of their low Mohs hardness, pearls will be easily scratched if stored in a communal jewelry box alongside diamonds, sapphires, or even metal chain necklaces. Always give them a dedicated, soft-lined compartment.
By methodically diagnosing structural weaknesses, verifying authenticity, and employing conservation-grade cleaning and restringing techniques, you can ensure your pearl necklace vintage treasure remains a luminous, wearable heirloom for generations to come.


