Squash Blossom Necklace Vintage: Repair & Care Guide
Learn how to repair, clean, and authenticate a squash blossom necklace vintage piece. Expert tips on restringing, bezel tightening, and silver care.

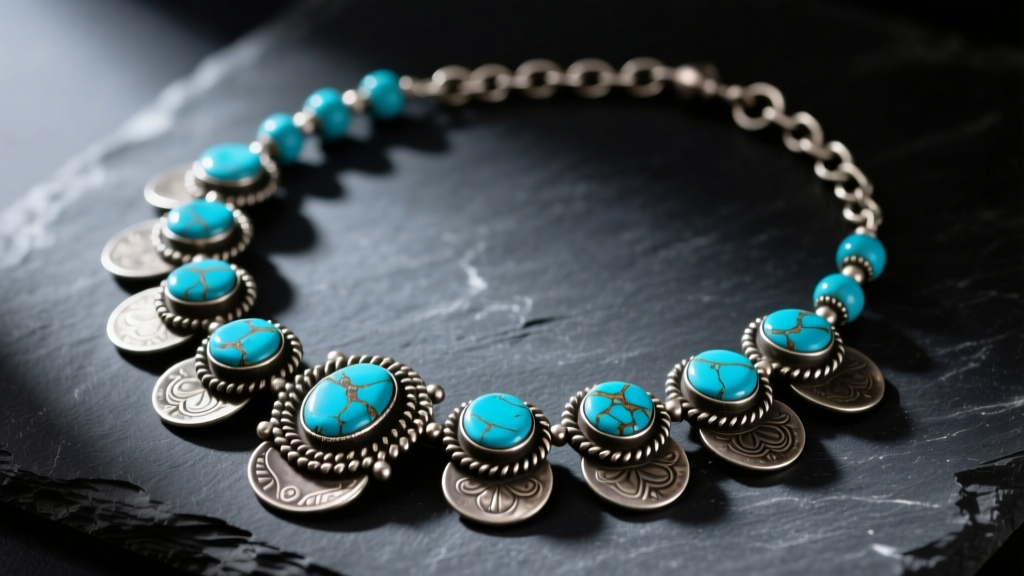
The market for authentic Native American jewelry has seen a massive resurgence as we move through 2026, with collectors and fashion enthusiasts actively hunting for the perfect squash blossom necklace vintage piece. Originally popularized in the 1970s, these iconic necklaces—featuring the crescent-shaped Naja pendant, pomegranate-inspired blossoms, and turquoise beads—are now entering their fifth or sixth decade of wear. With age comes character, but it also brings a unique set of structural and cosmetic issues. Whether you have inherited a 1940s coin silver masterpiece or picked up a 1970s sterling staple at an estate sale, troubleshooting the wear-and-tear of vintage squash blossoms requires specialized knowledge. In this comprehensive guide, we will break down the exact metallurgy, stone-setting mechanics, and restringing protocols needed to restore and preserve your vintage squash blossom necklace without destroying its historical integrity or market value.
Understanding the Metallurgy: Coin Silver vs. Sterling
Before attempting any repairs, you must identify the silver grade of your necklace. The structural behavior of the metal dictates how you approach bent components, loose bezels, and clasp replacements.
- Coin Silver (Pre-1930s): Early Navajo and Zuni silversmiths often melted down US silver dollars and Mexican pesos to forge jewelry. This "coin silver" typically has a purity of 90% (900) and 10% copper. It is noticeably softer, more malleable, and prone to deep, dark oxidation. Bending coin silver requires extreme caution, as repeated work-hardening can cause microscopic stress fractures.
- Sterling Silver (Post-1950s): As commercial sheet silver and wire became widely available through trading posts, smiths transitioned to .925 sterling silver. Sterling is harder, holds a brighter polish, and features tighter, more uniform bezel walls.
According to the Indian Arts and Crafts Board, understanding these historical material shifts is critical for authentication and proper restoration, as applying modern sterling repair techniques to soft coin silver can easily warp the delicate hand-stamped motifs.
Troubleshooting Loose Turquoise Cabochons
The most common failure point on a vintage squash blossom necklace is a loose turquoise stone rattling inside its silver bezel. This happens due to decades of thermal expansion and contraction, combined with the natural shrinkage of the turquoise itself as it loses its internal moisture content over time.
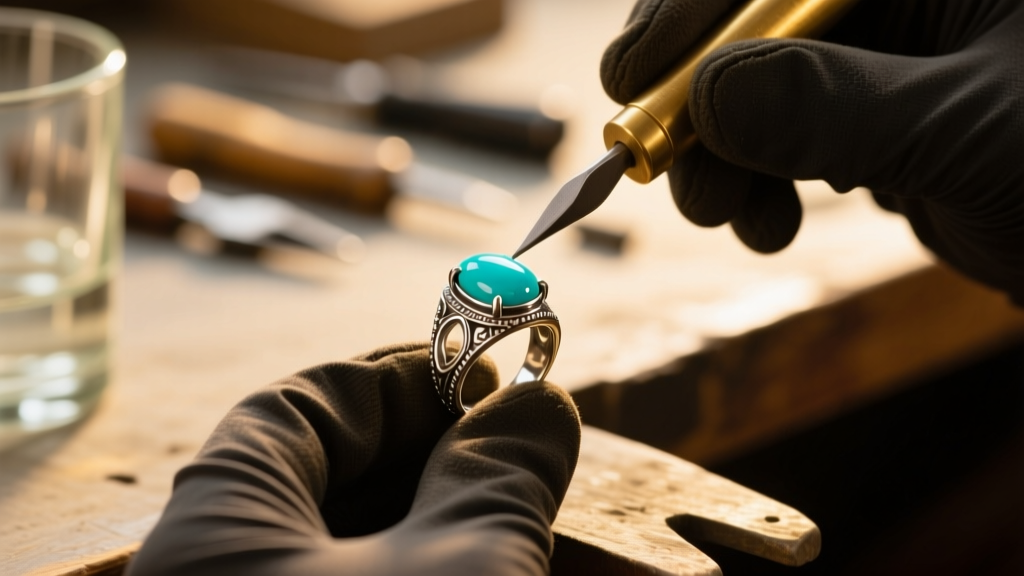
The Bezel Pushing Technique (Avoid Glue at All Costs)
Never use cyanoacrylate (Super Glue) or epoxy to secure a loose vintage turquoise cabochon. Turquoise is a highly porous hydrous phosphate of copper and aluminum (rating 5-6 on the Mohs scale). Adhesives will seep into the stone's matrix, permanently darkening it and destroying its value. Instead, use mechanical bezel pushing:
- Inspect the Bezel Wall: Use a 10x jeweler's loupe to check for silver fatigue or cracks at the base of the bezel wire. If the silver is cracked, the piece must be laser-welded by a professional before pushing.
- Use a Brass Pusher: Steel tools will mar the vintage silver. Use a polished brass or copper bezel pusher to gently roll the top edge of the silver bezel wire inward over the cabochon's edge.
- Work in Opposites: Push the bezel at 12 o'clock, then 6 o'clock, then 3 and 9. This ensures even pressure and prevents the stone from popping out or cracking.
- Burnish the Edge: Finish by using an agate burnisher to smooth the silver tightly against the stone, creating a friction seal that blocks moisture and skin oils from degrading the turquoise.
Restringing: Upgrading the Cord Safely
Historically, squash blossom necklaces were strung on braided cotton cord, leather thongs, or sinew. Over 50+ years, these organic materials rot, stretch, and eventually snap, often sending heavy silver beads crashing to the floor. If your vintage necklace feels stiff, or if you see fraying near the Naja clasp, it requires immediate restringing.
| Stringing Material | Diameter / Gauge | Pros for Vintage Pieces | Cons & Risks |
|---|---|---|---|
| Waxed Linen Cord | 1.0mm - 1.5mm | Historically accurate; drapes beautifully; traditional knotting. | Prone to stretching and rotting from skin oils; requires frequent replacement. |
| 49-Strand Micro-Fused Stainless Steel (Nylon Coated) | 0.019" (19 gauge) | Extreme tensile strength; will not snap; supports heavy coin silver. | Stiffer drape; requires sterling silver crimp tubes and wire guardians at the clasp. |
| Soft Flex Beading Wire | 0.018" (18 gauge) | Excellent flexibility; mimics the drape of traditional cord. | Slightly less weight-bearing than 49-strand steel; can kink if stored improperly. |
Pro-Tip for Restringing: When upgrading to a modern steel wire, never use base-metal crimp beads. The galvanic reaction between base metals and vintage sterling or coin silver will cause rapid, localized black corrosion. Always use 2x2mm .925 sterling silver crimp tubes and finish the ends with a traditional sterling silver cone and handmade hook-and-eye clasp to maintain the necklace's authentic silhouette.
Cleaning Tarnish Without Stripping the Patina
One of the most tragic mistakes a new collector can make is dipping a vintage squash blossom necklace in commercial silver polish. The deep, dark oxidation that settles into the hand-stamped grooves and the recesses of the Naja pendant is called "patina." In the 2026 vintage market, a heavy, undisturbed patina can increase the value of a piece by 30% to 50%, as it proves the item's age and authentic wear history.
"A vintage Native American piece should look like it has lived a life. Stripping the oxidation from the crevices turns a historical artifact into a shiny, lifeless replica of itself." — Master Silversmith Restoration Guidelines
The Safe Cleaning Protocol:
- Mix a few drops of pH-neutral dish soap (like Dawn) into lukewarm distilled water.
- Use an extra-soft baby toothbrush to gently agitate dirt and cosmetic buildup from the silver surfaces and around the turquoise bezels.
- Rinse quickly under distilled water and immediately pat dry with a microfiber cloth. Never let turquoise sit in water, as it can absorb the liquid and alter its color.
- Use a dry, untreated silver polishing cloth only on the high, raised areas of the silver to bring out a soft gleam, deliberately leaving the recesses dark.
Authenticating the Naja and Blossoms
The secondary market is unfortunately flooded with imported replicas masquerading as vintage Native American jewelry. When troubleshooting a newly acquired piece, authentication is your first line of defense. The Smithsonian National Museum of the American Indian notes that the Naja (the crescent pendant) has roots tracing back to Moorish Spain, brought to the Americas by Spanish conquistadors and later adopted by the Navajo as a symbol of protection.
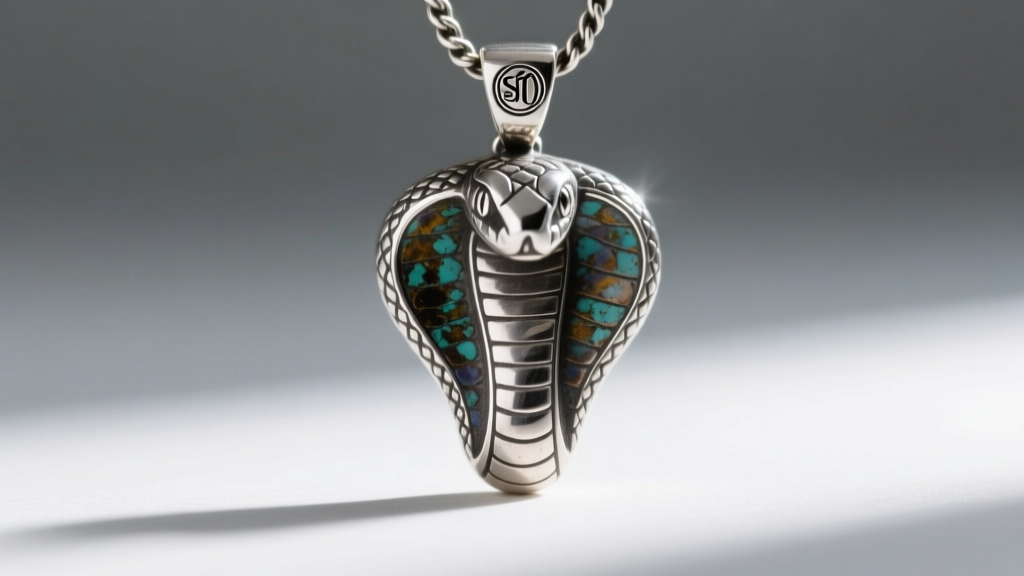
Key Authentication Checks
- The Blacklight Test: Shine a UV blacklight over the turquoise stones. Natural, untreated vintage turquoise will not fluoresce. If the stones glow with a milky, plastic-like hue, they are likely stabilized with modern epoxy resins (common in the 1970s, but lowers the value) or, worse, they are dyed howlite or magnesite.
- Examine the Solder Joints: Vintage pieces were hand-soldered using traditional torch methods. Look for slight imperfections, excess silver solder pooling at the base of the blossom petals, or minor heat scale marks. Modern laser welding or cast-in-place stones will look unnaturally perfect and uniform.
- Check the Hallmarks: While many pre-1950s pieces are entirely unmarked, later vintage pieces (1960s-1980s) may feature stamped hallmarks. Look for initials, clan symbols (like the bear paw or sunburst), or shop marks like "Sunshine Studio" or "Bell Trading Post." Use a loupe to ensure the stamp was struck into the silver before the piece was heavily oxidized; if the stamp is bright and shiny inside a deeply tarnished area, it may have been fraudulently added later.
Maintaining a squash blossom necklace vintage piece is an exercise in respecting history. By utilizing proper bezel-tightening mechanics, upgrading the stringing with compatible modern materials, and preserving the hard-earned patina, you ensure that these wearable works of art survive for the next generation of collectors.


