Why You Got So Many Necklace Tangles: Step-by-Step Fix
Discover why you got so many necklace tangles and learn our step-by-step 2026 guide to safely detangling, cleaning, and storing fine chains.

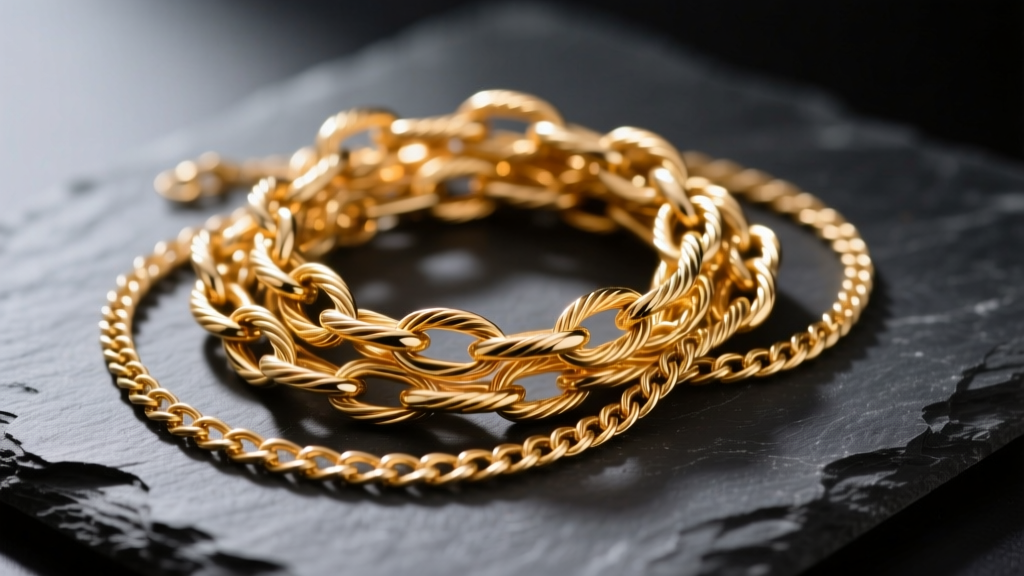
There is a unique, sinking feeling that comes with opening your jewelry box, ready to accessorize, only to find a chaotic bird's nest of metal. If you have ever looked down at your collection and wondered why you got so many necklace tangles, you are not alone. It is a universal frustration that plagues everyone from minimalists with three delicate chains to collectors with heavy statement pieces. But this isn't just a matter of bad luck or clumsy storage. The tangling of your favorite pendants and chains is actually governed by the laws of physics, metallurgy, and chain geometry.
In this comprehensive guide, we will break down the science behind spontaneous knotting, provide a masterclass on how to safely untangle even the most stubborn micro-knots without compromising the tensile strength of your metals, and outline a definitive storage framework to ensure your necklaces remain pristine and ready to wear.
The Physics: Why Chains Spontaneously Knot
To understand how to fix the problem, we first need to understand the root cause. In 2007, physicists Dorian Raymer and Douglas Smith published a landmark, Ig Nobel Prize-winning study in the Proceedings of the National Academy of Sciences (PNAS) titled "Spontaneous knotting of an agitated string." Their research proved that when a flexible string is placed in a confined space and subjected to even minor agitation (like being carried in a purse or shifted in a drawer), it undergoes a "random walk."
The free ends of the necklace weave through the existing loops of the chain. Because there are mathematically more ways for a chain to be tangled than to remain perfectly straight, the probability of knot formation approaches 100% over time. Delicate chains under 1.5mm in thickness are particularly susceptible because they possess high flexibility and low bending stiffness, allowing them to slip through micro-loops with ease.
Chain Geometry: Which Styles Tangle the Worst?
Not all necklaces are created equal when it comes to knotting. The structural geometry of the chain link dictates its friction coefficient and tendency to catch on itself.
- Rope Chains: Featuring a helical, twisted structure, rope chains have the highest surface friction. They are notorious for catching on loose threads, hair, and other chains, making them the most prone to severe, multi-point tangles.
- Cable and Curb Chains: These classic oval links are highly flexible. While they don't catch on external fabrics as easily as rope chains, their uniform loops are the perfect size for the tail end of another necklace to slip through, creating tight slipknots.
- Box Chains: Composed of square, geometric links, box chains have a low friction profile and resist tangling beautifully. However, if they do knot and are pulled tight, the sharp 90-degree angles of the links can permanently kink or crush.
- Snake Chains: Made of tightly joined wavy rings, these are smooth but highly vulnerable. A tight knot in a snake chain can easily snap the internal tension rings, leading to irreversible structural failure.
Step-by-Step Guide to Untangling Stubborn Knots
When faced with a severe tangle, the worst thing you can do is pull. Pulling increases the tension on the soldered joints of the links, leading to work-hardening and eventual snapping. Instead, follow this professional jeweler's method.
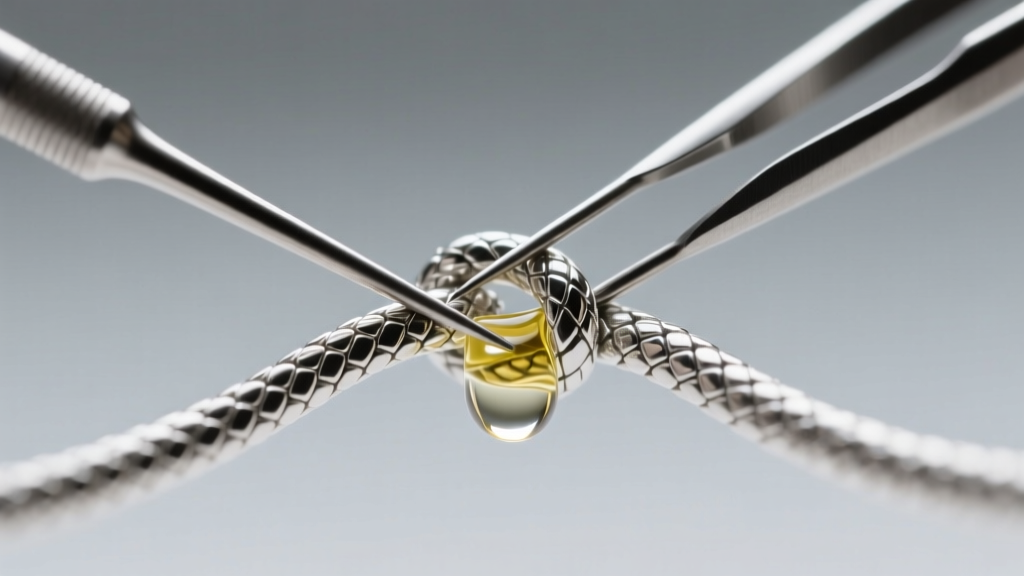
Step 1: Prep Your Workspace
Move to a flat, hard surface—preferably a glass or ceramic table. Avoid fabric or carpet, as the microscopic loops in textiles will catch on open chain links. Ensure you have bright, direct overhead lighting or a magnifying desk lamp. You will need two fine-tipped tools; #10 or #12 English beading needles are ideal because their tips are fine enough to enter a 0.8mm chain link but blunt enough not to scratch precious metals.
Step 2: Apply a Safe Lubricant
Friction is the enemy of detangling. Apply a single drop of mineral oil or specialized jewelry lubricant directly to the center of the knot. Never use olive oil, coconut oil, or butter. Organic oils oxidize, turn rancid, and leave a sticky residue that attracts dust and degrades porous gemstones like pearls or opals.
Step 3: The Needle Technique
Insert the tip of your first needle into the absolute center of the knot and gently wiggle it to create microscopic slack. Insert the second needle into the adjacent loop. Slowly pry the needles apart in opposite directions, working the knot outward from the center. Never pull the ends of the chain; always manipulate the loops themselves.
Step 4: Cleanse and Degrease
Once untangled, the mineral oil must be removed. According to the Gemological Institute of America (GIA), a safe cleaning solution for most gold and platinum chains is a few drops of mild, phosphate-free dish soap in warm distilled water. Let the chain soak for five minutes, gently agitate, rinse with distilled water, and pat dry with a lint-free microfiber cloth.
Material-Specific Risks During Detangling
Different metals react differently to the stress of being knotted and manipulated. Refer to the table below to understand the tensile risks associated with your specific jewelry.
| Material & Grade | Common Chain Types | Tensile Risk & Behavior | Detangling Precaution |
|---|---|---|---|
| Sterling Silver (925) | Cable, Curb, Rolo | High. Silver is soft and work-hardens quickly. Repeated bending at the knot will cause micro-fractures. | Support the link with your thumb while prying with the needle to prevent bending. |
| 14k / 18k Yellow Gold | Box, Rope, Figaro | Medium. Gold has excellent malleability but will stretch. 18k is softer and more prone to stretching than 14k. | Avoid pulling the chain taut. Focus entirely on loosening the center loops. |
| Platinum (950) | Wheat, Rope | Low. Platinum has immense tensile strength and durability. It will bend before it breaks. | Requires more force to manipulate the stiff metal, but highly resistant to snapping. |
| Gold-Plated Brass | Snake, Herringbone | Extreme. The base metal is rigid, and pulling will strip the gold plating or snap the chain instantly. | Use dry graphite powder instead of oil to avoid degrading the plating adhesives. |
The 2026 Storage Framework: Prevention Tactics
Now that your chains are free, how do you stop the random walk theory from ruining your morning routine again? The key is to immobilize the chain and isolate the free ends.

1. The Straw Method for Travel
For delicate cable and box chains, unclasp the necklace and thread one end through a standard plastic or silicone drinking straw. Clasp it shut. The rigid straw prevents the chain from folding back on itself, making spontaneous knotting physically impossible. This is the gold standard for packing jewelry in luggage.
2. Cling Wrap for Flat Storage
If you store necklaces flat in a drawer, lay them out individually on a sheet of plastic cling wrap, leaving a few inches of space between each. Fold the top layer of cling wrap over the chains and press down. The static and light friction of the plastic will hold the chains perfectly in place, while also providing a barrier against ambient humidity that causes silver tarnish.
3. Invest in Anti-Tarnish Environments
Hanging necklaces is generally the best long-term storage solution, provided they are hung individually on padded hooks. To elevate your storage, line your jewelry armoire or drawer with Pacific Silvercloth or place activated charcoal and zinc carbonate anti-tarnish strips inside the enclosure. These materials absorb hydrogen sulfide and sulfur dioxide from the air, preventing the chemical reaction that causes sterling silver to turn black, meaning less handling, polishing, and subsequent tangling.
When to Stop and See a Professional Jeweler
While the needle-and-oil method works for 95% of household tangles, there are scenarios where DIY detangling will result in catastrophic damage. You must take the piece to a professional bench jeweler if:
- The chain is under 0.8mm thick: Chains this fine (often used for lightweight gemstone pendants) have solder joints that are microscopic. A tight knot can cause invisible stress fractures that will snap days later when worn.
- A hollow-core chain is involved: Hollow gold chains are incredibly lightweight but structurally fragile. Prying a knot with a needle will easily crush the thin outer wall of the link.
- The knot involves a gemstone setting: If the knot has formed tightly around a prong-set diamond or a bezel-set sapphire, the pressure of the metal wire can warp the setting and loosen the stone. A jeweler has specialized microscopes and laser-welding tools to safely cut and repair the single compromised link without risking the gemstone.
Conclusion
Understanding the physics and metallurgy behind your jewelry transforms a frustrating daily annoyance into a manageable science. By recognizing why you got so many necklace tangles in the first place, utilizing proper lubrication and needle techniques, and adopting an immobilization-based storage strategy, you can protect the structural integrity and beauty of your collection for decades to come. Treat your chains with the mechanical respect they deserve, and they will remain as flawless as the day you bought them.


