How to Change Your Nose Jewelry Safely: A Step-by-Step Guide
Learn how to change your nose jewelry safely with our step-by-step guide. Discover prep steps, hygiene tips, and the best tools for seamless swaps.

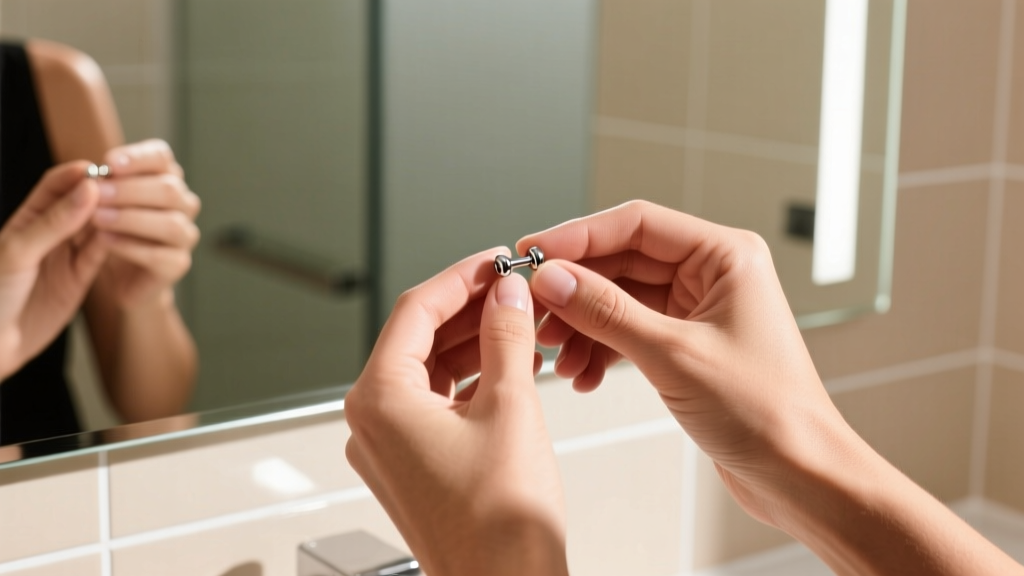
Changing your nose jewelry for the first time is a major milestone in your piercing journey. Whether you are upgrading from a basic healing stud to a dazzling 14k gold threadless piece or simply swapping a hoop for a corkscrew, the process requires patience, precision, and strict hygiene. Rushing this process or using improper tools can lead to micro-tears, irritation bumps, and prolonged healing times. In this comprehensive guide, we break down the exact steps, material grades, and professional techniques required to change your nose jewelry safely and painlessly.
Phase 1: Verifying Your Piercing is Fully Healed
Before you even touch your current jewelry, you must confirm that the fistula (the tissue tube forming the piercing channel) is fully mature. According to the Association of Professional Piercers (APP), changing jewelry prematurely is the leading cause of delayed healing and hypertrophic scarring.
- Standard Nostril Piercings: Typically require 4 to 6 months to fully heal.
- Septum Piercings: Generally heal faster, often within 3 to 4 months, due to the vascular nature of the 'sweet spot' tissue.
- High Nostril & Double Nostrils: Can take 6 to 9 months, or even up to a year, due to thicker cartilage and increased movement.
The Lymph Test: A fully healed piercing will no longer produce lymph fluid (the white/yellow 'crusties'). If you gently clean the area with sterile saline and see no crusting within 24 hours, and the tissue feels soft and pliable rather than rigid or tender, you are likely ready for a swap.
Phase 2: Gathering the Right Tools and Materials
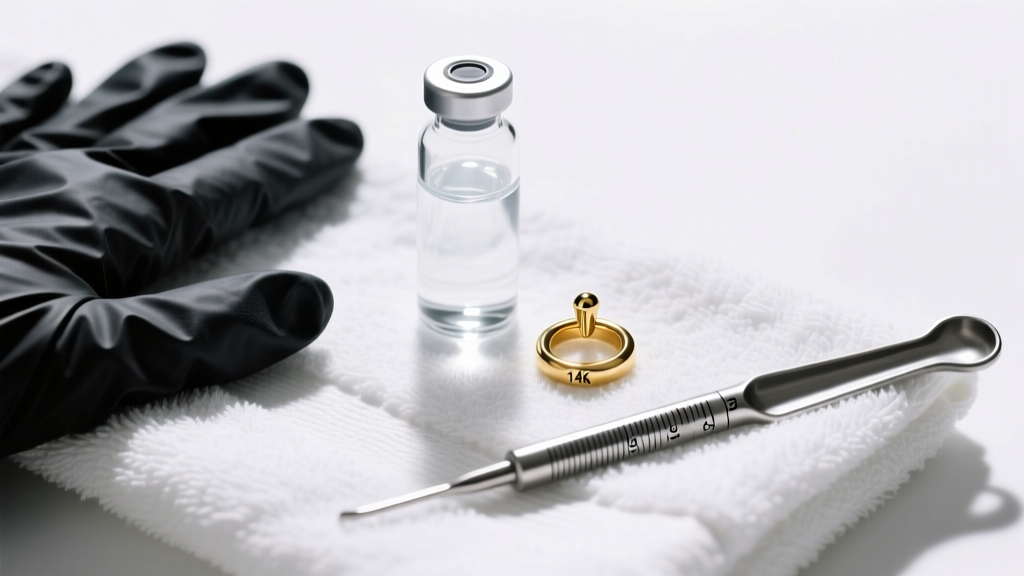
Professional piercers never swap jewelry dry or with bare hands. Assembling the right workstation minimizes the risk of dropping your jewelry down the sink drain or introducing staph bacteria into the fistula.
| Tool / Material | Purpose | Expert Recommendation |
|---|---|---|
| Insertion Taper | Gradually stretches the fistula to accept the new jewelry without micro-tearing. | Match the taper gauge exactly to your jewelry (e.g., 18G / 1.02mm). |
| Sterile Saline (0.9%) | Acts as a safe, water-based lubricant and cleansing agent. | Avoid petroleum jelly; it traps bacteria and degrades silicone o-rings. |
| Nitrile Gloves | Provides grip on tiny jewelry components and maintains a sterile field. | Textured fingertips are essential for gripping threadless pins. |
| Piercing-safe Jewelry | The new piece to be inserted. | Only use ASTM F-136 Titanium, Niobium, or 14k/18k solid gold. |
Understanding Threading and Backing Types
The structural design of your nose jewelry dictates how easily it will insert. Avoid 'externally threaded' jewelry at all costs; the screw threads act like a cheese grater on the delicate fistula lining. Instead, opt for these professional standards:
- Threadless (Push-Pin): The gold standard for nostril studs. The pin features a slight bend that creates tension against the inside of the shaft, locking it securely in place.
- Internally Threaded: The screw is on the removable end (like a gemstone top), while the post is completely smooth. Ideal for clicker septum rings and flat-back labrets.
Phase 3: Step-by-Step Removal of the Old Jewelry
Removal techniques vary wildly depending on the backing style of your current jewelry. Always perform this step in a well-lit room, ideally over a plugged sink or a clean towel to catch accidental drops.
Removing Threadless (Push-Pin) Studs
- Grip the flat back disc firmly with one hand (use a rubber glove for traction).
- Grip the decorative front gem with your other hand.
- Do not twist. Instead, use a firm 'pull and wiggle' motion to break the tension seal.
Removing Corkscrew or L-Shape Wires
These rely on the natural curve of the metal to stay in place. Gently push the jewelry upward and outward from the inside of the nostril, following the exact curve of the wire. Never pull straight down, as this will drag the bent metal against the piercing wall.
Phase 4: Inserting the New Nose Jewelry
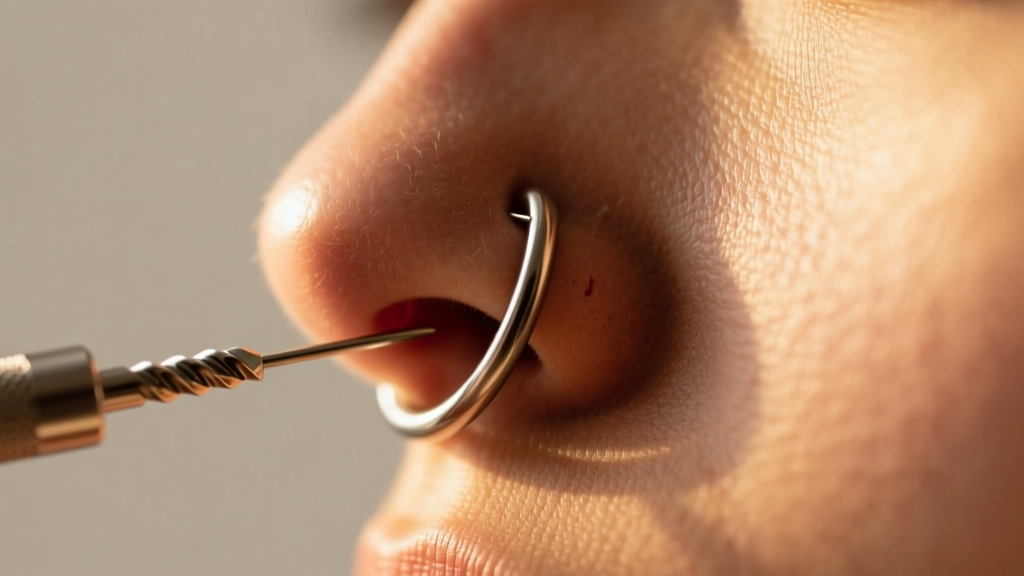
Once the old jewelry is out, the fistula can begin to shrink within minutes. Have your taper and new jewelry pre-assembled and ready to go.
- Lubricate the Taper: Spray your steel insertion taper with sterile saline. Never force a dry taper into a dry piercing.
- Align and Push: Gently guide the thinnest tip of the taper into the piercing hole. Follow the natural angle of your nostril (usually slightly upward and backward).
- Pass the Taper: Slowly slide the taper through until the thickest end (which matches your jewelry gauge) is flush with the exit hole.
- Connect the Jewelry: If using an internally threaded piece or a seamless hoop, butt the end of the jewelry directly against the flat back of the taper. Push the taper all the way through, allowing the jewelry to seamlessly follow the exact path the taper just carved.
- Secure the Backing: For threadless pins, insert the pin about halfway into the shaft, bend it very slightly (about a 10-degree angle) using your fingers, and then push it firmly into the shaft until the gem sits flush against the skin.
Pro Tip: If you are inserting a flat-back labret from the inside of the nose, use a pair of sterilized taper jaws or hemostats to hold the backing plate steady while you screw the front gem on from the outside. This prevents the plate from spinning and scraping the inner nasal wall.
Troubleshooting Common Insertion Hurdles
Even with perfect technique, you may encounter resistance. Here is how to troubleshoot like a professional without causing tissue trauma.
The Taper Won't Pass Through
If the taper stops halfway, do not force it. Forcing causes 'blowouts' or immediate irritation bumps. Withdraw the taper, spray the area with saline to reduce minor swelling, and try again. If it still fails, your fistula may have shrunk to a smaller gauge. You may need to step down from an 18G (1.0mm) to a 20G (0.81mm) taper to gently stretch it back to size over a few days.
Minor Bleeding or Tenderness
A single drop of blood is common if a micro-tear occurred during the original jewelry removal. According to Healthline's piercing aftercare guidelines, you should immediately cease swapping, clean the area with sterile saline, and leave the new jewelry in place. Do not remove the new jewelry, as this will trap the blood inside the channel and cause a hematoma. Apply a warm saline compress for 5 minutes to soothe the tissue.
The Threadless Pin Won't Stay In
If your push-pin gem keeps popping out, the pin is not bent enough to create adequate friction. Remove the gem, bend the pin slightly more (aim for a 15-degree angle), and reinsert. Ensure the pin is inserted at least 2/3 of the way into the shaft before pushing it flush.
By respecting your body's healing timelines and utilizing professional-grade tapers and implant-certified metals, you can enjoy your new nose jewelry with zero downtime. When in doubt, or if you experience persistent resistance, booking a quick 10-minute jewelry swap appointment with an APP-certified piercer is always the safest investment in your piercing's longevity.


