How to Measure and Choose the Perfect Septum Jewelry Sizes
Learn how to accurately measure septum jewelry sizes, including gauge thickness and inner diameter, for a comfortable and secure fit.

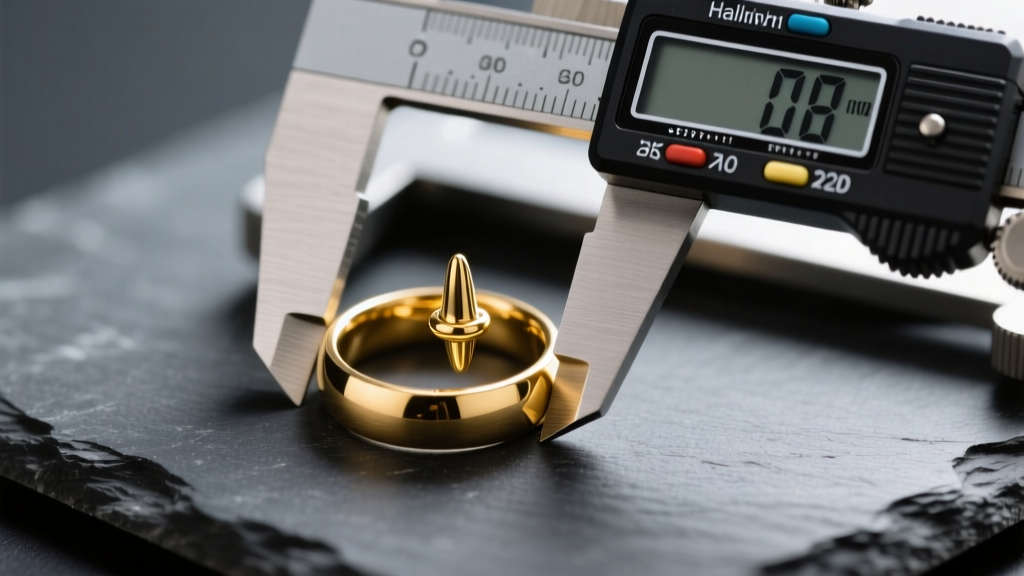
Finding the perfect fit for your septum piercing is a delicate balancing act. Choose a ring that is too small, and you will experience painful pulling, migration, and irritation bumps. Opt for one that is too large, and you risk the dreaded 'bull ring' effect, where the jewelry hangs awkwardly low or constantly flips down when you try to hide it. Understanding septum jewelry sizes is the single most important step in curating a comfortable, aesthetically pleasing piercing. This comprehensive, step-by-step guide will teach you exactly how to measure your anatomy, decode jewelry specifications, and select the right materials for both healing and fully established fistulas.
The Anatomy of Septum Sizing: Gauge vs. Diameter
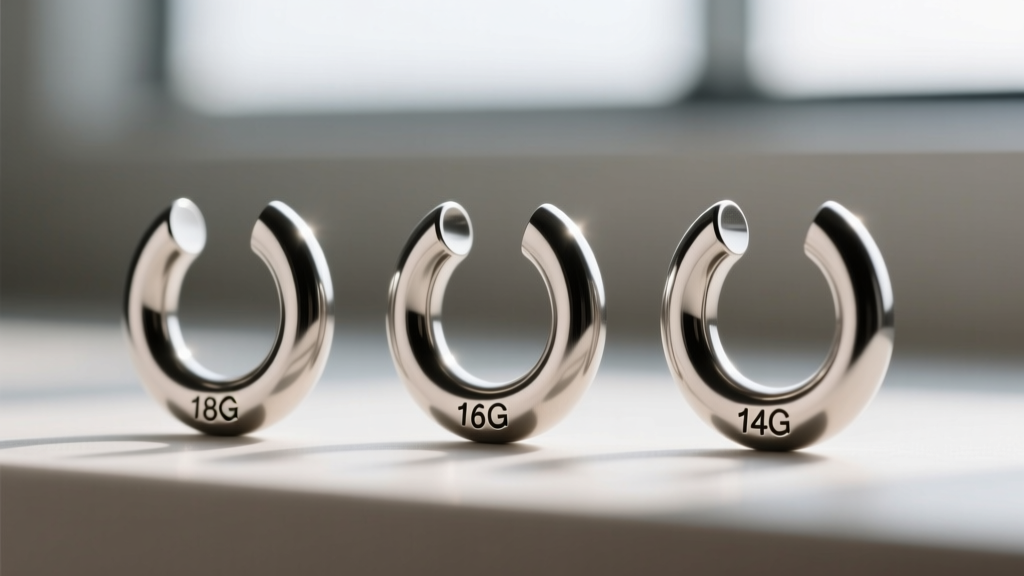
Before you start shopping, you must understand that septum jewelry sizes are defined by two completely independent metrics: Gauge (thickness) and Inner Diameter (ID). A common mistake among beginners is assuming that a larger gauge means a larger ring. In the American Wire Gauge (AWG) system, the opposite is true. A 14-gauge wire is significantly thicker than an 18-gauge wire. Meanwhile, the Inner Diameter dictates how the ring wraps around your columella (the fleshy strip of tissue between your nostrils). Mastering both metrics is non-negotiable for a proper fit.
Step 1: Pinpointing Your Gauge Thickness
The vast majority of professional piercers use either 16-gauge (1.2mm) or 14-gauge (1.6mm) needles for initial septum piercings. According to the Association of Professional Piercers (APP), wearing jewelry that is too thin for your piercing hole can lead to the 'cheese-cutter effect.' This occurs when a thin wire, like an 18-gauge ring, rests in a 16-gauge hole; the pressure of the jewelry against the tissue causes it to slowly migrate and slice through the skin over time.
Standard Septum Gauge Conversion Chart
| Gauge (AWG) | Millimeter (mm) | Common Use Case |
|---|---|---|
| 18g | 1.0mm | Dainty jewelry / Nostril studs (Avoid for septums) |
| 16g | 1.2mm | Industry standard for most septum piercings |
| 14g | 1.6mm | Statement pieces / Thicker anatomy |
| 12g | 2.0mm | Stretched septum piercings |
| 10g | 2.5mm | Heavy stretching / Large gauge clickers |
Pro Tip: If you are unsure of your current gauge, do not guess. Visit a professional piercer who can use a piercing wheel or digital caliper to measure your existing jewelry instantly. Alternatively, you can purchase a cheap digital caliper online to measure the wire thickness yourself.
Step 2: Mastering the Inner Diameter (ID) Measurement
While gauge determines the thickness of the metal, the Inner Diameter (ID) determines the size of the circle. The standard ID for a healed septum ranges from 8mm (5/16') to 10mm (3/8'). However, facial anatomy varies wildly. Some individuals have a higher piercing placement or a thicker columella, requiring an 11mm or 12mm diameter to prevent the ring from pulling when they smile or talk.
How to Measure Your Existing Ring
If you already have a septum ring that fits perfectly, use it as your baseline. Place your digital calipers inside the ring, measuring from the inner edge of the metal to the opposite inner edge. Do not measure the Outer Diameter (OD), as the thickness of the metal will skew your results and lead you to purchase a ring that is too tight.
How to Measure Without Jewelry (The Caliper Method)
If you are currently wearing a straight barbell or a horseshoe that you want to replace with a seamless hoop or clicker, you must measure your anatomy directly.
- Take a digital caliper and set it to millimeters.
- Gently place one jaw of the caliper at the bottom of your piercing hole (the fistula).
- Extend the other jaw downward to the point where you want the bottom of the ring to rest.
- For a 'snug fit' (where the ring kisses the bottom of the nose), measure exactly to the base of the columella.
- For a 'relaxed fit' (a slight hang), add 1mm to 2mm to your snug measurement.
Expert Warning: Never use printable paper sizers or standard rulers to measure septum jewelry sizes. Printer scaling errors and the inability to measure curved geometry will almost always result in purchasing the wrong size. A $15 digital caliper is a mandatory investment for any serious jewelry collector.
Step 3: Adapting Sizes for Healing vs. Healed Piercings
Your septum jewelry sizes must evolve as your piercing matures. A fresh piercing requires drastically different dimensions than a five-year-old healed fistula.
The Healing Phase (Months 1 to 6)
During the initial healing period, swelling is inevitable. Piercers typically use a 16-gauge or 14-gauge circular barbell (horseshoe) with a larger diameter—usually 10mm or 12mm. This extra space accommodates swelling and allows you to flip the jewelry up into your nostrils to hide it while it heals. Attempting to wear an 8mm clicker in a fresh septum will trap swelling, cause severe pressure necrosis, and likely lead to rejection.
The Healed Phase (6 Months and Beyond)
Once the fistula is fully established and no longer produces lymph or crusties, you can downsize to your true anatomical fit. This is when you can transition to 8mm or 9mm clickers, seamless continuous rings, or decorated segment rings. For a comprehensive breakdown of brand-specific sizing, the Urban Body Jewelry Size Guide is an excellent visual resource for comparing how different diameters sit on the face.

Troubleshooting Common Septum Sizing Failures
Even with careful measuring, you might encounter fit issues. Here is how to diagnose and fix the most common septum sizing problems using material and style adjustments.
- Problem: The ring constantly flips down and won't stay hidden.
Diagnosis: Your Inner Diameter is too large, or you are using a seamless ring that lacks tension.
Solution: Switch to a horseshoe barbell, which can be manually bent slightly inward for a tighter grip, or downsize your clicker by 1mm. - Problem: The jewelry pulls painfully when I smile or chew.
Diagnosis: Your ID is too small, causing the metal to drag on the fistula during facial movement.
Solution: Upsize your diameter by 1mm to 2mm. If you are at a standard 8mm, move to a 10mm. - Problem: The piercing feels itchy, red, and constantly irritated.
Diagnosis: You may be wearing 316L surgical steel in a sensitive or semi-healed piercing, or the jewelry finish is rough.
Solution: Upgrade to Implant-Grade Titanium (ASTM F-136). Titanium is nickel-free, highly polished, and biocompatible, eliminating metal allergy reactions that mimic sizing friction.
Final Thoughts on Building Your Collection
Navigating septum jewelry sizes does not have to be a frustrating game of trial and error. By understanding the inverse nature of the AWG system, investing in a digital caliper, and respecting the healing timeline of your anatomy, you can curate a collection of clickers, hoops, and horseshoes that fit flawlessly. Remember that your facial structure is unique; do not blindly follow the 'standard' sizes if your anatomy demands a custom fit. Measure twice, buy once, and enjoy the perfect drape of your septum jewelry.


