How to Safely Change Microdermal Piercing Jewelry Tops
Learn how to safely change microdermal piercing jewelry tops at home with our step-by-step guide, covering tools, thread sizes, and aftercare.

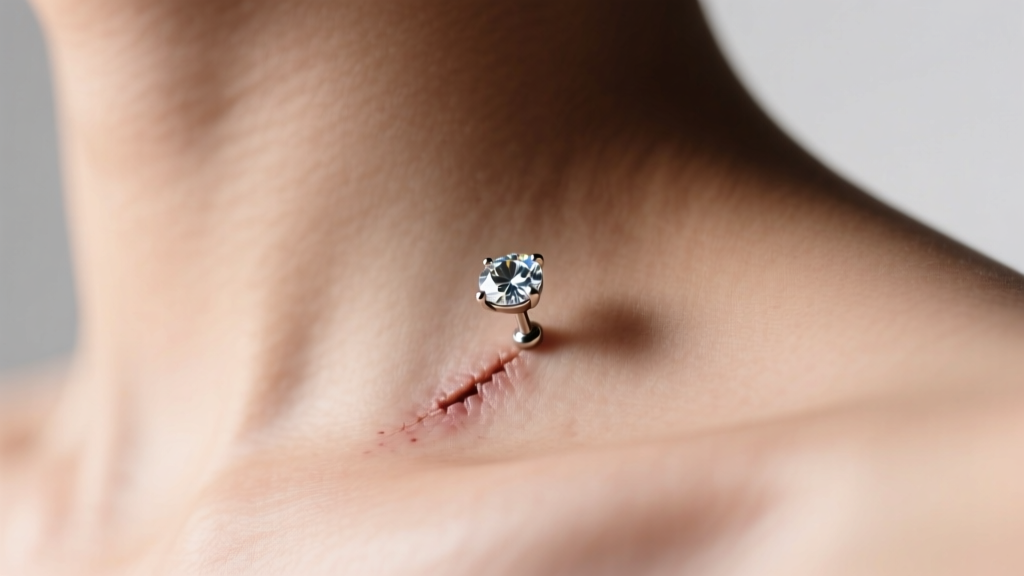
Understanding Your Microdermal Anchor and Top
Microdermal piercings, often referred to as single-point piercings, represent a marvel of modern body modification. Unlike traditional piercings that feature an entry and exit hole, a microdermal relies on a single base plate (the anchor) implanted beneath the dermis, with a threaded post that protrudes through the skin to hold a decorative top. If you are looking to change your microdermal piercing jewelry, the very first rule is patience. You must wait until the anchor is fully integrated into your tissue, a healing process that typically takes anywhere from six to twelve months. Attempting to unscrew a top from a healing anchor will almost certainly result in tearing the newly formed tissue matrix, leading to trauma, scarring, or complete rejection of the implant.
The anchor itself is usually crafted with strategic holes or a textured surface. This design is intentional; it encourages your body's collagen and tissue to grow through the base plate, effectively locking it into place. Once this biological anchor is established, the top can be unscrewed and swapped out to match your evolving style. However, because the anchor is held in place by tissue rather than a rigid barbell, the mechanical physics of changing the top require a specific technique to avoid applying rotational torque to the base plate.
Thread Sizes: M2 vs M3
Before purchasing replacement tops, you must identify the thread size of your existing post. The body jewelry industry primarily uses two metric thread standards for dermal anchors:
- M2 (1.2mm thread): This is the most common thread size for standard microdermal tops, particularly those from high-end brands like NeoMetal and Anatometal. It features a delicate 1.2mm diameter post.
- M3 (1.6mm thread): Slightly thicker and less common, M3 threads are sometimes used for larger surface anchors or heavy-gauge dermal tops.
Attempting to force an M3 top onto an M2 post will strip the threads and ruin the jewelry. If you are unsure of your thread size, visit a professional piercer who can measure the post with digital calipers, or refer to the original documentation provided by your piercer.
Material Grades: What to Put Under Your Skin
When selecting new microdermal piercing jewelry, the material of the top is just as critical as the material of the anchor. The Association of Professional Piercers (APP) strictly recommends implant-grade materials for any jewelry that interacts with a fistula or dermal pocket.
- Implant-Grade Titanium (ASTM F136): The gold standard for dermal jewelry. It is entirely nickel-free, lightweight, and highly biocompatible, minimizing the risk of contact dermatitis or localized rejection.
- Solid 14k or 18k Gold: Must be nickel-free and alloyed for biocompatibility. Avoid gold-plated or gold-filled tops, as the friction of threading can wear away the plating, exposing base metals to the sensitive dermal pocket.
- Niobium: Another excellent, highly reactive-free option, though less common for threaded dermal tops compared to titanium.
Avoid "surgical steel" or mystery metals sold in mall kiosks. These often contain high levels of nickel, which can trigger an immune response that your body resolves by pushing the entire anchor out of the skin.
Tools Required for a Safe Jewelry Change
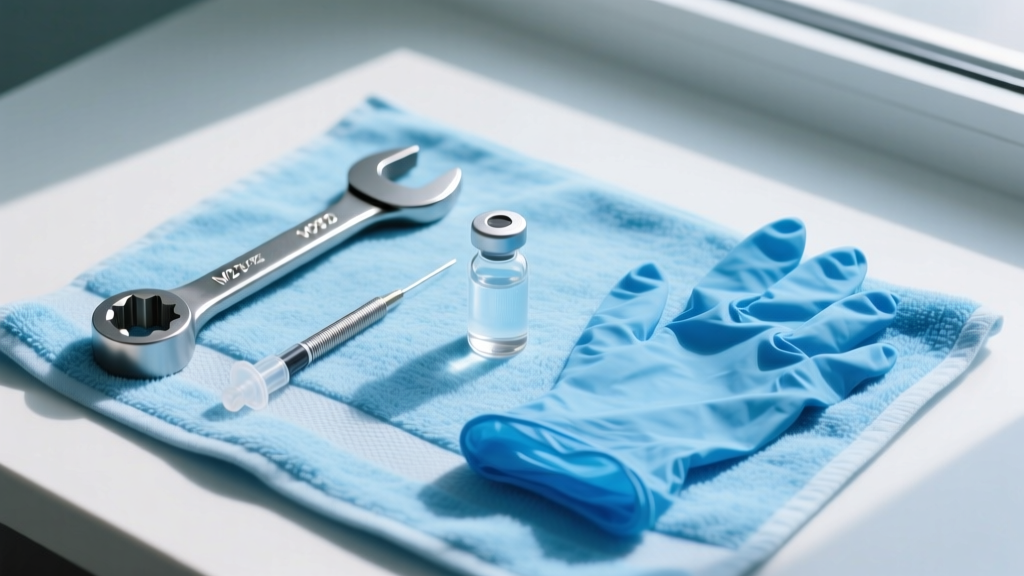
Do not attempt to change a dermal top using only your bare fingers. The natural oils on your skin, combined with the small surface area of a gemstone top, make it incredibly easy to slip and twist the underlying anchor. Gather the following tools before beginning:
- Dermal Wrench or Dermal Pliers: A specialized stainless steel tool designed to grip the flat edges of a dermal top without scratching the metal or gemstone.
- Threaded Taper (M2 or M3): A smooth, tapered steel pin that helps guide the new top onto the post perfectly straight, preventing cross-threading.
- Nitrile Gloves: To maintain a sanitary environment and improve your grip.
- Sterile Saline Solution (0.9% Sodium Chloride): For cleaning the post and softening any dried lymph.
- Non-Woven Gauze: To wipe away debris without leaving cotton fibers behind.
Step-by-Step Guide: Removing the Old Top
The removal process is all about counter-pressure. Your goal is to isolate the rotational force to the top, ensuring the anchor beneath the skin remains completely stationary.
- Prep the Area: Wash your hands thoroughly and put on nitrile gloves. Cleanse the skin around the piercing with sterile saline and gently pat dry with non-woven gauze.
- Soften Crusties: If there is any dried lymph or sebum around the base of the top, soak a gauze pad in warm saline and hold it against the piercing for three to five minutes. Never pick at crusties with your fingernails, as this can introduce bacteria directly into the dermal pocket.
- The Pinch Grip (Crucial Step): With your non-dominant hand, firmly pinch the skin on either side of the anchor. You should feel the hard edge of the base plate beneath the dermis. Squeeze gently but firmly to hold the anchor in place. This provides the necessary counter-pressure.
- Apply the Wrench: With your dominant hand, place the dermal wrench over the top. Ensure it is seated flat and secure.
- Unscrew Counter-Clockwise: Apply slow, steady pressure to the left (counter-clockwise). If the top does not budge, do not force it. Re-soak with warm saline to loosen any biological adhesive, and try again. Forcing it can strip the internal threads of the anchor.
- Remove and Inspect: Once unscrewed, immediately wipe the exposed threaded post with a saline-soaked gauze to remove any trapped debris.
Step-by-Step Guide: Inserting the New Top
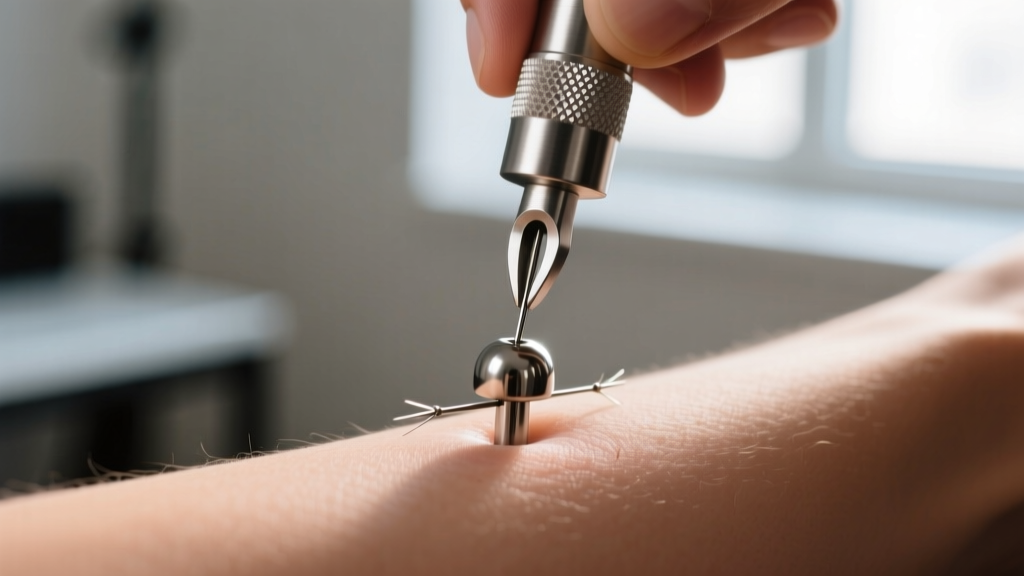
Inserting the new top requires precision. Cross-threading occurs when the top is screwed on at a slight angle, causing the metal threads to carve into each other and permanently jam the jewelry.
- Clean the New Top: Even if the jewelry is brand new out of the packaging, rinse it with sterile saline to remove any manufacturing dust or oils.
- Use the Taper: Screw your threaded taper onto the exposed anchor post. This acts as a bridge and ensures the threads are perfectly aligned.
- Thread the New Top: Slide the new microdermal piercing jewelry top over the taper and gently begin turning it clockwise. The taper will guide the top smoothly onto the actual post.
- Remove Taper and Secure: Once the top is threaded past the taper, remove the taper from the center. Continue screwing the top down clockwise using your fingers until it meets resistance.
- Final Tightening: Use the dermal wrench to give the top a final, gentle quarter-turn. Do not overtighten. The top should be snug against the skin, but if you tighten it too much, you can cause pressure necrosis (tissue death) or make it impossible to remove later without professional pliers.
Troubleshooting Common Microdermal Issues
Even with the best technique, complications can arise. According to Healthline's dermatology guidelines, monitoring the tissue response after manipulating a dermal anchor is vital for long-term retention. Use the table below to diagnose and resolve common issues.
| Issue | Probable Cause | Actionable Solution |
|---|---|---|
| Top will not unscrew | Dried lymph acting as glue; stripped threads | Soak in warm saline for 10 mins. If still stuck, see a piercer to avoid tearing the anchor. |
| Top feels wobbly | Anchor has detached from tissue (rejection) | Remove the top immediately. The anchor must be removed by a professional to prevent scarring. |
| Cross-threading / Jamming | Inserting the top at an angle without a taper | Stop immediately. Do not force it. Unscrew, clean threads, and restart using a guide taper. |
| Redness and swelling post-change | Micro-trauma from twisting the anchor | Apply a sterile cold compress for 5 mins. Use saline twice daily. Avoid touching it for 48 hours. |
Aftercare and Long-Term Monitoring
Changing your microdermal piercing jewelry is essentially a minor trauma to the fistula. After the swap, treat the piercing as if it is in the final stages of healing. Spray the area with sterile saline twice a day for the next week. Avoid using harsh chemicals like rubbing alcohol, hydrogen peroxide, or tea tree oil, as these will destroy the delicate cellular matrix surrounding the anchor.
Furthermore, keep an eye out for the early signs of rejection. If the skin over the anchor begins to thin, if you can see the dark outline of the base plate through the skin, or if the piercing becomes increasingly shallow, your body is rejecting the implant. If you notice these signs, remove the top to relieve pressure and visit a professional piercer or dermatologist to have the anchor safely extracted. Leaving a rejecting anchor in place will result in a pronounced, raised scar. By respecting the anatomy of the single-point piercing and utilizing the correct tools, you can safely enjoy swapping your dermal tops for years to come.


