How Do You Clean Jewelry With Baking Soda Safely?
Learn how do you clean jewelry with baking soda safely. Discover exact recipes for silver and gold, plus which gemstones to keep away from this DIY method.

The Chemistry Behind Baking Soda Jewelry Cleaners
When searching for eco-friendly, non-toxic ways to restore precious metals, the question how do you clean jewelry with baking soda is one of the most frequently asked in gemological forums. Baking soda (sodium bicarbonate) is a mild alkaline compound that, when used correctly, can reverse tarnish and lift sebum buildup without the harsh volatile organic compounds (VOCs) found in commercial liquid dips. However, treating baking soda as a universal cure-all is a fast track to ruined finishes and scratched gemstones.
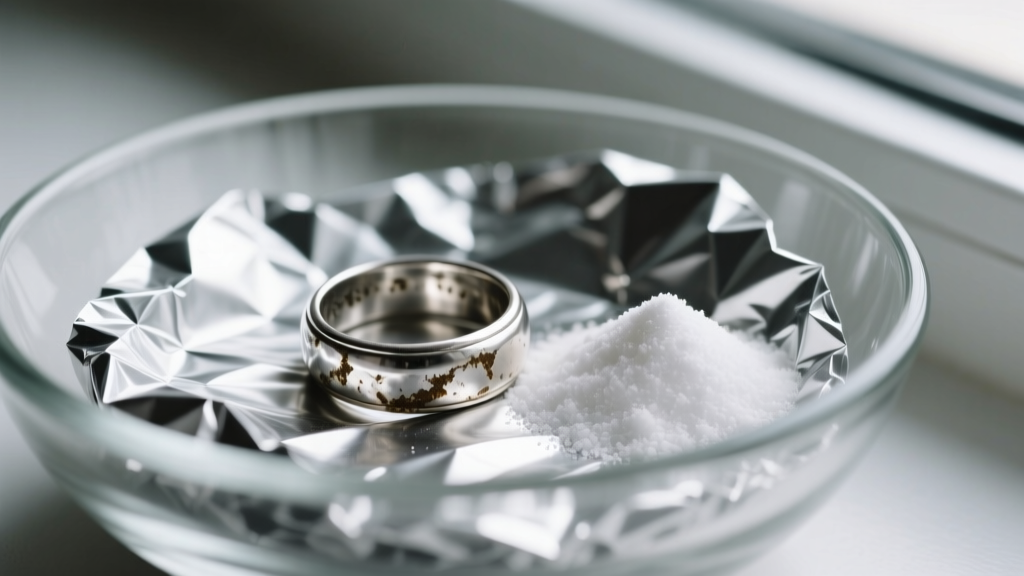
To understand why baking soda works, we must look at the electrochemical reaction it facilitates. Sterling silver tarnishes when the copper alloyed within it reacts with hydrogen sulfide in the air, creating a black layer of silver sulfide. When you combine baking soda, hot water, and aluminum foil, you create a galvanic cell. The baking soda acts as an electrolyte, allowing ions to flow. The aluminum (which is more reactive than silver) sacrifices itself, drawing the sulfur atoms away from the silver sulfide and transferring them to the foil. This is not merely 'cleaning'; it is a molecular reversal of tarnish.
Step-by-Step: The Aluminum Foil Ion-Exchange Bath
This method is exclusively for solid sterling silver, fine silver, and silver-plated items that do not feature porous gemstones or intentional oxidation (patina). If you have a piece with blackened crevices by design, such as oxidized David Yurman or Tiffany & Co. motifs, skip this method, as the ion exchange will strip the dark contrast.
The Exact 2026 Conservation Recipe
- 1 Cup Boiling distilled water (tap water contains minerals that can leave micro-deposits)
- 1 Tablespoon Baking soda (sodium bicarbonate)
- 1 Tablespoon Kosher salt (sodium chloride, to boost the electrolyte conductivity)
- 1 Sheet Heavy-duty aluminum foil
The Execution Protocol
- Line the bottom of a heat-safe glass or ceramic bowl with the aluminum foil, shiny side up.
- Place your silver jewelry directly on the foil. Critical: The metal must physically touch the aluminum for the electron transfer to occur.
- Sprinkle the baking soda and kosher salt evenly over the jewelry.
- Pour the boiling distilled water into the bowl. You will immediately see bubbling and may smell a faint sulfur (rotten egg) odor. This confirms the silver sulfide is breaking down.
- Let the jewelry soak for exactly 3 to 5 minutes. Do not exceed 10 minutes, as prolonged alkaline exposure can cloud certain silver alloys.
- Remove with wooden or plastic tongs (never metal, which can disrupt the charge or scratch the piece).
- Rinse thoroughly under lukewarm distilled water and pat dry with a lint-free microfiber cloth.
The Baking Soda Paste Method for Solid Gold
While the ion-exchange bath is a chemical reaction, using baking soda as a paste is a mechanical action. Gold does not tarnish like silver, but 14k and 18k gold alloys accumulate heavy oils, lotions, and dead skin cells in their crevices.
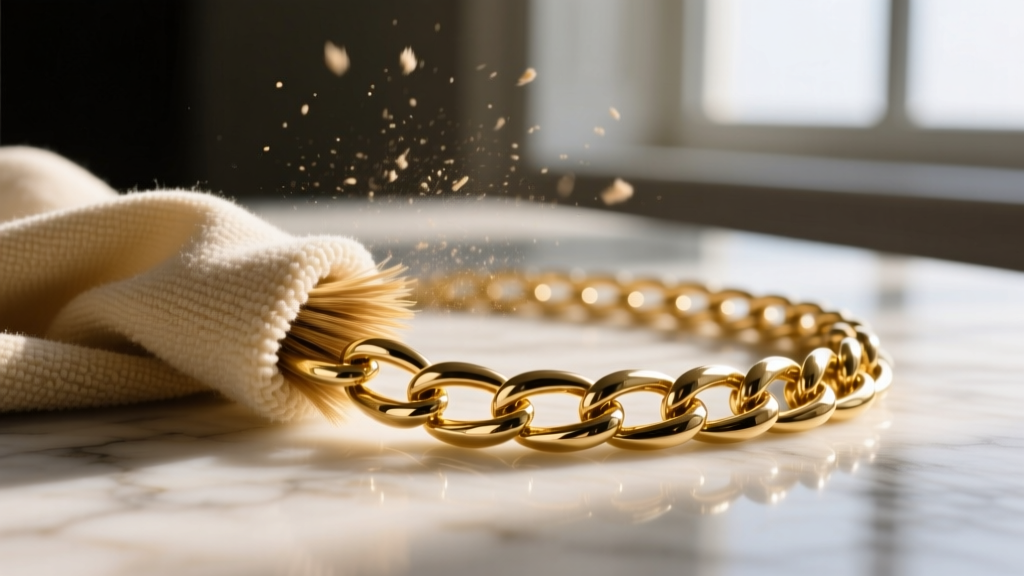
To create a safe mechanical cleaner, mix two parts baking soda with one part distilled water to form a loose paste. Apply this to a soft-bristled baby toothbrush or a cotton swab. Gently work the paste into the settings and under the gallery of the ring. Warning: Baking soda ranks at a 2.5 on the Mohs hardness scale. While this is soft, high-polish 24k and 22k gold are equally soft (Mohs 2.5-3). Scrubbing high-karat gold with baking soda will result in permanent micro-scratches, turning a mirror finish into a matte one. For high-karat gold, rely on a simple dish soap and warm water soak instead. For 10k, 14k, and 18k gold, the paste is safe if used with zero abrasive pressure.
The Danger Zone: Gemstones & Porous Metals
The most common mistake DIYers make is submerging entire gemstone-encrusted rings into the baking soda bath. According to the Gemological Institute of America (GIA), alkaline solutions and heat are catastrophic for organic and porous gems. Baking soda will etch the surface of pearls, dissolve the structural water in opals, and permanently discolor turquoise.
| Gemstone / Material | Mohs Hardness | Baking Soda Safe? | Failure Mode if Exposed |
|---|---|---|---|
| Diamond | 10 | Yes (Paste only) | None, but settings may loosen if scrubbed. |
| Sapphire / Ruby | 9 | Yes (Paste only) | None, highly resistant to alkaline. |
| Emerald | 7.5 - 8 | No | Strips cedar oil treatments, revealing fractures. |
| Opal | 5.5 - 6.5 | No | Alkaline dehydrates the stone, causing crazing. |
| Pearl | 2.5 - 4.5 | No | Dissolves nacre layers, destroys luster permanently. |
| Turquoise | 5 - 6 | No | Absorbs alkaline water, causing dark staining. |
| Rhodium Plating | N/A | No | Hot water and salt can cause plating to peel or cloud. |
If you must clean the silver band of a pearl ring, use a Q-tip dipped in the baking soda paste, carefully avoiding the gemstone and its prongs. For comprehensive care on delicate organics, always defer to the GIA Pearl Care guidelines, which recommend only a damp, soft cloth.
Troubleshooting Common Baking Soda Cleaning Failures
Even with perfect execution, you may encounter anomalies. Here is how to troubleshoot the most frequent issues encountered in home jewelry maintenance.
My Silver Turned Chalky White
This is not ruined silver; it is hard water scale or un-dissolved baking soda residue trapped in the microscopic pores of the metal. To fix this, create a 50/50 solution of white vinegar and distilled water. Swish the piece for 10 seconds to neutralize the alkaline residue, then rinse immediately with distilled water and dry.
The Tarnish Didn't Move
If the ion-exchange bath failed to remove the black marks, you are likely dealing with one of two scenarios: 1) The piece is not silver, but rather a base metal plated with a clear lacquer or rhodium. The plating acts as a barrier, preventing the electrolyte from reaching the metal. 2) The dark marks are not silver sulfide tarnish, but rather baked-on carbon or environmental grime. In this case, mechanical agitation with a mild dish soap and an ultrasonic cleaner (if no fragile gems are present) is required.
Post-Cleaning Care & Storage Protocols
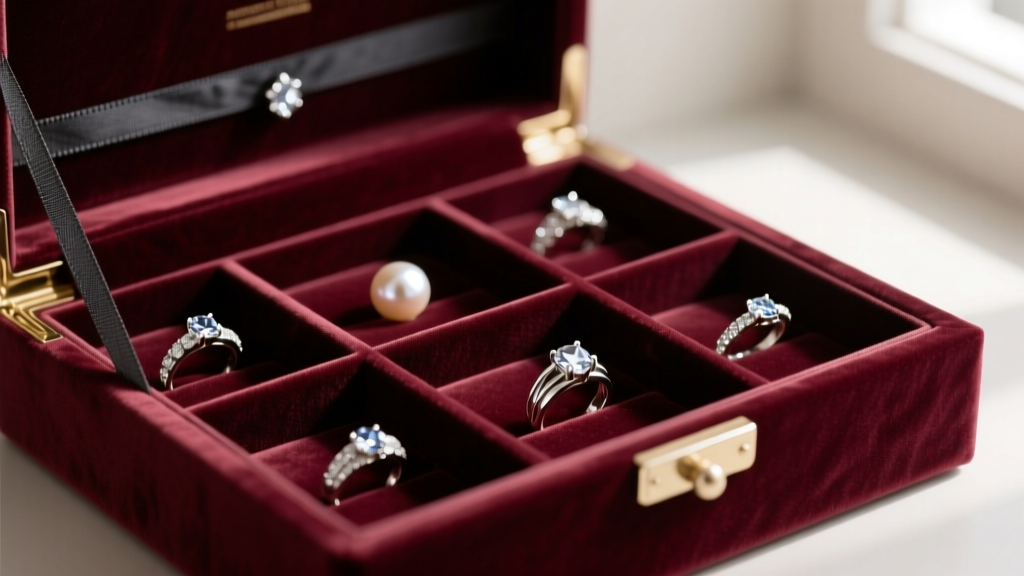
Cleaning jewelry with baking soda is only half the battle. Once you have reversed the tarnish, the freshly exposed silver is highly reactive and will begin oxidizing the moment it hits the air. To maximize the time between your baking soda treatments, implement a strict storage protocol.
Pro Tip: Never store freshly cleaned silver in PVC plastics or rubber bands. These materials off-gas sulfur compounds that will re-tarnish your silver within 48 hours.
Store your baking-soda-cleaned pieces in airtight, sulfur-free polyethylene ziplock bags. Inside each bag, include a 3M anti-tarnish strip or a small packet of activated charcoal to absorb ambient hydrogen sulfide. Keep the storage environment at a stable humidity level (below 50%), as moisture acts as a catalyst for the tarnishing process. By combining the molecular power of the baking soda aluminum bath with modern archival storage techniques, you can keep your precious metals in pristine, gallery-ready condition year-round.


