How to Use a Professional Jewelry Cleaner: Safe Step-by-Step Guide
Learn how to use a professional jewelry cleaner safely. This step-by-step guide covers ultrasonic and steam methods for diamonds, gold, and fragile gems.

The Shift to Pro-Grade Home Machines
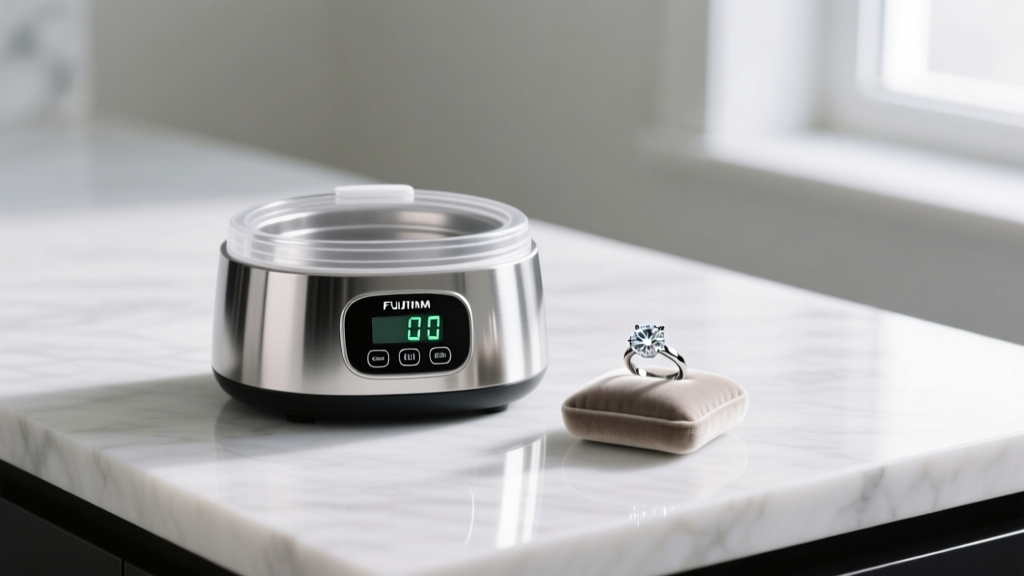
Over the last few years, the barrier between the jeweler’s workbench and the home vanity has significantly blurred. Today, consumers can purchase a professional jewelry cleaner that rivals the equipment used in retail repair shops. However, owning a high-end ultrasonic tank or a pressurized steam cleaner is only half the battle; understanding the physics of cavitation and thermal shock is what separates a brilliantly restored heirloom from a shattered gemstone. This guide provides a meticulous, step-by-step framework for operating professional-grade cleaning equipment safely, ensuring your precious metals and gemstones remain pristine without compromising their structural integrity.
Understanding Professional Jewelry Cleaner Technologies
Before submerging your valuables, it is critical to understand the two primary technologies utilized by professional machines: ultrasonic cavitation and pressurized steam. According to the Gemological Institute of America (GIA), different types of grime and gemstone settings require entirely different mechanical forces.
| Feature | Ultrasonic Cleaners | Steam Cleaners |
|---|---|---|
| Primary Mechanism | High-frequency sound waves creating microscopic implosions (cavitation) | Pressurized vapor (50-60 PSI) at 212°F+ (100°C+) |
| Best For | Removing hardened dirt, lotion, and debris from under settings and pavé | Blasting away surface oils, polishing compounds, and final rinsing |
| Metal Safety | Safe for Platinum, 14k/18k Gold, Palladium (can loosen already weak prongs) | Safe for all solid precious metals (avoid on plated or filled jewelry) |
| Gemstone Risk | High risk for porous, fractured, or treated stones | High risk for heat-sensitive or thermal-shock-prone stones |
Step-by-Step: Using an Ultrasonic Professional Jewelry Cleaner
Ultrasonic cleaners work by generating sound waves (typically between 35 kHz and 42 kHz for standard jewelry, and up to 130 kHz for delicate micro-pavé). These waves create alternating high and low-pressure cycles in the liquid. During the low-pressure phase, microscopic vacuum bubbles form; when the high-pressure phase hits, they violently implode, generating localized micro-jets that blast dirt away from microscopic crevices.
Step 1: Pre-Cleaning Inspection
Never place jewelry with loose stones into an ultrasonic tank. The violent cavitation can easily shake a compromised gemstone out of its setting. Use a 10x triplet loupe to inspect all prongs. If a prong is lifted or the stone rattles when gently tapped with a wooden toothpick, skip the ultrasonic cycle and take it to a bench jeweler.
Step 2: Prepare the Solution
Fill the stainless steel tank with distilled water up to the indicated fill line. Add a few drops of a professional, non-ionic surfactant solution (such as Blitz or Connoisseurs ultrasonic concentrate). Avoid ammonia-based solutions for white gold, as prolonged exposure can degrade the rhodium plating over time.
Step 3: Temperature Control
If your professional jewelry cleaner features a built-in heating element, set it to a maximum of 140°F (60°C). While heat accelerates the cleaning process by reducing the liquid's surface tension, excessive heat can cause thermal shock to certain gems and damage temperature-sensitive treatments.
Step 4: The Cleaning Cycle
Place your jewelry in the provided suspended basket. Never let the jewelry rest directly on the bottom of the tank, as this can scratch the metal and damage the transducer. Run the machine for 3 to 5 minutes. For heavily soiled pieces, you may need a second cycle, but avoid exceeding 10 minutes of total ultrasonic exposure to prevent metal fatigue on delicate chain links.
The Gemstone Danger Zone: What NEVER Goes in the Tank
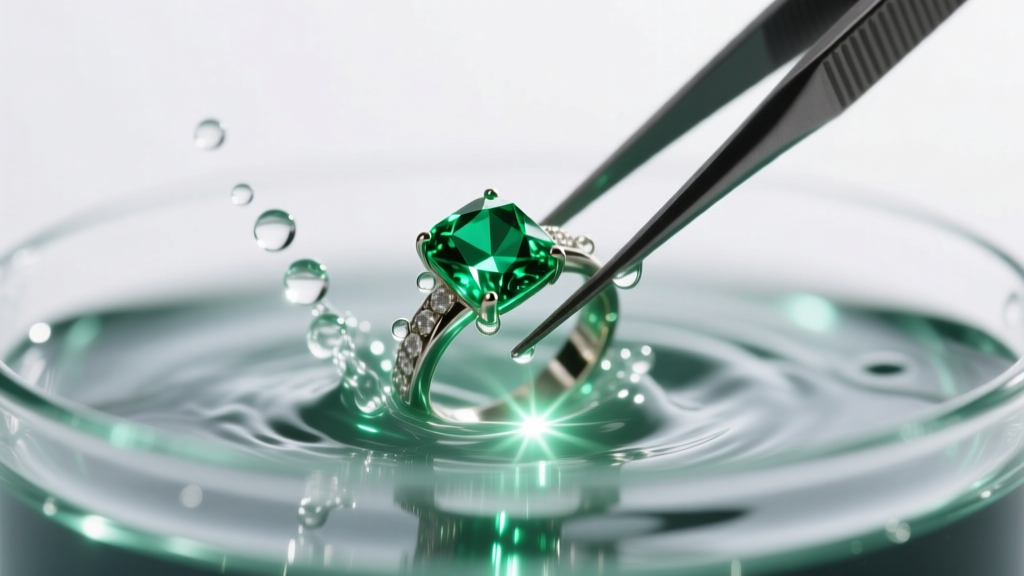
The Jewelers of America consistently warns against using ultrasonic and steam cleaners on organic, porous, or heavily treated gemstones. The microscopic implosions will strip oils, fracture the stone, or cloud the surface entirely.
- Emeralds: Almost all emeralds are treated with cedar oil or Opticon to mask natural fissures. Ultrasonic cavitation will strip this oil, leaving the stone cloudy and highly susceptible to cracking.
- Opals and Pearls: Both contain significant water content and are highly porous. The heat and vibrations will cause opals to craze (crack) and pearls to lose their nacre luster.
- Turquoise and Lapis Lazuli: These porous stones can absorb the chemical cleaning solutions, leading to permanent discoloration.
- Fracture-Filled Diamonds: Diamonds treated with glass-like resins (such as Yehuda diamonds) will suffer severe clouding and damage to the filler material.
Expert Insight: If you are unsure whether a ruby or sapphire has been fracture-filled or treated with lead glass—a common practice for lower-grade stones—do not use a professional jewelry cleaner. The acid and heat can dissolve the glass filling, destroying the stone's structural integrity.
Step-by-Step: Steam Cleaning Like a Bench Jeweler
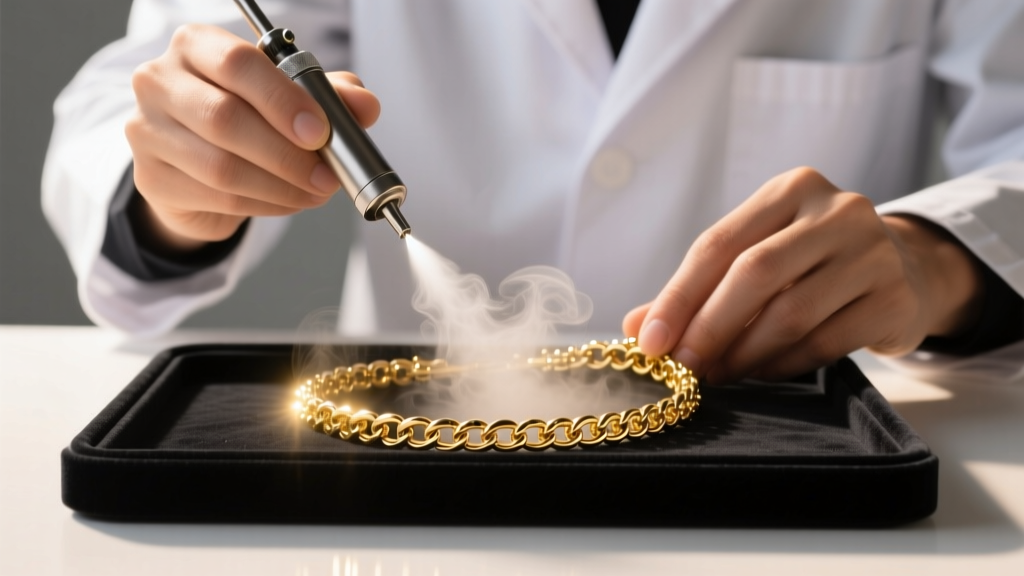
Steam cleaning is the final step in a professional polishing and cleaning workflow. It utilizes pressurized vapor to melt away sebum, lotion, and residual polishing compounds that ultrasonic tanks might leave behind.
Step 1: Pre-Rinse and Secure
Steam cleaners do not remove heavy, caked-on dirt; they are designed for final detailing. Ensure the piece has already been ultrasonically cleaned or scrubbed with a soft brass brush and mild dish soap. Hold the jewelry securely with insulated tweezers or a specialized steam-cleaning basket to protect your fingers from 212°F+ vapor.
Step 2: Angle and Distance
Position the steam nozzle approximately 2 to 3 inches away from the jewelry. Aim the steam jet from the back of the setting (the pavilion) pushing outward toward the front (the crown). This forces debris out of the setting rather than packing it deeper behind the gemstone's girdle.
Step 3: The Thermal Shock Warning
Never steam clean a cold gemstone directly. Allow the jewelry to reach room temperature, and briefly pulse the steam trigger to warm the stone before applying continuous pressure. Sudden thermal shock can easily cleave a tanzanite or shatter a garnet.
Post-Cleaning Care and Inspection
Once your jewelry has been processed through the professional jewelry cleaner, the final step is meticulous drying and inspection. Use a lint-free microfiber cloth or a specialized jewelry drying cloth to absorb residual moisture. For intricate pavé settings, use a can of compressed air or a hair dryer on the "cool" setting to blow water out from beneath the stones. Trapped moisture against the skin can lead to contact dermatitis, and water spots can ruin the optical brilliance of a well-cut diamond.
Finally, perform a secondary inspection with your 10x loupe. The cleaning process may have revealed hairline fractures, loose prongs, or damaged rhodium plating that was previously hidden by dirt and oils. Catching these issues early allows for minor bench repairs before a catastrophic stone loss occurs. By respecting the physics of professional cleaning equipment and adhering to strict gemological safety protocols, you can maintain the brilliance of your collection at a professional standard from the comfort of your home.


