How to Clean Jewelry With Baking Soda Without Scratching
Learn how to clean jewelry with baking soda safely. Troubleshoot tarnish, avoid scratching soft metals, and fix DIY cleaning mistakes with our expert guide.

The internet is flooded with life hacks promising you can effortlessly clean jewelry with baking soda to restore a brilliant, factory-new shine. While sodium bicarbonate is a highly effective, low-cost cleaning agent for specific types of tarnish, it is also responsible for thousands of dollars in ruined finishes, stripped plating, and permanently etched gemstones every year. As jewelry care specialists, we see the aftermath of viral DIY cleaning trends daily. This troubleshooting guide dives deep into the metallurgy and gemology of baking soda solutions, helping you reverse common mistakes and understand exactly when to use this method—and when to step away from the pantry.
The Chemistry of the Baking Soda and Foil Bath
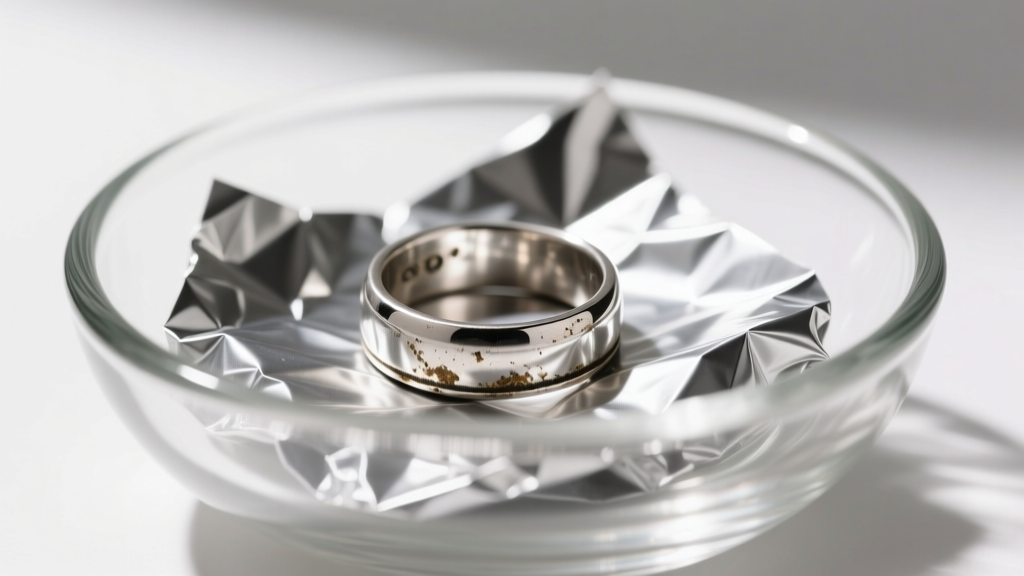
Before troubleshooting a cleaning disaster, you must understand the chemical reaction at play. When you attempt to clean jewelry with baking soda using the popular aluminum foil method, you are not actually "scrubbing" the tarnish away. You are initiating an electrochemical ion exchange.
Silver tarnish is primarily silver sulfide (Ag2S). When sterling silver is placed in a hot solution of water, baking soda (an electrolyte), and aluminum foil, a galvanic cell is created. The aluminum has a higher ionization potential than silver. Consequently, the sulfur atoms are pulled away from the silver and bind to the aluminum, creating aluminum sulfide. The silver is reduced back to its pure, shiny metallic state without any mechanical abrasion. This is a miracle of basic chemistry, but it only works under very specific thermal and chemical conditions.
Troubleshooting Common Baking Soda Cleaning Disasters
If your jewelry looks worse after a DIY baking soda soak or scrub, you have likely triggered one of the following failure modes. Here is how to diagnose and fix the damage.
Disaster 1: Micro-Scratches on Mirror Finishes
The Problem: Your high-polish silver or gold ring now looks cloudy and dull under direct light, covered in microscopic swirl marks.
The Cause: Baking soda has a Mohs hardness of roughly 2.5. Sterling silver sits between 2.5 and 3 on the same scale, while pure 24k gold is even softer (2.5). If you made a thick paste and scrubbed the metal with a cloth or toothbrush, you essentially sanded the jewelry with a mild abrasive.
The Fix: You cannot reverse micro-scratches with more DIY methods. The metal must be professionally repolished using a jeweler's rouge on a buffing wheel to level the microscopic valleys. To prevent this, never use baking soda as a mechanical paste on high-polish precious metals; rely strictly on the liquid electrochemical bath.
Disaster 2: Stripped Intentional Patina
The Problem: Your vintage or artisan silver piece has lost its dark, contrasting antiquing in the crevices, leaving it looking flat and washed out.
The Cause: The electrochemical bath does not discriminate between accidental silver sulfide (tarnish) and intentional oxidation (liver of sulfur patina applied by the jeweler for contrast). The bath stripped the dark finish entirely.
The Fix: The piece must be re-oxidized. A bench jeweler can reapply a liver of sulfur solution and selectively polish the high points to restore the original contrast in a matter of minutes.
Disaster 3: Cloudy Rhodium Plating on White Gold
The Problem: Your white gold ring now has a patchy, slightly yellowish, or chalky appearance.
The Cause: White gold is alloyed with metals like nickel or palladium, which still carry a faint yellow/gray hue. To achieve a bright white finish, it is electroplated with rhodium, a platinum-group metal. This plating is incredibly thin—typically between 0.5 and 1.0 microns. The alkaline nature of baking soda, combined with any physical friction, will wear right through this microscopic layer, exposing the base alloy and causing irreversible dulling.
The Fix: The ring requires professional rhodium re-plating, which typically costs between $40 and $75 depending on the jeweler and the complexity of the setting.
The Danger Zone: Gems That Dissolve or Craz
According to the Gemological Institute of America (GIA), organic and porous gemstones require highly specialized care. Baking soda is a mild alkali (pH of roughly 8.3 in solution), which is enough to cause catastrophic damage to the following materials:
- Pearls and Coral: Composed of calcium carbonate, these organic gems will literally begin to dissolve and lose their nacreous luster when exposed to alkaline solutions. Never submerge pearls in a baking soda bath.
- Opals: Opals contain up to 20% water. Alkaline solutions can become trapped in the stone's microscopic silica spheres, leading to "crazing" (a network of permanent internal fractures) or total color loss.
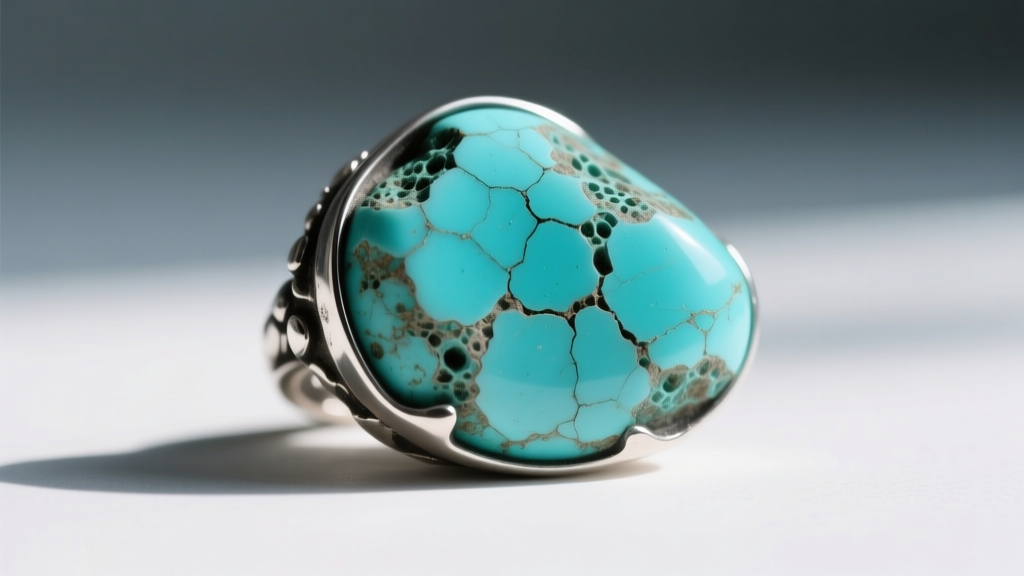
- Turquoise and Lapis Lazuli: These highly porous stones will absorb the baking soda solution, resulting in permanent chalky white stains beneath the surface that cannot be polished out.
The Correct Electrochemical Bath Protocol
If you are cleaning solid sterling silver (without vulnerable gemstones or intentional patina), follow this precise protocol to ensure the ion exchange occurs without thermal shock or residue buildup.
- Preparation: Line a glass or ceramic bowl (never metal) with heavy-duty aluminum foil, shiny side up.
- The Electrolyte: Add 1 tablespoon of baking soda and 1 tablespoon of non-iodized salt per cup of water. The salt increases the electrical conductivity of the solution.
- Thermal Activation: Pour in water heated to exactly 180°F (82°C). Troubleshooting note: Do not use boiling water (212°F), as thermal shock can fracture included diamonds or melt the epoxy used in channel settings and inlay work.
- Submersion: Drop the silver in, ensuring it physically touches the aluminum foil. You will smell sulfur (rotten eggs) and see bubbling. This means the reaction is working.
- Time Limit: Leave for 2 to 5 minutes maximum. Prolonged exposure can cause the aluminum sulfide to redeposit on the silver as a stubborn gray smudge.
Material Compatibility Matrix
Use this quick-reference chart before attempting to clean jewelry with baking soda to avoid irreversible damage to your collection.
| Material / Gemstone | Baking Soda Bath Safe? | Baking Soda Paste Safe? | Expert Troubleshooting Note |
|---|---|---|---|
| Sterling Silver (Plain) | Yes | No (Causes micro-scratches) | Ensure water is 180°F for optimal ion exchange. |
| 14k/18k Yellow Gold | Yes (Mildly) | No | Dish soap is preferred; gold rarely tarnishes heavily. |
| White Gold (Rhodium Plated) | No | No | Alkalinity and friction will strip the 0.5-micron plating. |
| Oxidized / Blackened Silver | No | No | Will strip the intentional liver of sulfur patina. |
| Diamonds (Solitaire) | Yes | Yes (Gently) | Diamonds are Mohs 10; they will not scratch, but grease attracts to them. |
| Pearls / Opals / Turquoise | No | No | Alkalinity dissolves nacre and causes porous stones to craz. |
Neutralizing the Alkali: The Most Skipped Step
The most common reason jewelry quickly re-tarnishes or causes green skin irritation after a DIY cleaning is improper neutralization. Baking soda leaves behind a microscopic alkaline film. If left on the metal, this film acts as a catalyst, accelerating the return of silver sulfide when exposed to ambient humidity.
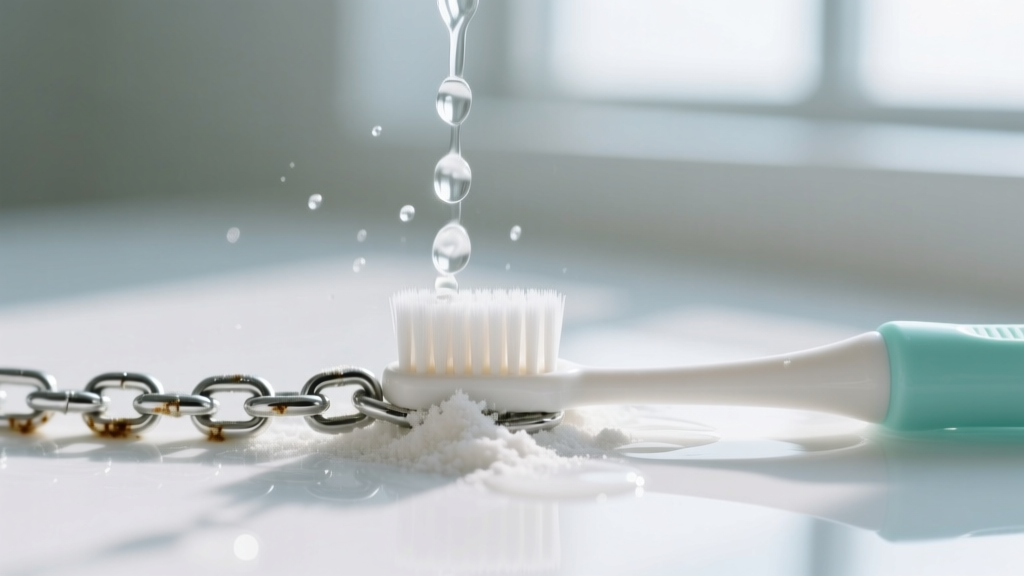
The Troubleshooting Fix: Immediately after removing the jewelry from the bath, rinse it thoroughly under a steady stream of distilled water. Tap water contains dissolved minerals, chlorine, and calcium that will react with the remaining baking soda, leaving a stubborn, chalky white residue in the crevices of your jewelry. After the distilled water rinse, use a clean, lint-free microfiber cloth to dry the piece completely. Moisture trapped under gemstone settings is the primary cause of verdigris (copper corrosion) in sterling silver alloys.
When to Abandon DIY and Seek Professional Care
There is a distinct line between surface tarnish and structural corrosion. If your silver jewelry has black spots that do not lift after a 5-minute electrochemical bath, you are likely looking at "pitting" or deep silver sulfide corrosion, not surface tarnish. Furthermore, if your piece features pavé-set diamonds, tension settings, or heavily fractured emeralds, the thermal expansion from the hot water bath can loosen the adhesives or prongs.
In these scenarios, abandon the baking soda and take the piece to a professional jeweler. A bench jeweler will utilize an ultrasonic cleaner (typically operating at 40 kHz) combined with specialized, pH-neutral enzymatic solutions to safely dislodge grime without risking chemical burns to the metal or thermal shock to the stones. Professional cleanings generally range from $25 to $50, a small price to pay to preserve the structural integrity of a high-value piece.
For more information on safe handling of delicate settings, consult the Rio Grande jewelry supplier guides on bench safety and metal finishing. Ultimately, while it is entirely possible to clean jewelry with baking soda, treating it as a universal cure-all is a recipe for disaster. Respect the Mohs scale, understand your gemstone porosity, and let chemistry do the heavy lifting without the friction.


