The Best Homemade Jewelry Cleaner Recipes for Everyday Jewelry
Discover the best homemade jewelry cleaner recipes for gold, silver, and gems. Learn the chemistry of DIY cleaning and safe protocols.

When your favorite rings lose their luster and necklaces accumulate daily grime, the impulse to reach for a quick fix is strong. However, the internet is flooded with contradictory advice, from abrasive toothpaste pastes to harsh chemical soaks that can permanently damage precious metals and delicate gemstones. Finding the best homemade jewelry cleaner isn't about a single magic potion; it requires understanding the metallurgy of your jewelry and the chemical properties of the cleaning agents you use.
In this comprehensive guide, we break down the exact formulations, chemical reactions, and safety protocols required to clean your jewelry at home without causing micro-scratches, stripping rhodium plating, or dissolving gemstone treatments. Whether you are maintaining a 14k gold wedding band, a sterling silver chain, or a diamond solitaire, these scientifically backed recipes will restore your pieces to their original brilliance.
The Chemistry of DIY Jewelry Cleaning: Why Ingredients Matter
Before mixing any solutions, it is critical to understand why certain popular DIY methods are actually detrimental to your jewelry. Many online guides recommend making a paste out of baking soda and water to scrub gold and silver. While baking soda (sodium bicarbonate) is an excellent cleaner for kitchen surfaces, it ranks at a 9 on the Mohs hardness scale. Pure 24k gold is exceptionally soft (Mohs 2.5), and even alloyed 14k gold only reaches about 3.5 to 4. Scrubbing gold with baking soda creates microscopic abrasions that permanently dull the metal's polish over time.
Similarly, toothpaste contains silica abrasives designed to strip plaque from enamel, which is much harder than precious metals. The true secret to the best homemade jewelry cleaner lies in utilizing surfactants and electrochemical reactions rather than mechanical abrasion. Surfactants lower the surface tension of water, allowing it to penetrate the tiny crevices beneath prongs and gallery wires, lifting sebum, dead skin cells, and cosmetic residues without physical scrubbing.
The Ultimate Best Homemade Jewelry Cleaner Recipes
Different metals and stones require distinct chemical environments. Below are the three most effective, jeweler-approved DIY formulations tailored to specific materials.
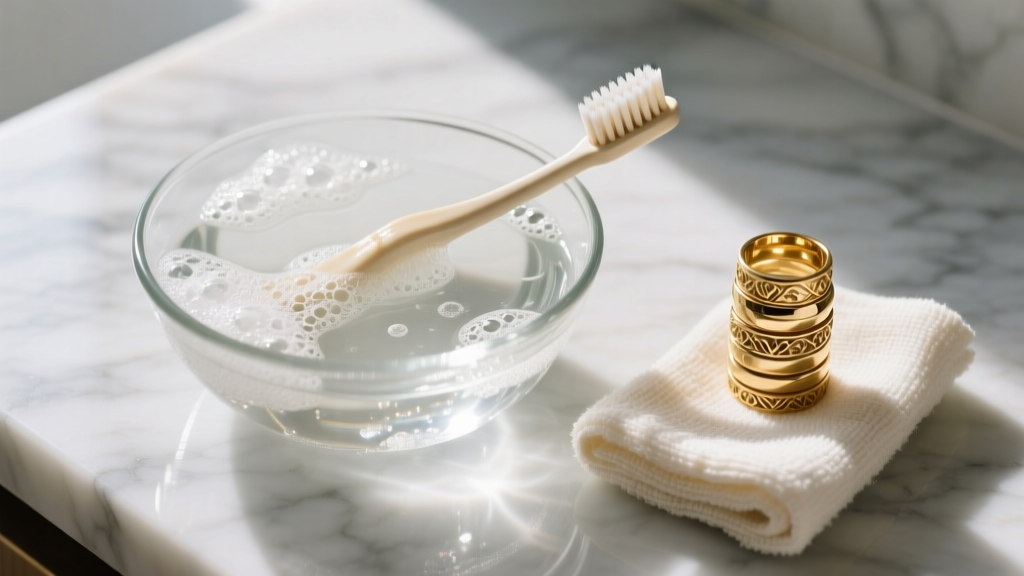
Recipe 1: The Mild Surfactant Bath (For Gold, Platinum, and Diamonds)
This is the safest and most versatile daily cleaner for hard gemstones and precious metals. It relies on degreasing agents rather than abrasives.
- Ingredients: 1 cup of distilled water (heated to exactly 105°F), 3 drops of original blue Dawn Ultra dish soap.
- Why Distilled Water? Tap water contains dissolved calcium and magnesium ions (hardness). When tap water evaporates, it leaves behind mineral deposits that create a cloudy film on diamonds and gold. Distilled water has a 0 PPM (parts per million) mineral content, ensuring a spot-free rinse.
- Why 105°F? Warm water increases the kinetic energy of the surfactant molecules, allowing them to break down lipid-based grime (like lotions and natural skin oils) significantly faster than cold water. However, water that is too hot can cause thermal shock to certain stones.
Recipe 2: The Electrochemical Silver Dip (For Sterling Silver Only)
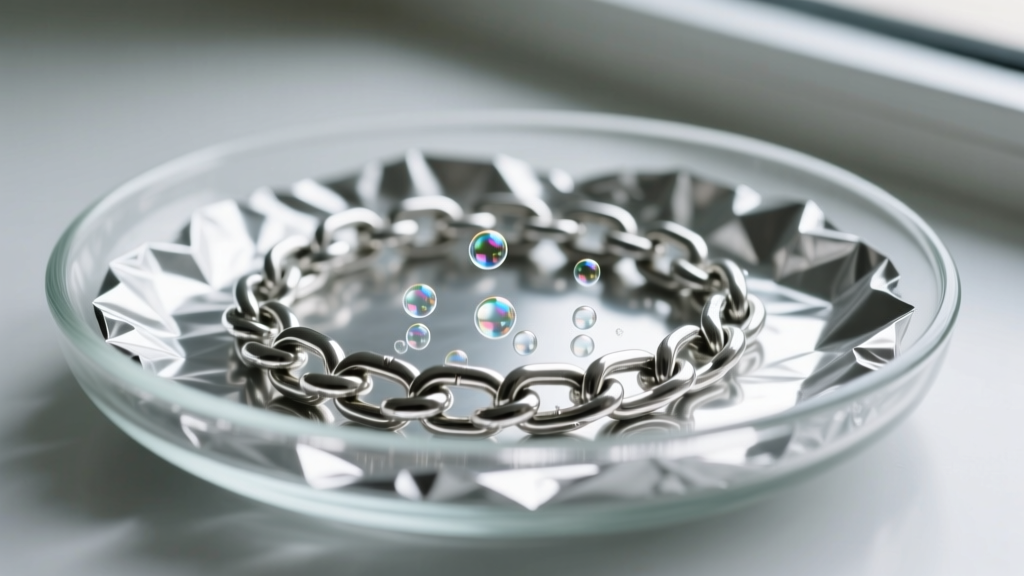
Sterling silver (92.5% silver, 7.5% copper) tarnishes when the copper reacts with sulfur in the air to form copper sulfide, and the silver forms silver sulfide. Polishing cloths remove this layer mechanically, taking a tiny bit of silver with it every time. The best homemade jewelry cleaner for silver uses a redox (reduction-oxidation) reaction to convert the silver sulfide back into pure silver without removing any metal.
- Ingredients: 1 cup boiling water, 1 tablespoon sodium bicarbonate (baking soda), 1 tablespoon sea salt, a glass dish lined with heavy-duty aluminum foil (shiny side up).
- The Protocol: Place the silver jewelry in the dish so it physically touches the aluminum foil. Pour the boiling water over the jewelry, then add the baking soda and salt. You will immediately see bubbling and smell a faint sulfur (rotten egg) odor. This is the sulfur transferring from the silver to the aluminum. After 3 to 5 minutes, remove with wooden tongs and rinse thoroughly.
Recipe 3: The Ammonia Degreaser (For Heavy Grime on Hard Stones)
For diamonds and platinum that have accumulated years of heavy, hardened grime, a mild ammonia solution can restore exceptional brilliance. Ammonia is highly effective at cutting through silicone-based makeup and heavy oils.
- Ingredients: 1/2 cup clear household ammonia, 1 cup cold distilled water.
- Warning: Never use ammonia on porous stones (pearls, opals, turquoise), fracture-filled diamonds, or silver, as it will cause severe discoloration and structural damage. This solution is strictly for high-clarity diamonds, rubies, sapphires, and platinum settings.
Gemstone Safety Matrix: What to Avoid
The efficacy of the best homemade jewelry cleaner is entirely dependent on the gemstones present in your setting. According to the Gemological Institute of America (GIA), treating all gems with a universal cleaner is the leading cause of consumer jewelry damage. Use the matrix below to verify your stone's safety profile before soaking.
| Gemstone | Mohs Hardness | Porosity / Treatments | Safe DIY Cleaners | Strictly Avoid |
|---|---|---|---|---|
| Diamond | 10 | Low / Fracture-filled | Surfactant, Ammonia | Ammonia (if fracture-filled) |
| Emerald | 7.5 - 8 | High / Cedar Oil Resin | Damp Microfiber Only | All Soaks, Ultrasonics, Steam |
| Opal | 5.5 - 6.5 | High / Water Content | Damp Microfiber Only | All Soaks, Heat, Ammonia |
| Pearl | 2.5 - 4.5 | High / Organic Calcium | Damp Microfiber Only | Acids, Ammonia, Surfactants |
| Sapphire | 9 | Low / Heat Treated | Surfactant, Ammonia | Extreme Thermal Shock |
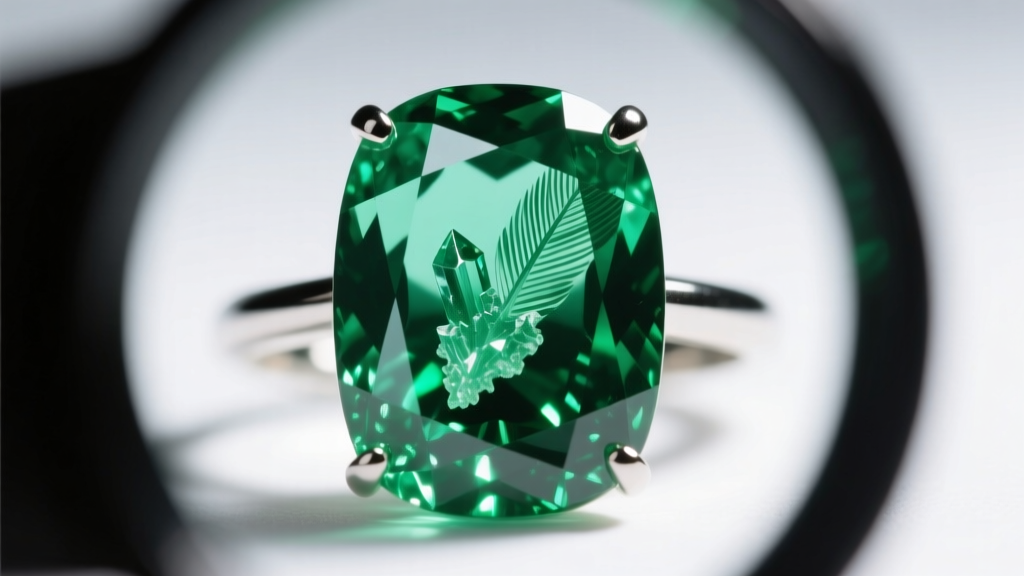
As noted by GIA's Emerald Care Guidelines, nearly all commercial emeralds are treated with oils or resins to mask surface-reaching fissures. Soaking an emerald in warm soapy water or ammonia will strip this oil, leaving the stone looking heavily fractured and cloudy. Always wipe emeralds gently with a damp, lint-free cloth.
Step-by-Step Application and Rinsing Protocols
Even the perfect chemical solution will fail if the mechanical application is flawed. Follow these professional protocols to ensure a safe, thorough clean.
- Pre-Inspection: Before submerging any jewelry, use a 10x jeweler's loupe to inspect the prongs and gallery. If a prong is lifted or a stone is loose, soaking the piece can cause the gemstone to dislodge and wash down the drain. Secure the stone professionally first.
- The Soak: Submerge the jewelry in the chosen solution for 15 to 20 minutes. Do not exceed 30 minutes, especially for pieces with porous semi-precious stones or glued settings.
- Agitation: Use an ultra-soft baby toothbrush (look for bristles rated 0.12mm or finer). Gently sweep the bristles across the back of the setting (the pavilion) where lotion and dead skin accumulate. Never scrub the top (crown) of a soft gemstone; only sweep the metal.
- The Rinse: Rinse the piece under a gentle stream of distilled water. If using tap water, ensure the drain is securely plugged with a mesh strainer.
- Drying: Never use paper towels or tissues to dry jewelry. The wood pulp fibers in paper products are abrasive enough to micro-scratch high-polish gold and platinum. Instead, use a clean, lint-free optical microfiber cloth to gently pat the piece dry, followed by a blast of compressed air to remove water droplets from beneath the prongs.
When to Abandon DIY and Seek Professional Ultrasonic Cleaning
While the best homemade jewelry cleaner can maintain your pieces between professional visits, it cannot replicate the cavitation power of a commercial ultrasonic cleaner. Professional jewelers use ultrasonic machines operating at specific frequencies (typically 40kHz for heavy grime removal and 80kHz for delicate, detailed filigree work) combined with heated, specialized alkaline solutions.
You must bypass DIY methods and seek professional care if your jewelry exhibits the following failure modes:
- Fracture-Filled Diamonds: Diamonds treated via the Yehuda process contain microscopic glass-like resins in their fissures. Both homemade ammonia and professional ultrasonics can cloud or dissolve this filler, ruining the stone's clarity.
- Pave Settings with Epoxy: Many modern micro-pave settings rely on tiny beads of metal and sometimes structural epoxy to hold sub-1mm diamonds. Prolonged soaking in hot water or harsh surfactants can degrade the adhesive, leading to massive stone loss.
- Heavy Tarnish in Crevices: If the electrochemical silver dip fails to remove tarnish from deep, oxidized filigree grooves, a jeweler will need to use a magnetic tumbler or specialized ultrasonic cavitation to reach the recessed metal without polishing away the intricate details.
Expert Insight: The hallmark of excellent jewelry maintenance isn't aggressive cleaning; it's consistent, gentle care. By utilizing the correct surfactant baths and respecting the electrochemical needs of sterling silver, you preserve the structural integrity and polish of your metals for decades. Reserve harsh interventions for professionals, and let the chemistry of mild, targeted DIY solutions do the heavy lifting at home.


