How Can You Clean Jewelry at Home? An Expert's Guide
Learn how can you clean jewelry at home safely. An expert deep dive into the chemistry of DIY cleaners, metal alloys, and gemstone porosity.

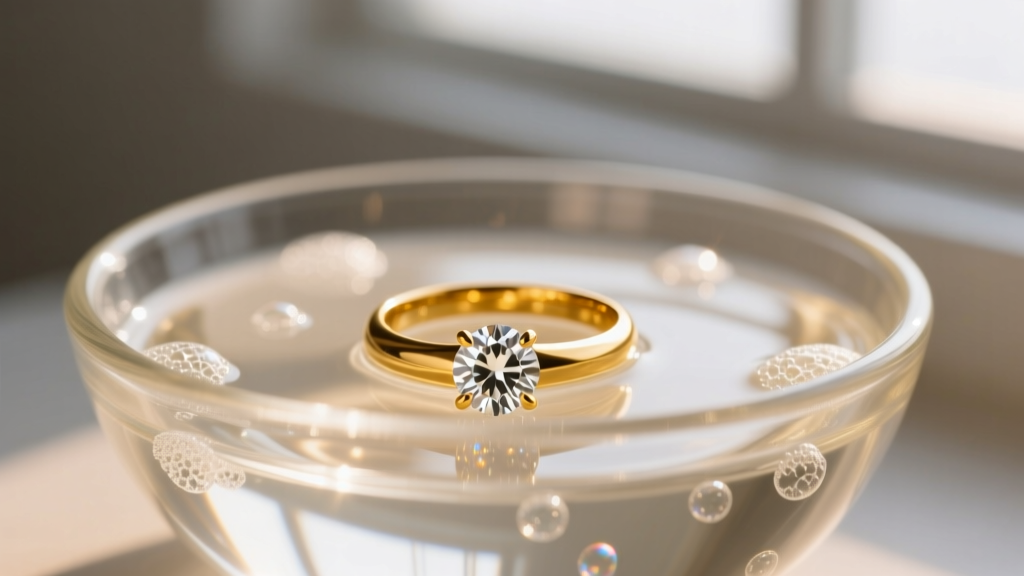
When searching for how can you clean jewelry at home, most search results offer superficial, potentially damaging advice. As a gemological and metallurgical enthusiast, I approach jewelry care not as a simple household chore, but as applied chemistry. Your jewelry is a complex matrix of metallic alloys and crystalline structures, each with specific vulnerabilities to pH levels, abrasives, and thermal shock. This guide bypasses the fluff and dives deep into the material science of home cleaning, ensuring your pieces remain structurally sound and optically brilliant.
The Chemistry of Home Cleaning Agents
To clean jewelry effectively, we must first understand the chemical mechanics of the agents sitting in your pantry. DIY cleaners generally fall into three categories: surfactants, abrasives, and acids.
Surfactants (The Safe Standard)
Mild dish soaps (like Dawn Ultra, pH ~7.5) rely on non-ionic surfactants. These molecules possess a hydrophilic (water-loving) head and a lipophilic (oil-loving) tail. When you soak a diamond ring in soapy water, the lipophilic tails attach to the sebum, lotion, and skin oils trapping dirt against the pavilion facets. The surfactants form microscopic structures called micelles, encapsulating the oil and lifting it away from the metal and gemstone without requiring mechanical friction.
Abrasives (The Silent Destroyers)
Baking soda (sodium bicarbonate) and toothpaste are heavily promoted online, yet they are metallurgical hazards. Baking soda registers at 2.5 on the Mohs hardness scale. While this seems soft, pure 24k gold also sits at 2.5 to 3. Toothpaste contains hydrated silica (Mohs 3 to 4). When you scrub a high-polish 18k gold band with a baking soda paste, you are essentially sanding it. Over time, this creates micro-scratches that diffuse light, permanently dulling the mirror finish and accelerating future tarnish by increasing the metal's surface area.
Acids (The Corrosion Risk)
Vinegar (acetic acid) and lemon juice (citric acid) are often recommended for removing tarnish. However, prolonged exposure to acids can cause galvanic corrosion in multi-metal settings and degrade the zinc and copper alloys present in 10k and 14k gold, leading to a structural weakness known as dezincification.
Metallurgical Vulnerabilities: Why Alloys Matter
Pure gold is too soft for daily wear, which is why it is alloyed with copper, silver, zinc, and nickel. The exact ratio dictates how the metal reacts to home cleaning solutions.
The Sterling Silver Tarnish Mechanism
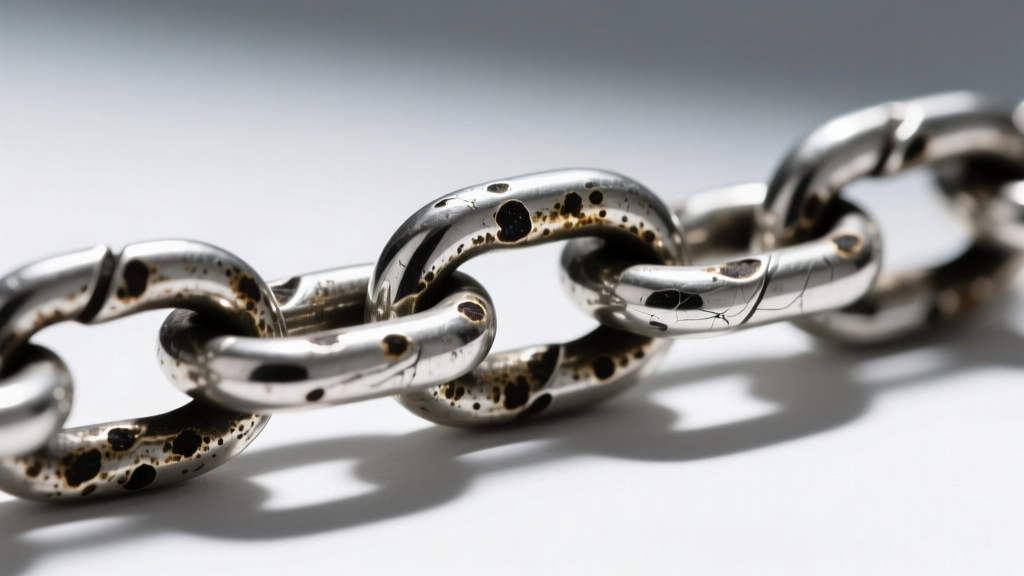
Sterling silver is 92.5% silver and 7.5% copper. Tarnish is not dirt; it is silver sulfide ($Ag_2S$), a chemical reaction between the copper/silver alloy and sulfur compounds in the air. Scrubbing tarnish with a polishing cloth or baking soda physically removes a microscopic layer of the silver itself. According to the Gemological Institute of America (GIA), the superior method for heavy silver tarnish is an electrochemical reduction bath.
The Electrochemical Silver Bath: Line a glass bowl with aluminum foil (shiny side up). Add 1 tablespoon of baking soda and a pinch of salt. Pour in boiling water to dissolve the electrolytes. Submerge the silver so it physically touches the aluminum. The sulfur ions migrate from the silver to the aluminum, reverting the silver sulfide back to pure silver without removing any metal mass.
White Gold and Rhodium Depletion
White gold is naturally a pale yellow alloy. It achieves its bright white appearance through a microscopic plating of rhodium (a platinum group metal). Harsh DIY chemicals, ultrasonic heat, and abrasive pastes will strip this rhodium layer in months rather than years, exposing the yellowish alloy beneath and necessitating a $50 to $150 professional replating.
Gemstone Porosity and Cleavage Planes
The Mohs hardness scale only measures scratch resistance, not toughness or chemical stability. Understanding a gemstone's crystal habit and porosity is critical when determining how can you clean jewelry at home without causing catastrophic failure.
Diamonds: Hard but Brittle
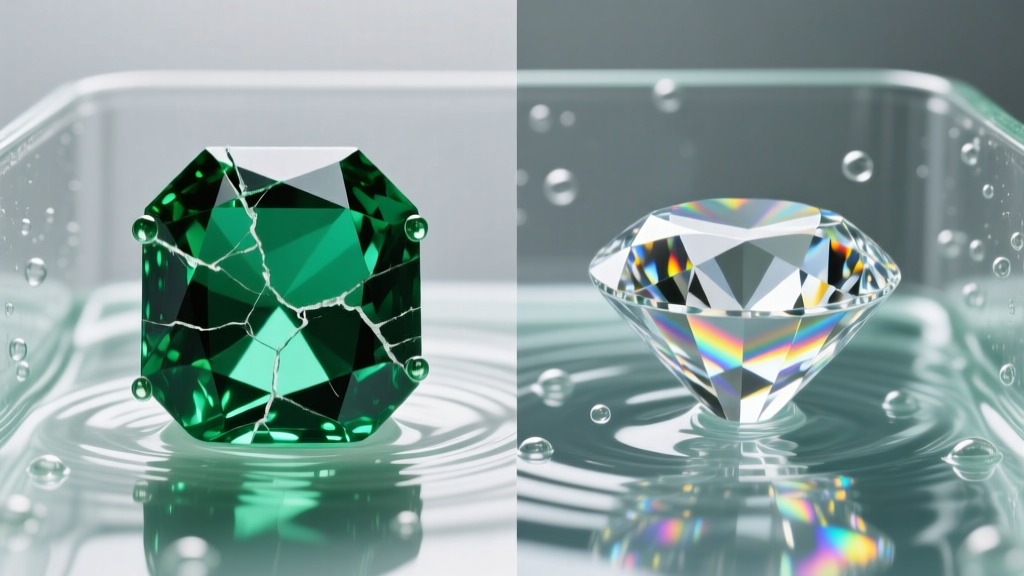
Diamonds rank a 10 on the Mohs scale but possess perfect octahedral cleavage. This means a sharp blow, or the high-frequency cavitation bubbles in an ultrasonic cleaner, can split a diamond along its internal grain if it has existing tension or feather inclusions.
Emeralds and Opals: The Porous Danger Zone
Nearly all commercial emeralds are treated with cedar oil or synthetic resins to mask surface-reaching fissures. Hot water, dish soap, and ultrasonic vibrations will dissolve this oil, leaving the emerald looking heavily fractured and cloudy. Opals contain 3% to 21% water within their silica structure. Submerging opals in water or exposing them to heat can cause "crazing"—a network of internal cracks that destroys the stone's play-of-color. The Jewelers of America strictly advises against liquid immersion for these gemstones.
Compatibility Matrix: Metals, Gems, and DIY Solutions
Use this technical matrix to cross-reference your jewelry's composition before applying any home cleaning method.
| Material | Safe DIY Method | Fatal DIY Mistake | Scientific Reason |
|---|---|---|---|
| 14k/18k Yellow Gold | Mild surfactant soak | Baking soda paste | Abrasives cause micro-scratching on high-polish alloys. |
| Sterling Silver | Aluminum foil electrolyte | Toothpaste scrubbing | Hydrated silica removes silver mass and ruins oxidized detailing. |
| Diamond (No inclusions) | Surfactant + soft brush | Chlorine bleach | Chlorine causes stress-corrosion cracking in gold prong settings. |
| Emerald / Jade | Dry microfiber wiping | Ultrasonic / Dish Soap | Surfactants strip fracture-filling oils; ultrasonics shatter inclusions. |
| Pearls / Coral | Damp cloth only | Vinegar / Lemon juice | Calcium carbonate dissolves rapidly in acidic environments. |
Step-by-Step: The Safe Surfactant Protocol
For durable metals and non-porous gemstones (Diamonds, Sapphires, Rubies), this is the metallurgically safe protocol for home maintenance.
- Prepare the Solution: Mix 1 cup of distilled water (tap water contains chlorine and hard minerals) heated to 95°F (35°C) with three drops of pH-neutral, non-moisturizing dish soap.
- The Soak: Submerge the jewelry for exactly 15 minutes. This allows the micelles to break down the lipid bonds of skin oils.
- Mechanical Agitation: Use an extra-soft baby toothbrush (never a standard adult brush, as the nylon bristles are too stiff and can loosen micro-pave settings). Brush gently from the pavilion (bottom) of the stone upward.
- The Rinse: Rinse under a gentle stream of lukewarm distilled water. Ensure the drain is securely plugged.
- Drying: Use a lint-free microfiber cloth. Avoid paper towels, as wood pulp fibers can cause microscopic abrasions on soft metals like 22k gold.
When to Abandon DIY and Seek Professional Help
Home cleaning is for maintenance, not restoration. You must cease DIY efforts and consult a bench jeweler if you observe any of the following failure modes:
- Prong Deflection: If the metal claws holding your gemstone are flattened or catching on fabrics, cleaning will not help. The prongs require professional laser welding or re-tipping.
- Internal Stone Clouding: If a diamond remains cloudy after a thorough surfactant soak, the oil or dirt is trapped beneath a loose setting, or the stone has suffered internal structural damage.
- Rhodium Wear: If your white gold is turning yellow at the base of the shank, no amount of cleaning will restore the color. It requires professional polishing and rhodium electroplating.
Understanding the material science behind your jewelry transforms cleaning from a guessing game into a precise preservation technique. By respecting the chemistry of your alloys and the crystallography of your gemstones, you ensure your pieces survive for generations.


