How to Remove Tarnish from Jewelry Without Damaging Gems
Learn how to remove tarnish from jewelry safely. Step-by-step guide for silver, copper, and brass using electrochemical and gentle polishing methods.

The Chemistry of Tarnish: Why Metals Darken
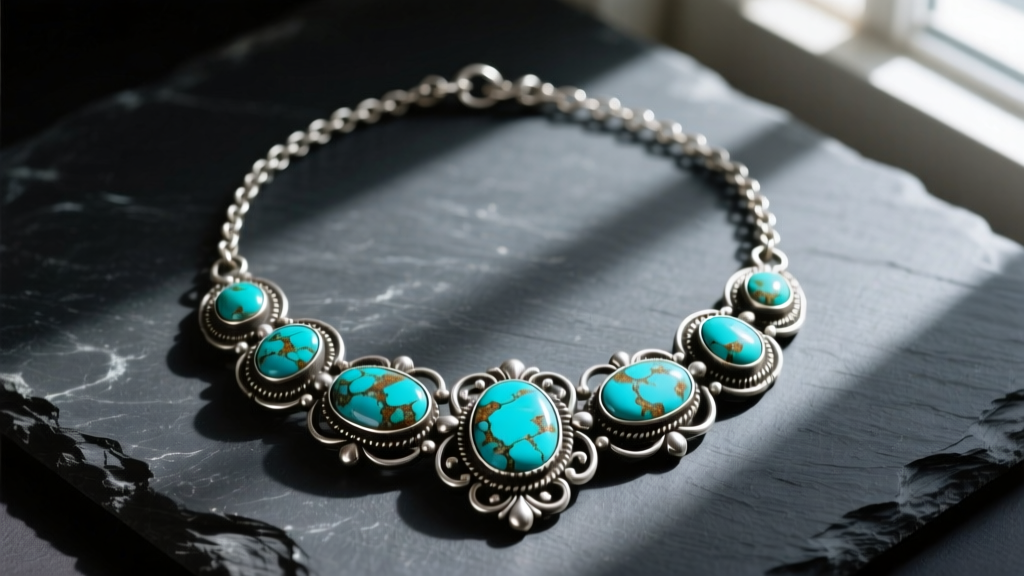
Before you attempt to remove tarnish from jewelry, it is critical to understand the chemical process occurring on the metal's surface. Tarnish is not dirt; it is a chemical reaction. Sterling silver (92.5% silver, 7.5% copper) reacts with hydrogen sulfide (H2S) in the atmosphere to form silver sulfide (Ag2S), which presents as a yellow, brown, or black film. Copper and brass, on the other hand, react with oxygen and moisture to form copper oxide and eventually copper carbonate, known as verdigris.
Understanding this distinction is vital because the method used to remove silver sulfide will not effectively remove copper oxide, and vice versa. Furthermore, aggressive removal techniques can permanently alter the surface topography of your pieces. According to the Gemological Institute of America (GIA), improper cleaning is one of the leading causes of irreversible damage to both antique metals and delicate gemstone inlays.
The Electrochemical Bath: Reversing Silver Sulfide
For solid sterling silver and fine silver (99.9%), the most effective and non-abrasive way to remove tarnish from jewelry is through electrochemical reduction. Unlike polishing, which physically removes a microscopic layer of silver along with the tarnish, this method converts the silver sulfide back into pure silver without sacrificing any base metal.
Step-by-Step Instructions
- Prepare the Vessel: Line the bottom and sides of a heat-safe glass or ceramic bowl with heavy-duty aluminum foil, shiny side up. The aluminum acts as the sacrificial anode in this galvanic cell.
- Add the Electrolyte: Sprinkle 1 tablespoon of baking soda (sodium bicarbonate) and 1 tablespoon of non-iodized salt (sodium chloride) per cup of water into the bowl. The salt increases the ionic conductivity of the solution.
- Introduce Heat: Carefully pour boiling water (100°C) into the bowl to dissolve the powders. You will see immediate bubbling as carbon dioxide is released.
- Submerge the Jewelry: Using wooden or plastic tongs (never metal, which will short-circuit the reaction), lower your silver jewelry into the solution. Ensure the silver is physically touching the aluminum foil.
- Monitor the Reaction: Leave the piece in the bath for 1 to 3 minutes. You will notice a distinct sulfur (rotten egg) odor as the silver sulfide breaks down and the sulfur bonds with the aluminum.
- Rinse and Dry: Remove the jewelry, rinse thoroughly under warm distilled water to halt the alkaline reaction, and pat dry with a lint-free microfiber cloth.
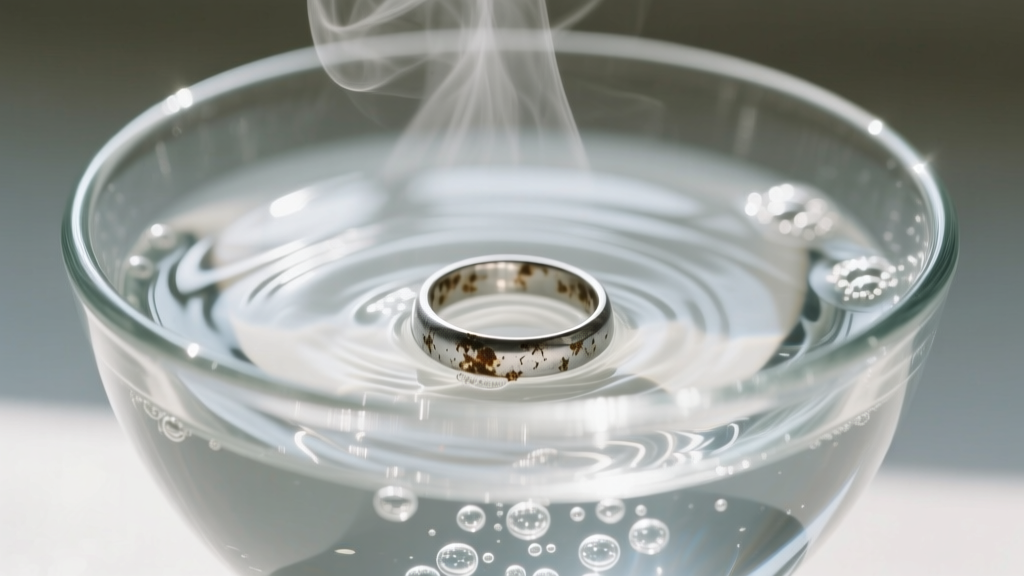
Warning: This method is strictly for plain silver chains, bands, and solid metal components. Never use this bath for jewelry with glued-in stones, hollow beads, or intentional oxidation (patina).
Material Restrictions: When to Avoid the Bath
While the aluminum foil method is a miracle for plain silver, it is highly destructive to many common jewelry materials. The extreme heat and high pH (alkalinity) of the baking soda bath will cause irreversible damage to porous and organic gems.
| Material / Gemstone | Reaction to Electrochemical Bath | Safe Alternative for Tarnish Removal |
|---|---|---|
| Pearls (Natural & Cultured) | Dissolves nacre, destroys luster, melts glue | Damp microfiber cloth, mild soap only |
| Opals (Solid & Doublets) | Causes thermal shock, crazing, and delamination | Professional jeweler ultrasonic avoidance, dry polish |
| Turquoise & Lapis Lazuli | Alters color, degrades porous matrix | Q-tip with mild dish soap, avoid metal contact |
| Oxidized Sterling Silver | Strips intentional black patina from recesses | Gentle rubbing with a treated polishing cloth |
| Plated Jewelry (Gold/Rhodium) | Can strip microscopic plating layers if left too long | Warm soapy water, zero abrasion |
The Ultrasonic Misconception: Soundwaves vs. Chemical Bonds
A frequent question in jewelry care is whether ultrasonic cleaners can remove tarnish. The short answer is no. Ultrasonic machines operate at frequencies around 40kHz, creating microscopic cavitation bubbles that dislodge physical debris like sebum, lotion, and dust. However, these soundwaves do absolutely nothing to break the chemical bonds of silver sulfide or copper oxide.
Using an ultrasonic cleaner on tarnished jewelry will simply result in a piece that is perfectly clean of dirt, but still completely black. Where ultrasonics do shine is in the post-polish phase. After you have mechanically removed tarnish using a polishing compound, an ultrasonic bath is the most effective way to blast away stuck jeweler's rouge from under gemstone prongs and deep filigree recesses.
Mechanical Polishing: Tackling Copper and Brass
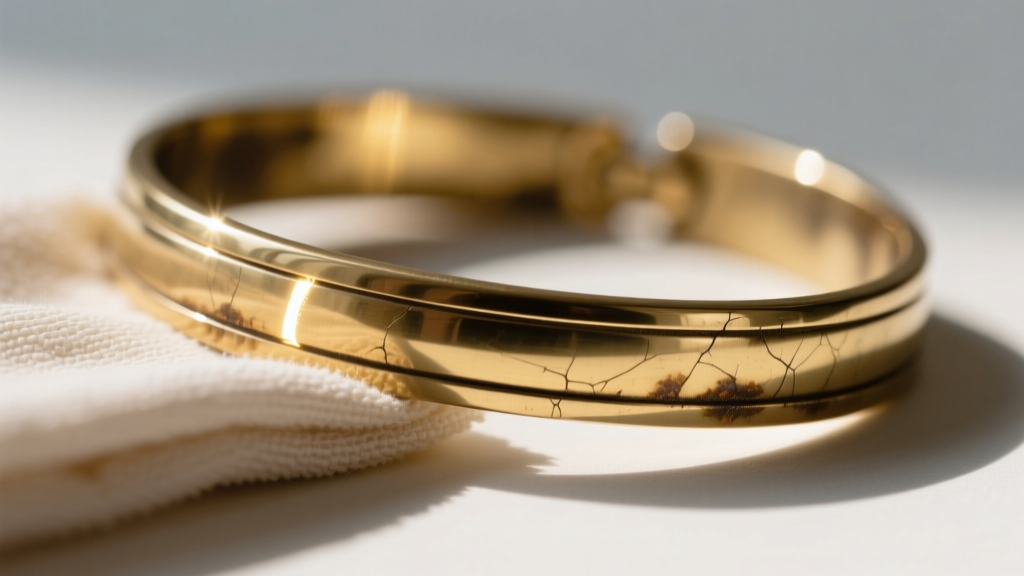
Because copper and brass tarnish (copper oxide) does not respond to the aluminum electrochemical swap, you must rely on mechanical removal or mild acidic chelation. Brass and copper jewelry often develop a dark, mottled patina that requires physical abrasion to restore the bright, reflective surface.
The Treated Cloth Method
For routine maintenance, a jeweler's treated polishing cloth (such as the Sunshine Cloth) is the gold standard. These cloths are impregnated with microscopic abrasive compounds and anti-tarnish agents.
- Technique: Use long, linear strokes rather than tight circular motions to avoid creating visible micro-scratches on high-polish finishes.
- Pressure: Apply moderate pressure. The cloth will turn black—this is normal and indicates the tarnish and spent polishing compound are transferring from the metal to the fabric.
- Limitations: Do not use treated cloths on matte, brushed, or sandblasted finishes, as the mild abrasives will inadvertently polish the textured recesses, ruining the contrast.
Chemical Dips: The Last Resort for Intricate Silver
When dealing with highly intricate silver filigree or heavy chainmaille where cloths cannot reach and the electrochemical bath is impractical, commercial silver dips are an option. These liquid solutions rely on thiourea and mild acids to instantly dissolve silver sulfide.
According to conservation guidelines from the Tiffany & Co. Jewelry Care archives, chemical dips should be used sparingly. They strip the metal of its natural protective oils and can leave a dull, matte finish if overused.
How to Use Silver Dip Safely
- Submerge the piece for exactly 10 to 15 seconds. Never exceed 30 seconds.
- Remove and immediately rinse under copious amounts of lukewarm water. Any residual acid left in the crevices will cause rapid, severe re-tarnishing and pitting within 48 hours.
- Neutralize the surface by washing gently with a pH-neutral dish soap to ensure all thiourea residue is gone.
- Dry completely with a hair dryer on a cool setting to prevent water spots in the filigree.
Preventative Storage: Halting the Oxidation Clock
Once you successfully remove tarnish from jewelry, the goal shifts to prevention. Silver sulfide formation requires hydrogen sulfide and moisture. By controlling the micro-environment of your storage, you can delay re-tarnishing by years.
- Anti-Tarnish Strips: Place 3M anti-tarnish strips in your jewelry boxes. These strips contain copper particles that act as a sacrificial metal, absorbing H2S gas before it reaches your silver. Replace them every 6 months.
- Pacific Silvercloth: For high-value pieces, wrap them in Pacific Silvercloth. This specialized cotton fabric is embedded with microscopic silver particles that capture tarnish-causing gases.
- Humidity Control: Store jewelry in a room where relative humidity (RH) is maintained below 50%. Include silica gel desiccant packets in airtight Ziploc bags to absorb ambient moisture, which acts as a catalyst for both silver and copper oxidation.
"The most effective jewelry care routine is not about how well you clean, but how meticulously you store. A stable, low-humidity environment with active gas-absorbing materials will render aggressive polishing entirely unnecessary." — Master Bench Jeweler Protocols, 2025 Edition.
By selecting the correct removal method based on your specific metal alloy and gemstone inclusions, you preserve the structural integrity and historical value of your collection while keeping it brilliantly luminous.


