How to Get Rid of Tarnish on Jewelry: A Metallurgist's Guide
Learn how to get rid of tarnish on jewelry based on metal properties. Expert protocols for silver, copper, brass, and gold alloys.

The Chemistry of Tarnish: Why Metals React
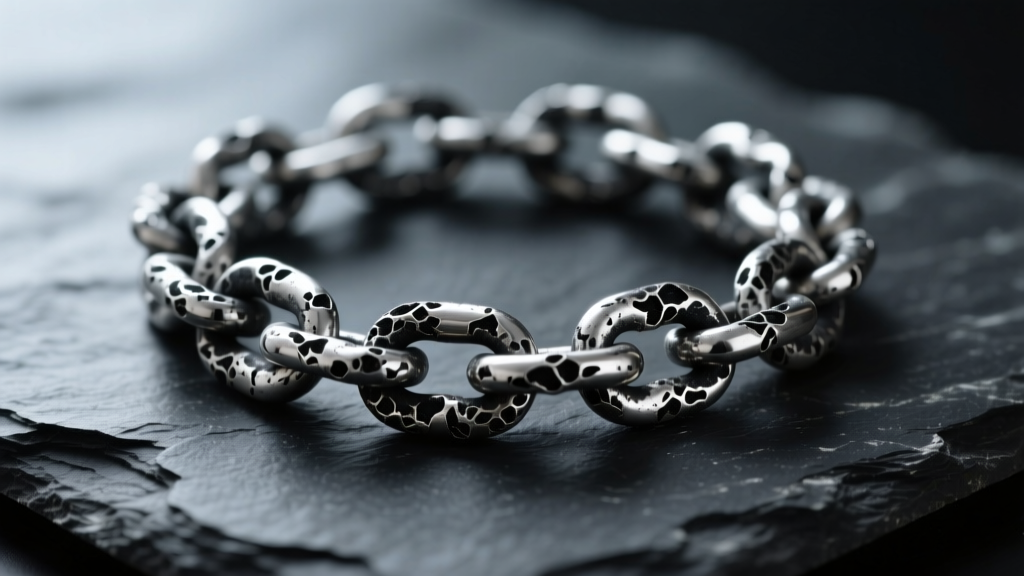
When researching how to get rid of tarnish on jewelry, most generic guides suggest a universal paste or a quick wipe with a cloth. However, as a metallurgist, I can tell you that treating all tarnished metals the same is a recipe for irreversible damage. Tarnish is not simply 'dirt'; it is a chemical transformation of the metal's surface layer. To effectively remove it, you must understand the specific oxidation or sulfidation process affecting your piece.
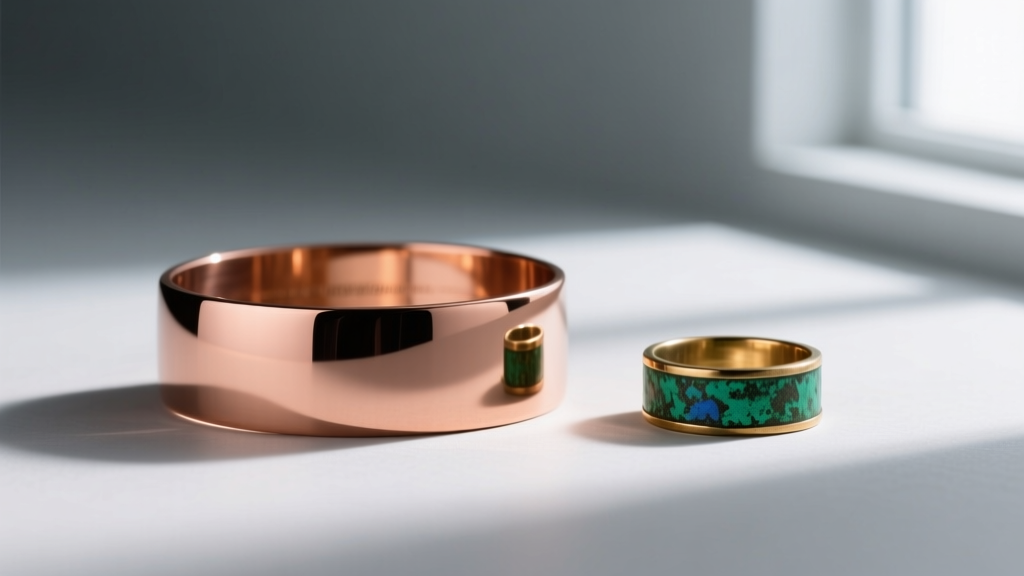
Sterling silver (92.5% silver, 7.5% copper) does not tarnish from oxygen. Instead, it reacts with hydrogen sulfide (H2S) in the atmosphere to form silver sulfide (Ag2S), a blackish-purple compound that appears black in thick layers. Copper and brass, on the other hand, react with oxygen and moisture to form copper oxide (Cu2O), which presents as a dull brown, and eventually copper carbonate (CuCO3), the familiar green 'verdigris.' Gold alloys (10k and 14k) contain enough base metals like copper and silver to develop a superficial tarnish film, though it is far less aggressive than silver sulfide.
Understanding these distinct chemical compounds is the first step in selecting the correct removal protocol. Using an abrasive on silver sulfide will scratch the soft silver, while using an electrochemical bath on copper oxide will yield zero results. Let us break down the material properties and the exact methodologies required to restore your jewelry safely.
Material Comparison: Tarnish Profiles & Removal Protocols
Before applying any chemical or mechanical action, identify your metal. The table below outlines the specific tarnish compounds, their environmental triggers, and the safest removal category for each common jewelry metal.
| Metal / Alloy | Tarnish Compound | Primary Trigger | Safe Removal Method |
|---|---|---|---|
| Sterling Silver (925) | Silver Sulfide (Ag2S) | Atmospheric H2S, humidity, cosmetics | Electrochemical Reduction |
| Fine Silver (999) | Silver Sulfide (Ag2S) | Atmospheric H2S (slower rate) | Electrochemical Reduction |
| Copper | Copper Oxide (Cu2O) | Oxygen, moisture, skin acids | Mild Acid Chelation |
| Brass (Cu/Zn) | Copper/Zinc Carbonate | CO2, moisture, chlorides | Mild Acid Chelation |
| 10k / 14k Gold | Mixed Oxides/Sulfides | Chlorine, sulfur, lotions | Surfactant Emulsification |
| Platinum / Palladium | None (Patina only) | Mechanical micro-scratches | Mechanical Polishing |
For a deeper dive into the chemical stability of precious metals, the Gemological Institute of America (GIA) provides excellent baseline guidelines on how different alloys interact with everyday chemicals. Furthermore, the Canadian Conservation Institute offers exhaustive data on the thermodynamics of silver sulfidation and optimal storage environments.
How to Get Rid of Tarnish on Jewelry: Step-by-Step Protocols
Now that we have mapped the chemistry, we can apply the correct physical and chemical interventions. Below are the three primary protocols used in professional conservation and high-end jewelry care.
Protocol A: Electrochemical Reduction for Sterling Silver (925)
This method reverses the chemical reaction that caused the tarnish, converting silver sulfide back into elemental silver without removing any base metal. It is vastly superior to abrasive polishing pastes, which strip away microscopic layers of silver along with the tarnish.
- Line a glass or ceramic bowl with aluminum foil, shiny side up. The aluminum will act as the sacrificial anode.
- Place your silver jewelry in direct physical contact with the foil.
- Boil water and pour it into the bowl until the jewelry is submerged. The water must be near 190°F (88°C) to catalyze the reaction.
- Add 1 tablespoon of baking soda (sodium bicarbonate) and 1 tablespoon of sea salt per cup of water. This creates the electrolyte solution.
- Allow the piece to sit for 5 to 10 minutes. You will smell a faint sulfur (rotten egg) odor as the sulfur bonds migrate from the silver to the aluminum.
- Remove with wooden or plastic tongs, rinse thoroughly in distilled water, and dry with a microfiber cloth.
Warning: Never use this method on intentionally oxidized silver (where blackened crevices are part of the design) or on pieces set with porous gemstones, as the heat and alkalinity will destroy them.
Protocol B: Mild Acid Chelation for Copper and Brass
Copper and brass require an acidic environment to dissolve the oxidized layer. Commercial brass cleaners often contain harsh ammonia or strong mineral acids that can cause 'dezincification' in brass, leaving behind a weak, porous copper sponge on the surface.
- Create a paste using fresh lemon juice (citric acid) and fine non-iodized table salt (sodium chloride). The salt acts as a mild abrasive and a catalyst for the acid.
- Apply the paste using a soft silicone brush, working it gently into the crevices of the copper or brass jewelry.
- Let it sit for no more than 3 to 5 minutes. Prolonged acid exposure can etch the bare metal.
- Rinse immediately under warm running water and neutralize any residual acid by rinsing with a weak baking soda/water solution.
- Dry completely and apply a micro-crystalline wax (like Renaissance Wax) to seal the surface from oxygen.
Protocol C: Surfactant Emulsification for Low-Karat Gold
10k and 14k gold alloys do not form thick sulfide layers, but they do accumulate a film of oxidized base metals mixed with sebum and cosmetics. Abrasives are unnecessary and will ruin the polish.
- Mix a few drops of a high-quality, non-ionic dish surfactant (like Dawn Platinum) into a bowl of warm distilled water.
- Submerge the gold jewelry for 15 minutes to loosen the lipid bonds.
- Gently agitate the water and use an ultra-soft baby toothbrush to sweep away emulsified debris from under the prongs and settings.
- Rinse in clean distilled water and blow dry with compressed air to prevent water spots.
Gemstone Interactions: When Tarnish Removal Goes Wrong
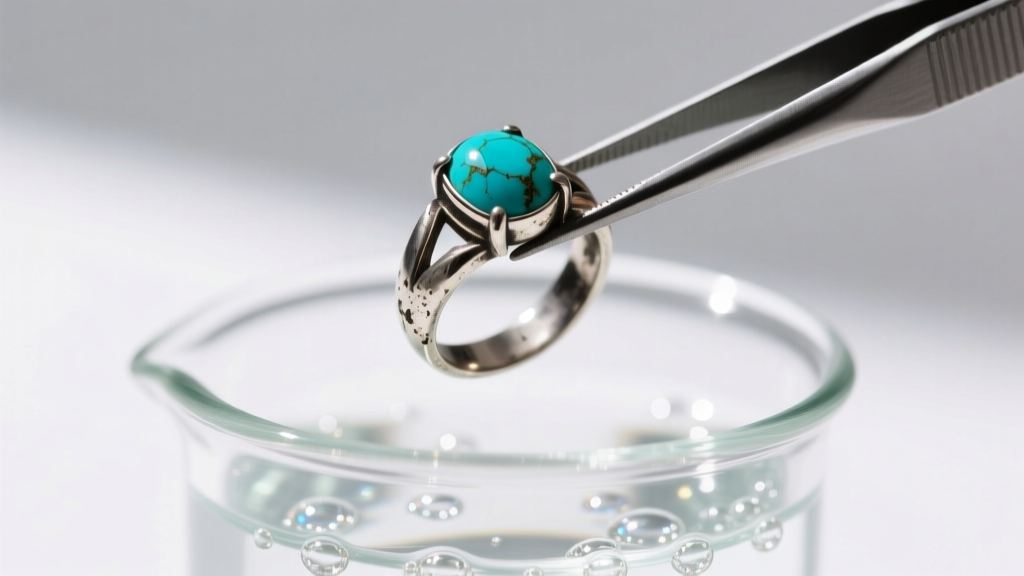
The most catastrophic failures in jewelry cleaning occur when the metal's cleaning protocol is incompatible with the inset gemstone. When figuring out how to get rid of tarnish on jewelry featuring stones, you must always defer to the most fragile component of the piece.
The Mohs Hardness & Porosity Rule: Any gemstone below a 7 on the Mohs scale, or any stone that is naturally porous, must be removed from the setting before chemical or electrochemical cleaning. If removal is impossible, the jewelry must be cleaned manually using a localized, dry polishing method.
- Turquoise & Lapis Lazuli: Highly porous. The alkaline electrolyte bath used for silver will permanently discolor turquoise and dissolve the calcite matrix in lapis lazuli.
- Opals & Pearls: Opals contain up to 20% water; heat and chemicals will cause them to craze (crack). Pearls are calcium carbonate and will instantly dissolve in the acidic chelation baths used for copper and brass.
- Emeralds: Almost always fracture-filled with cedar oil or synthetic resins. Ultrasonic cleaners and harsh surfactants will strip the oil, leaving the stone looking white and heavily fractured.
For jewelry featuring these sensitive stones, use a dry, treated silver polishing cloth (impregnated with micro-abrasives and anti-tarnish agents) and carefully buff only the exposed metal, using a wooden toothpick to clean the tight junctions where the metal meets the gemstone bezel.
Preventative Metallurgy: Slowing the Oxidation Clock
Once you have successfully restored your jewelry, the goal shifts to retarding the thermodynamic drive toward oxidation. Tarnish is inevitable for reactive metals, but the timeline can be drastically extended.
For sterling silver, consider rhodium plating. A flash plating of rhodium (typically 0.75 to 1.0 microns thick) creates an inert, highly reflective barrier that completely blocks H2S from reaching the silver. This is standard for high-end white gold, but increasingly popular for silver jewelry meant for daily wear in high-humidity climates.
For storage, abandon the traditional felt jewelry boxes, which often contain sulfur-based dyes and adhesives that actually accelerate tarnishing. Instead, utilize activated charcoal or zinc carbonate anti-tarnish strips (such as 3M Pacific Silvercloth) inside airtight polyethylene zip-lock bags. These strips act as sacrificial scavengers, absorbing atmospheric sulfur and moisture before they can reach your metal. Store copper and brass pieces with silica gel packets to drop the relative humidity inside the bag below 40%, effectively halting the formation of copper carbonate.
By treating your jewelry not just as decorative art, but as complex metallurgical assemblies, you ensure that your pieces remain pristine, structurally sound, and chemically stable for generations.


