How to Home Clean Jewelry: Step-by-Step Material Guide
Learn how to home clean jewelry safely with our step-by-step material guide. Discover expert techniques for diamonds, porous gems, and precious metals.

The Danger of One-Size-Fits-All Jewelry Cleaning
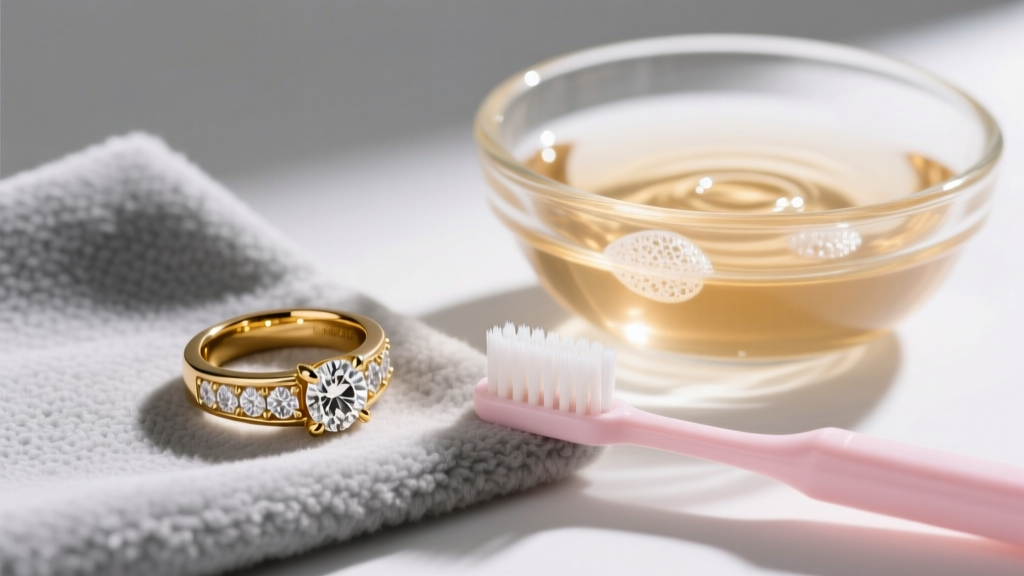
When searching for how to home clean jewelry, most consumers stumble upon generic advice suggesting a soak in warm soapy water and a vigorous scrub with an old toothbrush. While this method is perfectly safe for a diamond solitaire, it is a catastrophic mistake for fracture-filled emeralds, porous turquoise, or rhodium-plated white gold. Jewelry cleaning is not a monolith; it is a precise science dictated by the Mohs Hardness Scale, gemstone porosity, and metallurgical properties. According to the Gemological Institute of America (GIA), the majority of gemstone damage at home occurs not from wearing the piece, but from improper cleaning techniques that strip treatments, scratch precious metals, or induce thermal shock. This comprehensive guide breaks down exactly how to clean your jewelry at home based on its specific material composition, ensuring your pieces remain pristine without risking structural integrity.
Step 1: Identify Your Gemstone Porosity and Hardness
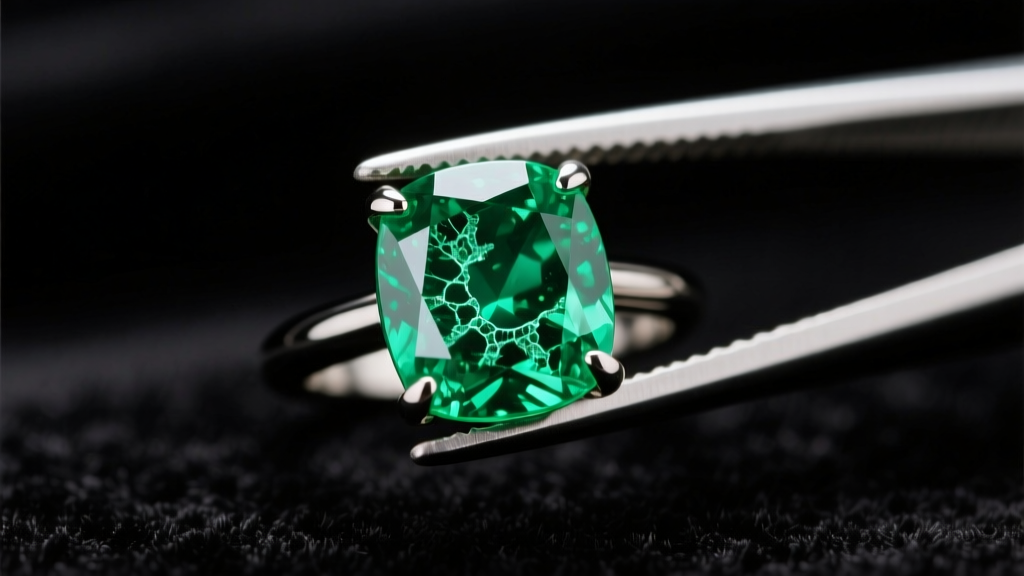
Before mixing any solutions, you must identify the stones in your jewelry. Gemstones are categorized by their hardness (resistance to scratching) and their porosity (ability to absorb liquids). Porous stones like pearls, opals, and turquoise can absorb harsh chemicals, leading to permanent discoloration or structural weakening. Furthermore, many emeralds on the market are fracture-filled with cedar oil or synthetic resins like Opticon to mask natural inclusions. Submerging these stones in hot water or ultrasonic cleaners will melt the filler, leaving the stone cloudy, white, and heavily fractured.
| Gemstone | Mohs Hardness | Porosity / Treatments | Safe Home Method | Fatal Mistakes to Avoid |
|---|---|---|---|---|
| Diamond | 10 | Non-porous, durable | Warm soapy soak, soft brush | Hard bristles that scratch the metal setting |
| Sapphire / Ruby | 9 | Non-porous, sometimes heat-treated | Warm soapy soak, soft brush | Ultrasonic cleaners if the stone has surface-reaching fractures |
| Emerald | 7.5 - 8 | Highly included, oil/resin-filled | Damp microfiber wipe only | Hot water, ultrasonic, steam, harsh detergents |
| Opal | 5.5 - 6.5 | High water content, sensitive to heat | Dry or barely damp cloth | Submersion, ultrasonic, extreme temperature changes |
| Pearl | 2.5 - 4.5 | Organic, calcium carbonate | Damp cloth, no chemicals | Any acidic solution, ammonia, ultrasonic, submersion |
Step 2: Prepare the Correct Home Cleaning Solutions
The chemistry of your cleaning solution dictates the safety of the process. Avoid commercial 'jewelry dips' found in big-box stores, as they often contain thiourea and harsh acids that can pit gold alloys and strip the rhodium plating off white gold.
The Hard Stone Solution (Diamonds, Sapphires, Rubies)
For hard, non-porous stones set in 14k/18k gold or platinum, the industry standard is a mild, pH-neutral, ammonia-free dish soap. Dawn Ultra (the original blue formula) is widely recommended by jewelers because it effectively breaks down sebum, lotions, and environmental grease without attacking metal alloys. Mix three drops of dish soap into a small glass bowl containing one cup of distilled water. Distilled water is crucial; tap water contains chlorine and hard minerals like calcium that can leave microscopic spots on the facets of your gemstones once dried.
The Delicate Stone Protocol (Opals, Pearls, Emeralds)
Porous and treated stones require a strictly mechanical cleaning approach. Do not use any chemical surfactants. Instead, use a lint-free microfiber cloth slightly dampened with distilled water. For pearls, which are highly sensitive to the pH levels of human sweat and cosmetics, simply wiping them with a dry, soft cotton cloth after every wear is the most effective way to preserve their nacre luster. The American Gem Society (AGS) explicitly warns against using any liquid cleaners on pearls, as the liquid can seep into the drill holes and degrade the silk threading from the inside out.
Step 3: The Step-by-Step Washing Technique
Once you have identified your materials and prepared the correct solution, follow this meticulous step-by-step process for hard stones and durable metals.
- The Pre-Inspection: Before introducing any liquid, examine the prongs and bezels using a 10x jeweler's loupe. If a prong is lifted or the stone rattles, do not clean it at home. Take it to a professional bench jeweler. Agitating a loose stone will dislodge it completely.
- The Soak: Place the jewelry in the distilled water and dish soap solution. Allow it to soak for exactly 10 to 15 minutes. This gives the surfactants time to break the molecular bonds of oils and dead skin cells trapped beneath the pavilion (the bottom of the gemstone).
- The Agitation: Using an extra-soft baby toothbrush, gently agitate the soapy water around the setting. Use circular motions. Never scrub back and forth aggressively, as this can bend delicate prongs. Pay special attention to the culet and pavilion, where the majority of light-blocking grease accumulates.
- The Rinse: Rinse the piece under a gentle stream of lukewarm distilled water. Ensure the drain is securely plugged or use a fine-mesh strainer in the sink basin to prevent catastrophic loss.
Step 4: Drying and Metal-Specific Polishing
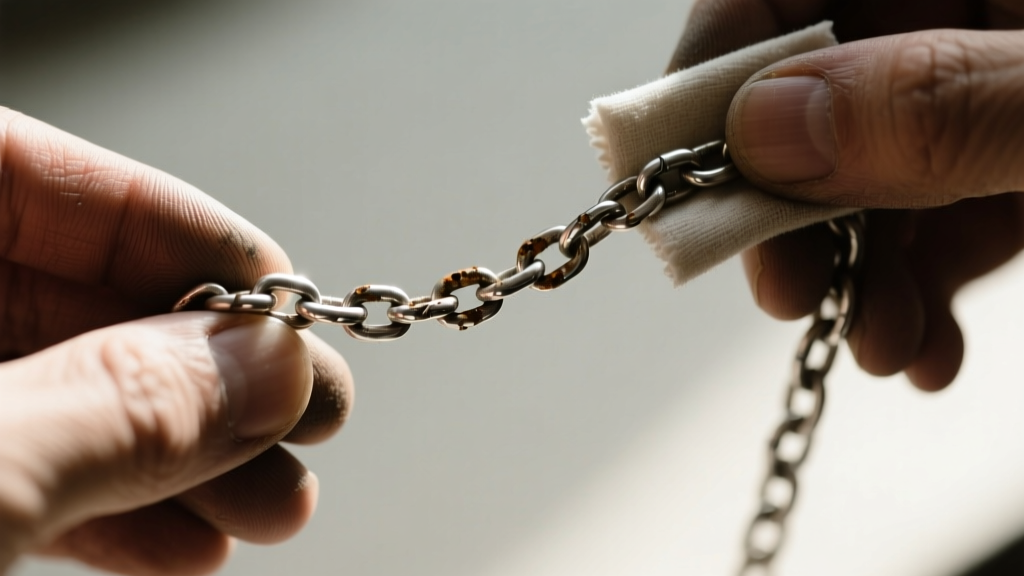
Drying is where many amateurs fail. Shaking off excess water and letting the piece air-dry will result in water spots. Instead, use a clean, lint-free microfiber cloth to gently pat the jewelry dry. For hard-to-reach areas beneath the setting, use a can of compressed air held at least six inches away, or a hair dryer on the cool setting. Never use heat, as thermal expansion can loosen adhesives in cluster rings or damage heat-sensitive stones like tanzanite.
Expert Note on Sterling Silver: If your silver jewelry is tarnished (a black layer of silver sulfide), soapy water will not remove it. You must use a galvanic reduction reaction. Line a glass bowl with aluminum foil, add one tablespoon of baking soda, and pour in boiling distilled water. Submerge the silver for 60 seconds. The sulfur will transfer from the silver to the aluminum. However, never do this if the silver piece contains porous gemstones, pearls, or an intentional oxidized (antiqued) finish, as it will strip the dark patina from the crevices.
Common Home Cleaning Disasters and How to Avoid Them
To maintain the structural and aesthetic integrity of your jewelry, avoid these pervasive myths and destructive practices:
- Toothpaste: Toothpaste contains silica and calcium carbonate abrasives designed to strip plaque from enamel. On the Mohs scale, these abrasives rank around a 3 to 4, which is hard enough to leave micro-scratches on 14k gold (Mohs 2.5-3) and sterling silver, permanently dulling the metal's polish.
- Chlorine Bleach: Never wear or clean gold jewelry in a pool or with bleach. Chlorine reacts with the copper and zinc alloys in 14k and 18k gold, causing a phenomenon known as 'stress corrosion cracking.' This literally dissolves the alloy matrix, causing prongs to snap off without warning.
- Ultrasonic Cleaners for the Wrong Stones: While ultrasonic machines are excellent for plain diamond wedding bands, the high-frequency acoustic cavitation bubbles they generate will shatter opals, strip the fracture-filling oil from emeralds, and loosen the foil backing on vintage rhinestones.
By understanding the specific material science behind your jewelry, you can safely maintain its brilliance at home. When in doubt regarding a rare gemstone or an antique setting with unknown adhesives, bypass home methods entirely and consult a certified gemologist.


