How to Maximize Anti Tarnish Jewelry Boxes: A Step-by-Step Guide
Learn how to properly set up, organize, and maintain anti tarnish jewelry boxes to keep your silver, gold, and copper pieces pristine for years.

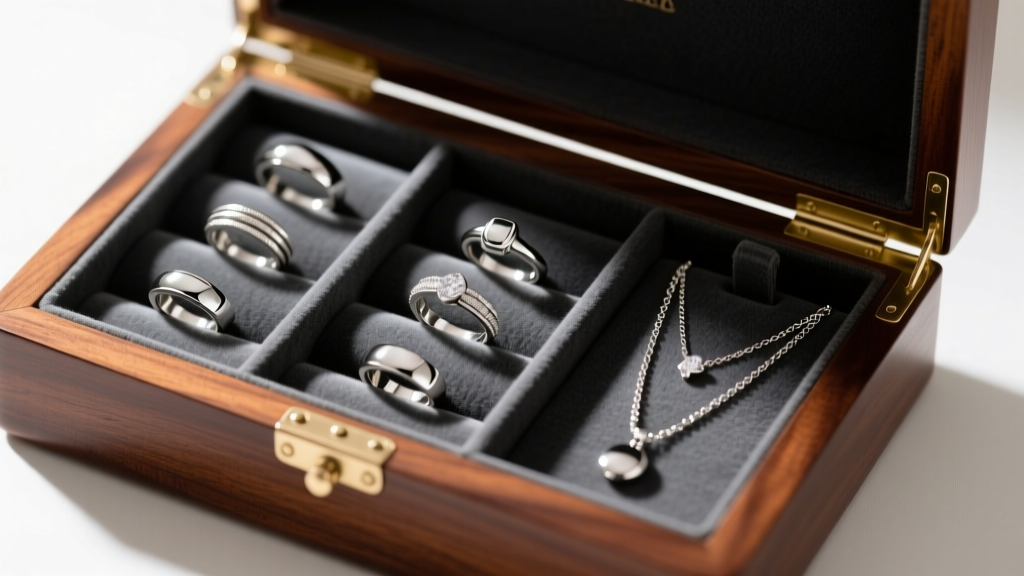
There is nothing more frustrating than reaching for your favorite sterling silver necklace, only to find it coated in a dull, yellowish-brown film. Tarnish is the nemesis of jewelry collectors, but it is entirely preventable with the right storage strategy. While many collectors invest in high-quality anti tarnish jewelry boxes, simply tossing your pieces inside is not enough to guarantee long-term protection. Maximizing the efficacy of these specialized storage environments requires a strategic approach to preparation, compartmentalization, and ongoing maintenance.
This step-by-step guide will walk you through the exact protocols used by professional jewelers and archivists to configure and maintain anti-tarnish storage systems, ensuring your metals remain brilliant and your gemstones stay secure.
The Science of Tarnish and How Anti-Tarnish Liners Work
Before setting up your storage, you must understand the chemical enemy. Tarnish on silver, copper, and brass is primarily caused by a reaction between the metal and hydrogen sulfide (H2S) present in the ambient air. When silver (Ag) meets H2S, it forms silver sulfide (Ag2S), which manifests as that familiar black or yellowish crust. Moisture, high humidity, and exposure to sulfur-rich materials (like wool, rubber, and certain cosmetics) accelerate this reaction exponentially.
High-end anti tarnish jewelry boxes combat this using one of two primary technologies:
- Sacrificial Silver Particles: Materials like Pacific Silvercloth are embedded with microscopic silver particles. These particles react with H2S first, effectively sacrificing themselves to protect the jewelry inside. The cloth turns brown or black over time, indicating it is working.
- Molecular Traps (Copper-Based): Products like 3M Anti-Tarnish Strips use specialized copper particles that absorb and neutralize hydrogen sulfide gas before it can reach your jewelry.
Understanding which technology your box employs dictates how you will maintain it over the years.
Step-by-Step: Setting Up Your Anti Tarnish Jewelry Box
Step 1: Deep Clean and Dehydrate Your Jewelry Before Storage
Never store unworn, uncleaned jewelry in an anti-tarnish environment. Human sebum (skin oils), lotions, and perspiration contain salts and sulfur compounds that will continue to degrade the metal even inside a sealed box. Furthermore, trapping moisture inside a closed compartment can lead to localized galvanic corrosion.
The Protocol:
- Wash silver and gold pieces in warm water with a few drops of phosphate-free dish soap (like Dawn).
- Gently agitate with a soft-bristled baby toothbrush to remove debris from prongs and chain links.
- Rinse thoroughly under distilled water to avoid hard water mineral deposits.
- Dry completely using a lint-free microfiber cloth, followed by a blast of cool air from a hair dryer to ensure no moisture remains in crevices or under gemstone settings.
Step 2: Line the Box Correctly (If Not Pre-Lined)
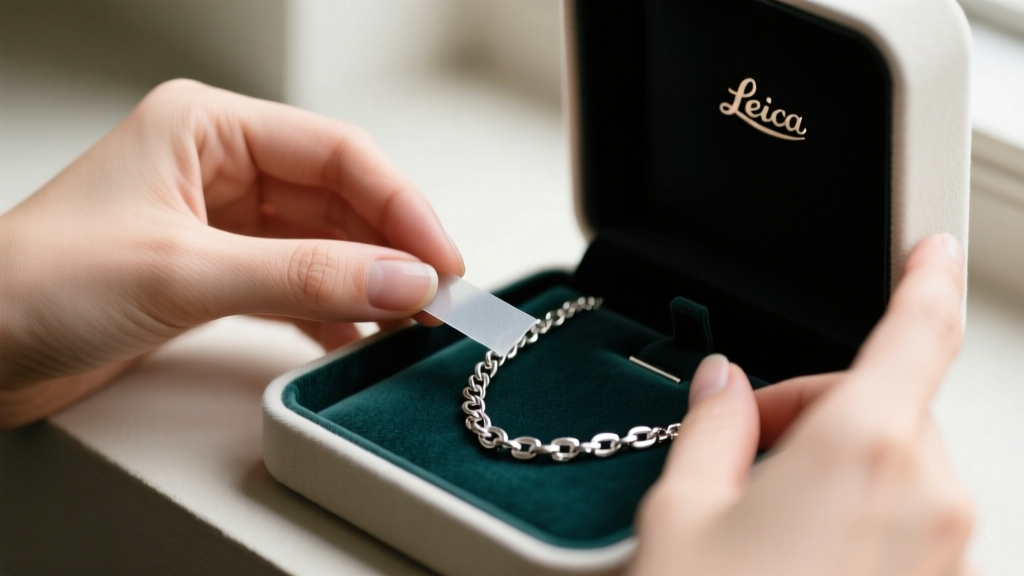
If your jewelry box is a standard wooden or leather box without built-in anti-tarnish properties, you must retrofit it. Never use standard felt, velvet, or flannel, as these fabrics can trap moisture and sometimes contain acidic dyes that pit soft metals. Instead, purchase yardage of Pacific Silvercloth or specialized anti-tarnish flannel. Cut the fabric to size and secure it to the interior using acid-free, double-sided archival tape. Do not use standard craft glues or staples, as off-gassing from adhesives and rust from iron staples will introduce new corrosive elements into the microenvironment.
Step 3: Strategic Compartmentalization
Anti tarnish jewelry boxes must be organized by metal hardness and type. Sterling silver (Mohs hardness of 2.5 to 3) will easily be scratched by tungsten carbide, titanium, or even diamond-set gold pieces rubbing against it during transport or drawer movement. Utilize individual soft pouches made from untreated, unbleached cotton for each piece, then place those pouches into the anti-tarnish lined compartments. This provides a dual-layer defense against both chemical tarnish and physical abrasion.
Material Compatibility Chart: What Goes Where?
Not all jewelry benefits from the exact same anti-tarnish environment. Organic gemstones and certain porous materials require specific humidity levels that conflict with the ultra-dry environments sometimes favored for metals. Use the table below to organize your collection correctly.
| Material / Metal | Tarnish Risk | Ideal Box Environment | Prep & Storage Requirement |
|---|---|---|---|
| Sterling Silver (925) | High | Airtight, lined with Silvercloth or 3M strips | Must be 100% dry; store away from rubber |
| Yellow / Rose Gold (14k-18k) | Low to Medium | Standard velvet or anti-tarnish flannel | Clean oils; copper alloys in rose gold can oxidize |
| Platinum & Palladium | None | Standard soft lining (scratch prevention only) | Store separately to prevent scratching softer metals |
| Pearls & Opals (Organic) | N/A (Cracking Risk) | Lightly ventilated, 40-50% humidity | NEVER store in airtight anti-tarnish boxes; they need moisture |
| Copper & Brass | Very High | Airtight with aggressive H2S absorbers | Apply a micro-crystalline wax (like Renaissance Wax) before boxing |
Maintaining the Anti-Tarnish Environment
The most common point of failure with anti tarnish jewelry boxes is the assumption that they work indefinitely without maintenance. The active compounds in these boxes have a finite lifespan and must be managed.
Replacing Tarnish-Preventative Strips
If your box utilizes 3M Anti-Tarnish Strips or similar molecular traps, you must adhere to a strict replacement schedule. According to the Library of Congress Preservation Guidelines, these strips are highly effective but become saturated over time. In a frequently opened jewelry box, replace the strips every 6 months. If the box is kept sealed in a climate-controlled safe, the strips can last up to 12 to 24 months. Write the date of installation on the back of the strip or on a small piece of archival tape on the box hinge so you never lose track.
Controlling Ambient Humidity
Tarnish requires moisture to catalyze the chemical reaction between metal and sulfur. Keeping the relative humidity (RH) inside your jewelry box below 50% is critical. Place a small, breathable sachet of indicating silica gel (the type that changes color when saturated) in the corner of the box. When the silica beads turn from orange to green, or blue to pink, recharge them by baking them in an oven at 250°F (120°C) for two hours, or microwave them in short bursts until dry. Never place silica gel directly against jewelry, as the hard beads can scratch polished surfaces.
Common Mistakes That Ruin Anti-Tarnish Efficacy
Even the most expensive anti tarnish jewelry boxes will fail if you introduce corrosive contaminants into the microenvironment. Avoid these critical errors:
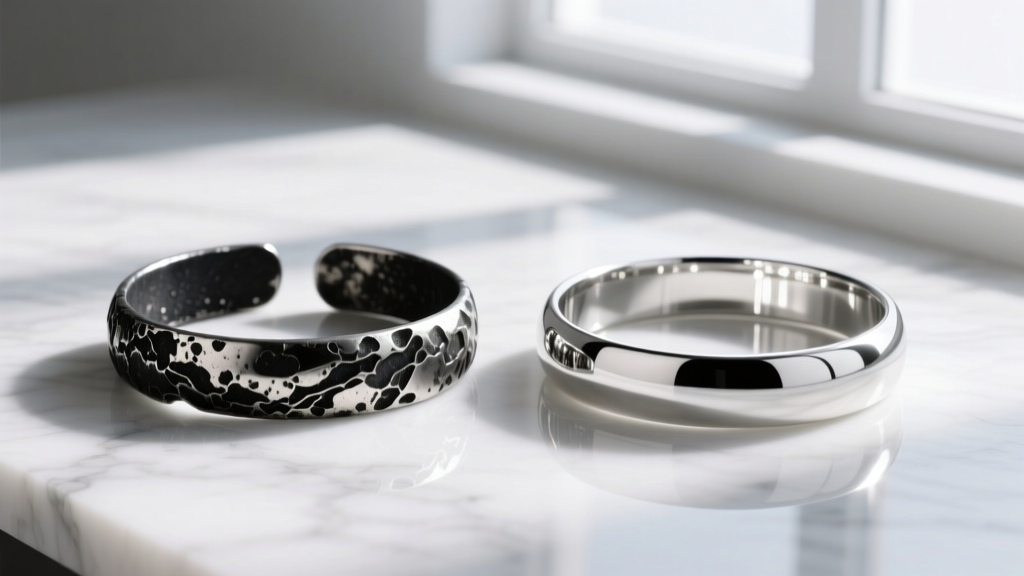
The Rubber Band Error: Never secure jewelry bundles or watch straps with rubber bands. Rubber contains high levels of sulfur. A rubber band left on a silver bracelet inside an anti-tarnish box will cause deep, localized black etching that requires professional polishing to remove.
Storing Organics in Airtight Boxes: As noted by the Gemological Institute of America (GIA), organic gems like pearls, coral, and tortoiseshell contain trace amounts of water. Storing them in the ultra-dry, airtight environments optimized for silver will cause them to dehydrate, craze, and crack. Keep organics in soft cotton pouches in a standard, slightly ventilated drawer.
Using Commercial Silver Dips Before Storage: Commercial liquid silver dips (thiourea-based) strip tarnish instantly but leave behind microscopic chemical residues. If you use a dip, you must neutralize the piece by boiling it in a baking soda and water solution, then rinsing thoroughly. If you skip this and put the piece directly into your anti-tarnish box, the residual chemicals will cause rapid, severe re-tarnishing that is often worse than the original oxidation.
Final Thoughts on Long-Term Jewelry Preservation
Investing in premium anti tarnish jewelry boxes is an excellent first step in preserving your collection's value and luster. However, the box is only a tool; its effectiveness relies entirely on your preparation and maintenance habits. By rigorously cleaning your pieces before storage, understanding the specific needs of different metals and gemstones, and adhering to a strict schedule for replacing anti-tarnish strips and recharging silica gel, you can ensure that your jewelry remains as brilliant decades from now as the day you first acquired it. For further reading on historical metal preservation, the Smithsonian Museum Conservation Institute offers extensive resources on archival storage techniques that translate perfectly to home collectors.


