Mastering the Jewelry Sonic Cleaner: A Step-by-Step Care Guide
Learn how to safely use a jewelry sonic cleaner with our step-by-step guide. Discover which gems handle ultrasonic waves and which to avoid.

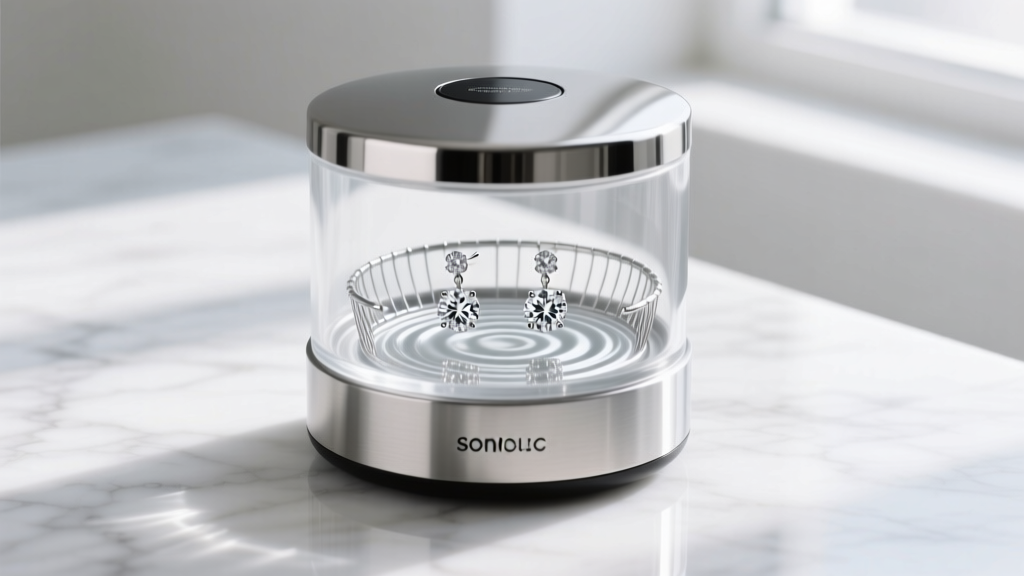
The modern jewelry sonic cleaner has evolved from a strictly professional workshop tool into a highly accessible home device. However, the convenience of ultrasonic technology comes with significant risks if misused. While high-frequency sound waves can effortlessly dislodge years of trapped lotion, dead skin, and environmental grime from microscopic crevices, those same waves can shatter fragile gemstones, strip delicate plating, and loosen poorly set prongs. In 2026, with the market flooded with varying wattage and frequency models, understanding the precise mechanics of your machine is no longer optional—it is essential for preserving your fine jewelry.
This comprehensive, step-by-step guide will walk you through the science of cavitation, material compatibility, and the exact protocols master jewelers use to achieve a flawless, safe clean at home.
The Science of Cavitation: How Your Jewelry Sonic Cleaner Works
To use a sonic cleaner effectively, you must first understand the physical forces at play. A jewelry sonic cleaner operates via a process called cavitation. The machine's transducers emit high-frequency sound waves (typically between 35 kHz and 120 kHz) into a liquid solution. These waves create alternating high-pressure and low-pressure cycles. During the low-pressure cycle, millions of microscopic vacuum bubbles form in the liquid. When the high-pressure cycle hits, these bubbles violently implode against the surface of your jewelry.
This implosion generates localized micro-jets of liquid that blast away dirt at a microscopic level. According to the GIA Gem Encyclopedia, while this is incredibly effective for hard, non-porous materials, the sheer kinetic force of these collapsing bubbles can easily fracture stones with internal inclusions or cleavage planes.
Understanding Frequency Ratings
- 35 kHz - 45 kHz: The standard for most consumer and commercial units. Produces larger, more aggressive cavitation bubbles. Ideal for heavy grime on solid gold, platinum, and diamonds.
- 80 kHz - 120 kHz: Produces smaller, denser, and less aggressive bubbles. Recommended for intricate micro-pavé settings, delicate filigree, and slightly more sensitive stones that can tolerate mild sonic exposure.
Material Compatibility: What Goes In and What Stays Out
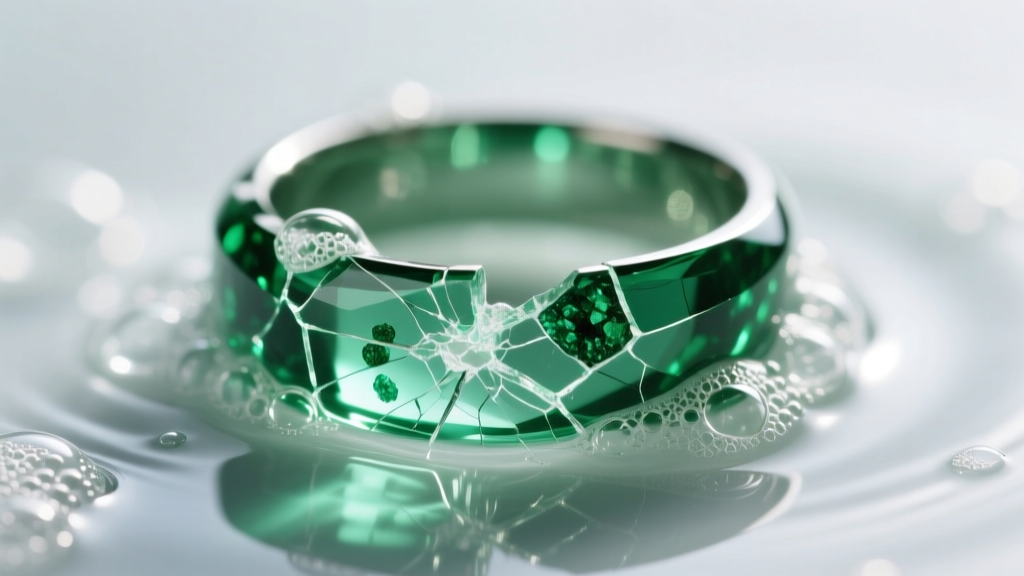
The most common mistake consumers make is assuming that a gemstone's Mohs hardness dictates its sonic safety. Hardness only measures scratch resistance, not toughness or structural stability. A diamond (Mohs 10) can survive a sonic bath, but an emerald (Mohs 7.5-8) will likely be destroyed. Always consult Jewelers of America guidelines when dealing with treated or organic gems.
| Material / Gemstone | Sonic Safe? | Expert Notes & Failure Modes |
|---|---|---|
| Diamonds (Untreated) | ✅ Yes | Ensure prongs are tight; sonic waves can vibrate loose stones out of worn settings. |
| Rubies & Sapphires | ✅ Yes | Generally safe unless fracture-filled or heavily included. Heat-treated stones are usually fine. |
| Emeralds | ❌ No | Almost always oil-treated or resin-filled. Sonic waves will strip the filler, exposing fractures. |
| Opals & Pearls | ❌ No | High water content and organic structure. Cavitation will cause crazing, cracking, and peeling. |
| Tanzanite & Topaz | ❌ No | Possess perfect cleavage planes. Thermal shock and sonic vibrations can cause instant splitting. |
| Gold/Silver Plated | ❌ No | The aggressive micro-jets will strip thin electroplated layers right off the base metal. |
Step-by-Step Guide to Using a Jewelry Sonic Cleaner
Follow this exact protocol to ensure a deep, safe clean without compromising the structural integrity of your pieces.
Step 1: Pre-Cleaning Inspection and Preparation
Before introducing any piece to the tank, inspect it under a 10x jeweler's loupe. Look for lifted prongs, worn gallery wires, or visible cracks in the gemstones. If a stone is already loose, the vibration of the sonic cleaner will dislodge it completely. Additionally, use a soft, dry brush to remove any large, abrasive surface debris that could scratch the metal during the cavitation process.
Step 2: Formulating the Cleaning Solution
Never use tap water. Tap water contains dissolved minerals (calcium and magnesium) that will leave microscopic hard-water spots on your gemstones, dulling their brilliance. Instead, use deionized or distilled water.
For the cleaning agent, avoid harsh household chemicals like bleach or ammonia. Add 3 to 5 drops of a mild, phosphate-free dish soap (like Dawn) or a specialized ultrasonic jewelry concentrate (such as Blitz or Connoisseurs) to the water. If you are cleaning heavily soiled platinum or white gold, warming the distilled water to exactly 105°F - 115°F (40°C - 46°C) before adding it to the tank will significantly enhance the breakdown of sebum and cosmetic oils.
Step 3: The Sonic Cycle
Place your jewelry in the provided wire basket. Never let the jewelry rest directly on the bottom of the stainless steel tank, as this can cause pitting to the metal and damage the transducers. Submerge the basket fully. Set the timer for 3 to 5 minutes. Running the machine for longer does not yield better results; it only increases the risk of metal fatigue and setting degradation. If the item is still dirty after one cycle, manually agitate the basket and run a second 3-minute cycle rather than doing a continuous 15-minute run.
Step 4: Post-Cleaning Rinse and Dry
Remove the basket and immediately rinse the jewelry under a gentle stream of fresh distilled water to wash away the suspended dirt and soap residue. Pat dry with a lint-free microfiber cloth. For intricate pavé settings where water tends to pool, use a hairdryer on the "cool" setting to blow the moisture out from under the stones.
Advanced Troubleshooting: When Sonic Cleaning Fails
Even with perfect technique, you may encounter issues. Here is how to troubleshoot the most common sonic cleaning failures:
Master Jeweler Insight: "If a diamond comes out of the sonic cleaner looking cloudy or milky, 99% of the time it isn't a flaw in the stone. It's a buildup of hardened lotion or skin oils trapped in the pavilion (the bottom cone of the diamond) that the sonic waves couldn't penetrate. Apply a drop of isopropyl alcohol directly to the back of the stone with a Q-tip, then run a brief 60-second sonic cycle to break the surface tension."
Issue: White, chalky residue on gold settings
Cause: This is mineral scaling from using tap water, or a reaction between the soap and hard water metals. Solution: Rinse the piece in a 50/50 mixture of distilled water and white vinegar for 30 seconds, then rinse again with pure distilled water. Always use deionized water in your tank to prevent this.
Issue: Silver jewelry tarnishes immediately after cleaning
Cause: Sonic cleaners remove dirt, but they do not remove chemical oxidation (tarnish). In fact, the heat generated by the machine can sometimes accelerate oxidation if the silver is left wet. Solution: A sonic cleaner is for cleaning, not polishing. After the sonic bath, you must use a treated silver polishing cloth to remove the silver sulfide layer and restore the shine.
Maintenance of Your Sonic Cleaner Unit
To ensure your jewelry sonic cleaner lasts for years and operates at peak efficiency, proper machine maintenance is required. After every use, empty the tank. Leaving soapy water sitting in the stainless steel basin can lead to micro-corrosion and pitting, which will eventually cause the tank to leak and destroy the transducers.
Wipe the interior dry with a soft cloth. Once a month, run a "cleaning cycle" for the machine itself: fill the tank with a mixture of distilled water and a tablespoon of white vinegar or citric acid, run it for 10 minutes without any jewelry, and then rinse thoroughly. This descales the tank and keeps the transducers vibrating at their optimal frequency, ensuring your jewelry receives the precise, safe clean it deserves every single time.


