How to Use Ultrasonic Jewelry Cleaner: A Beginner Guide
Learn how to use ultrasonic jewelry cleaner safely at home. Discover which gems survive sonic waves, exact cleaning times, and expert setup tips.

The Science of Cavitation: Why Ultrasonic Works
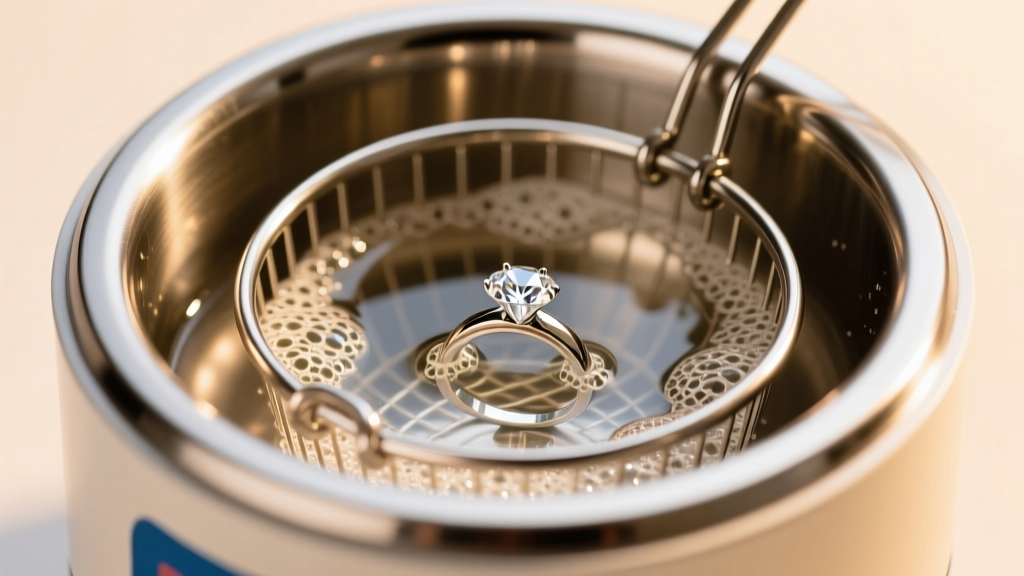
If you have ever wondered how professional jewelers get intricate pavé settings and hidden gallery wires looking brand new, the secret is high-frequency sound waves. When learning how to use ultrasonic jewelry cleaner machines effectively, it helps to understand the underlying physics. These devices operate using a process called cavitation. A standard home ultrasonic cleaner generates sound waves at a frequency of roughly 40,000 Hz (40 kHz). These waves travel through the liquid medium, creating millions of microscopic vacuum bubbles. When these bubbles collapse against the surface of your jewelry, they implode with intense, localized energy, effectively blasting away microscopic dirt, skin oils, and lotion residue from areas a toothbrush simply cannot reach.
However, this immense localized power is a double-edged sword. While it is miraculous for durable metals and hard stones, it can be catastrophic for porous, treated, or fragile gemstones. Before you drop your favorite necklace into the tank, you must know the rules of material compatibility.
The Golden Rule: What NEVER Goes Inside
The most common beginner mistake is assuming that all "precious" stones are durable enough for sonic cleaning. According to the Gemological Institute of America (GIA), a gemstone's hardness (Mohs scale) does not dictate its toughness or stability in an ultrasonic bath. Porosity, internal inclusions, and chemical treatments are the true deciding factors.
| Material / Gemstone | Ultrasonic Safe? | Why / Risk Factor |
|---|---|---|
| Diamonds (Untreated) | Yes | Exceptional hardness and toughness; withstands cavitation easily. |
| Fracture-Filled Diamonds | NO | Cavitation can shatter the glass/resin filling, ruining the stone. |
| Sapphires & Rubies | Yes | Corundum is highly durable. (Exception: heavily included or fracture-filled stones). |
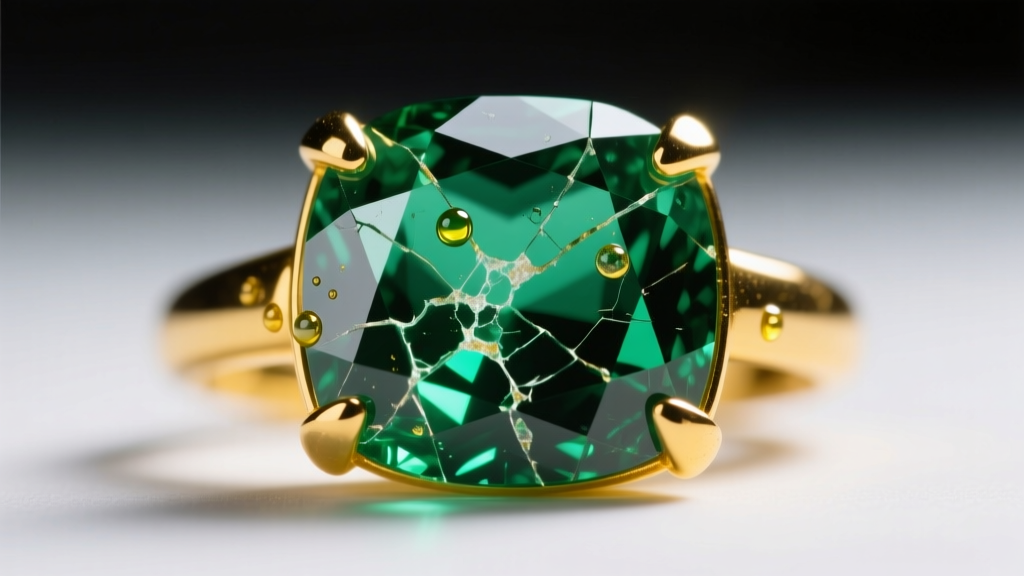
| Emeralds | NO | Naturally heavily included; almost always treated with cedar oil or resins that sonic waves will strip away, leaving the stone cloudy and brittle. |
| Opals & Pearls | NO | Opals contain up to 21% water and can crack; pearls are organic, soft, and will lose their luster and nacre coating. |
| Turquoise & Lapis Lazuli | NO | Highly porous; will absorb the cleaning solution and permanently discolor. |
| Gold, Platinum, Silver | Yes | Solid metals are perfectly safe. Avoid prolonged exposure for plated jewelry (vermeil or rhodium) to prevent peeling. |
Step-by-Step: How to Use Ultrasonic Jewelry Cleaner
Once you have verified that your jewelry is safe for sonic cleaning, follow this exact protocol to ensure a thorough clean without risking structural damage to your prongs or settings.
Step 1: Prepare the Tank with Distilled Water
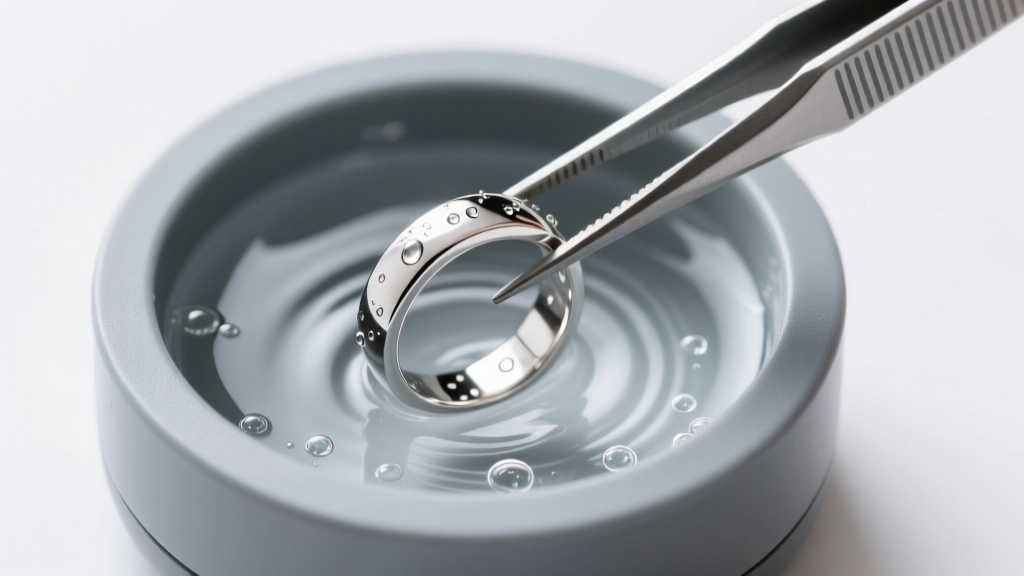
Never use tap water. Tap water contains dissolved minerals like calcium and magnesium. When the ultrasonic waves agitate the water, these minerals can deposit onto your jewelry, leaving a stubborn, cloudy film that defeats the purpose of cleaning. Fill the stainless steel tank to the indicated "MAX" line with room-temperature distilled water. Avoid using hot water, as extreme heat combined with cavitation can cause thermal shock to certain gemstones.
Step 2: Add a Surfactant (Cleaning Solution)
Water alone lacks the chemical ability to break down heavy sebum and cosmetic oils. You need a surfactant. Add exactly 3 to 5 drops of a high-quality, degreasing dish soap (such as Dawn) or a specialized commercial ultrasonic jewelry solution like Blitz or Connoisseurs. Avoid any solutions containing ammonia, bleach, or chlorine, as these can chemically react with the stainless steel tank and degrade metal alloys like white gold or silver.
Step 3: Load the Basket (Never the Tank Floor)
Always place your jewelry inside the provided plastic or metal mesh basket. Dropping items directly onto the stainless steel floor of the tank can scratch the jewelry and, more importantly, can damage the ultrasonic transducer bonded to the underside of the tank floor, permanently ruining the machine.
Step 4: Set the Timer for Short Intervals
Beginners often think "longer is better." This is false. Prolonged vibration can actually loosen the microscopic burrs holding your gemstones in their prongs. Run the machine for 3 minutes maximum per cycle. If the piece is heavily soiled, it is vastly superior to run three separate 3-minute cycles, rinsing in between, rather than one continuous 10-minute cycle.
Step 5: Rinse and Dry Properly
Remove the basket using the provided handles. Rinse the jewelry under a gentle stream of distilled water to remove any soap residue. Pat dry with a lint-free microfiber cloth. For intricate settings, use a can of compressed air or a cool-setting hair dryer to blow water out from behind the stones.
Troubleshooting Common Beginner Mistakes
Even with the right knowledge, minor errors can occur. Here is how to troubleshoot the most frequent issues encountered by home users.
"The most frequent damage we see from home ultrasonic cleaners isn't from the sound waves themselves, but from users leaving jewelry in the tank for 20 minutes while they do chores. Continuous high-frequency vibration acts like a microscopic jackhammer on worn prongs. If your prongs are already thin, the ultrasonic cleaner will be the thing that finally shakes your diamond loose." — Bench Jeweler & Gemologist Insight
Issue: Jewelry Looks Cloudy After Cleaning
Cause: You likely used tap water, or the jewelry was not fully submerged and experienced water-spotting during evaporation. Fix: Give the piece a quick dip in pure isopropyl alcohol (90% or higher) to displace the water, then blow dry. This will evaporate instantly without leaving spots.
Issue: The Machine is Making a Loud Buzzing Noise
Cause: The tank is either underfilled or overfilled, disrupting the harmonic resonance of the transducer, or an item is resting directly against the tank walls. Fix: Ensure the water level is exactly at the fill line and that the basket is hanging freely without touching the sides of the basin.
Post-Cleaning Care and Maintenance
Knowing how to use ultrasonic jewelry cleaner also means knowing how to care for the machine itself. Never leave the soapy water sitting in the tank for days; this can lead to corrosion of the stainless steel basin and degrade the adhesive holding the transducers. After every use, unplug the unit, empty the tank, and wipe the interior completely dry with a soft cloth. Store the machine with the lid off or slightly ajar to allow any residual moisture to evaporate, ensuring your device remains a reliable staple in your jewelry care routine for years to come. For more comprehensive advice on maintaining specific gemstones, consult the American Gem Society's jewelry care guidelines before attempting advanced cleaning methods.


