How to Use Liquid Jewelry Cleaner Safely on Gems & Metals
Learn how to use liquid jewelry cleaner safely on gold, silver, and gemstones with our expert step-by-step guide. Avoid damage and restore brilliance.

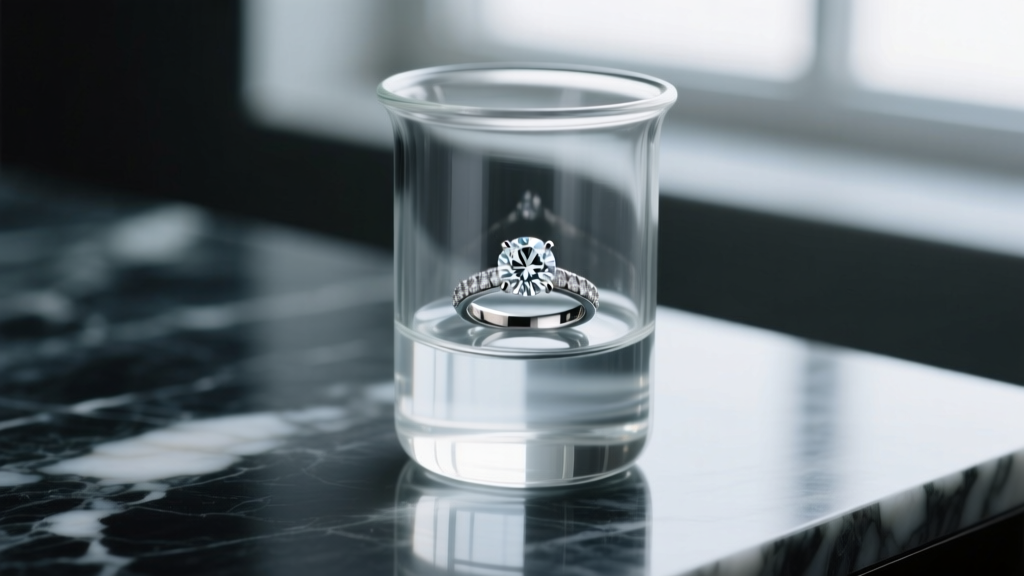
The Chemistry of Commercial Liquid Jewelry Cleaners
Not all liquid jewelry cleaners are created equal. As of 2026, the market is dominated by three distinct chemical formulations, each engineered to target specific types of soil, tarnish, and metal oxidation. Understanding the chemistry behind these solutions is the first step in preventing catastrophic damage to delicate gemstones and soft metals.
Ammonia-Based Solvents
Ammonia (typically at a 3-5% concentration) is highly effective at breaking down sebum, lotions, and cosmetic residues. It operates at an alkaline pH (usually between 9 and 11), which makes it exceptional for degreasing diamonds, sapphires, and platinum. However, this high alkalinity will strip the natural oils from porous gems like pearls, turquoise, and opals, leading to irreversible micro-fractures and dulling.
Surfactant and Enzymatic Blends
Modern ammonia-free liquid jewelry cleaners rely on non-ionic surfactants and, increasingly, enzymatic proteins. These solutions operate at a neutral pH (around 7.0) and work by reducing the surface tension of water, allowing it to penetrate the microscopic crevices beneath a gemstone's pavilion. According to the Gemological Institute of America (GIA), mild surfactant solutions are the safest baseline for everyday maintenance of mixed-material jewelry.
Chelating Agents for Tarnish
For silver and copper-heavy alloys, premium liquid cleaners incorporate chelating agents like EDTA (ethylenediaminetetraacetic acid). These molecules bind to heavy metal ions, effectively lifting silver sulfide (tarnish) without the need for abrasive polishing.
The 5-Step Protocol for Safe Submersion
Using a liquid jewelry cleaner requires more than simply dropping a ring into a jar. Follow this meticulous, step-by-step protocol to ensure optimal light return and structural integrity.
Step 1: The Pre-Soak Inspection
Before introducing any liquid, examine the piece under a 10x jeweler's loupe. Check for loose prongs, micro-pavé stones that are rattling, or cracked girdles. Submerging a compromised setting can cause the liquid to act as a lubricant, allowing a loose stone to slip out and wash down the drain.
Step 2: Temperature-Controlled Soaking
Pour the liquid jewelry cleaner into a glass or ceramic bowl (never use reactive metal containers). The solution should be at room temperature (68°F to 72°F). Submerge the jewelry and let it soak. For daily wear items with light lotion buildup, a 3-to-5-minute soak is sufficient. For heavily soiled pieces, extend the soak to 15 minutes, but never exceed 20 minutes, as prolonged exposure can weaken certain adhesive resins used in cluster rings.
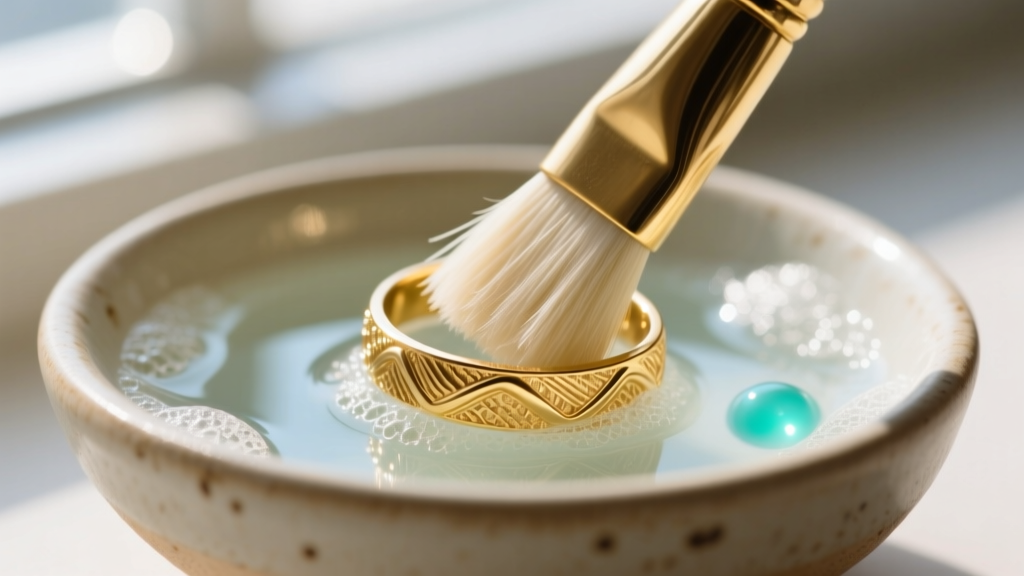
Step 3: Targeted Agitation
Remove the piece and use an extra-soft brush to gently agitate the stone. The ideal tool is a 100% natural boar bristle brush or a specialized jewelry brush with 0.1mm nylon bristles. Standard toothbrushes, even those labeled 'soft', possess bristles that are too stiff and can leave micro-scratches on high-polish gold or platinum bands. Focus your brushing on the pavilion (the underside of the gemstone), where light-blocking grease accumulates.
Step 4: The Distilled Water Rinse
This is where most amateurs fail. Rinsing your jewelry under tap water introduces dissolved minerals like calcium and magnesium. When the water evaporates, these minerals leave behind hard water spots that mimic a cloudy gemstone. Always rinse your jewelry using distilled or deionized water to ensure a completely spot-free finish.
Step 5: Lint-Free Drying
Pat the jewelry dry using a lint-free microfiber cloth or a specialized chamois. Avoid paper towels or tissue paper, as their wood pulp fibers can snag on microscopic prong tips and leave behind dust particles. For intricate pavé settings, use a can of compressed air or a cool-setting hair dryer to blow moisture out of the under-gallery.
Material Compatibility Matrix
To prevent chemical damage, cross-reference your jewelry materials against this compatibility chart before selecting a liquid cleaner.
| Material / Gemstone | Mohs Hardness | Recommended Cleaner Type | Max Soak Time | Risk Factor |
|---|---|---|---|---|
| Diamond, Sapphire, Ruby | 9 - 10 | Ammonia or Surfactant | 20 Minutes | Low (Check fracture-filled stones) |
| Gold (14k, 18k), Platinum | N/A (Metals) | Surfactant or Chelating | 30 Minutes | Low |
| Emerald, Tanzanite, Opal | 5.5 - 7.5 | Mild Surfactant Only (pH 7) | 2 Minutes | High (Oils can be stripped) |
| Pearl, Coral, Turquoise | 2.5 - 6 | NO LIQUID SUBMERSION | 0 Minutes | Critical (Porous, will dissolve) |
| Sterling Silver (Oxidized) | N/A | Non-Chelating Surfactant | 5 Minutes | Medium (Will strip intentional patina) |
Note: Always verify if your gemstones have undergone treatments. For instance, fracture-filled diamonds or oil-treated emeralds require specialized care, as harsh liquids will dissolve the fillers and ruin the stone's clarity. For comprehensive treatment disclosures, refer to the GIA Diamond Care Guide.
Synergizing Liquid Cleaners with Ultrasonic Baths
For professional-level brilliance at home, liquid jewelry cleaners can be used as the conductive medium in an ultrasonic cleaner. The high-frequency sound waves (typically 40-45 kHz) create microscopic cavitation bubbles that implode against the jewelry, blasting away dirt from areas a brush cannot reach.
Expert Dilution Tip: Never use straight liquid jewelry cleaner in an ultrasonic tank. The high concentration of surfactants will create excessive foam, which dampens the cavitation effect and reduces cleaning efficiency. Dilute the liquid cleaner with distilled water at a 1:10 ratio for optimal acoustic transmission.
Limit ultrasonic cycles to 3 minutes. Prolonged vibration can loosen tension settings and shatter brittle stones like emeralds or tanzanite, especially if they possess internal inclusions.
Troubleshooting Common Post-Cleaning Issues
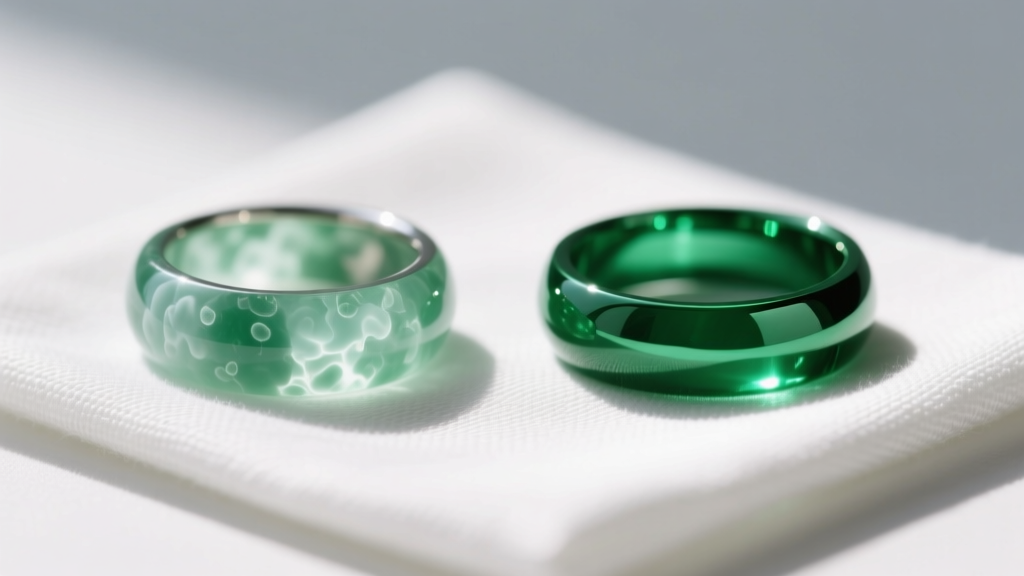
Issue: The Gemstone Looks Cloudy After Cleaning
Diagnosis: This is rarely damage to the stone itself. Cloudiness is almost always caused by trapped soap residue in the pavilion facets or hard water spots from tap water rinsing.
Solution: Re-rinse the stone in warm distilled water. Use a soft brush to gently sweep the underside of the stone while submerged. Dry immediately with compressed air.
Issue: Silver Jewelry Tarnished Faster After Washing
Diagnosis: If you used an ammonia-based cleaner on sterling silver, the alkaline environment may have accelerated oxidation, especially if the piece was not thoroughly rinsed and dried.
Solution: Switch to a dedicated silver dip containing thiourea, or use a mild chelating liquid cleaner. Ensure the silver is 100% dry before storing it in an anti-tarnish bag.
Issue: White, Chalky Residue on Gold Prongs
Diagnosis: This is often not dirt, but rather polishing compound (like rouge or tripoli) left behind by the manufacturer, which has been loosened by the liquid cleaner.
Solution: Use a wooden toothpick to gently dislodge the compound from the crevices where the prong meets the gallery. Avoid metal tools, which will scratch the gold.
Expert Tips for Prolonging Brilliance Between Washes
While a high-quality liquid jewelry cleaner is essential for deep maintenance, minimizing the frequency of deep cleans preserves the longevity of delicate settings. Remove your jewelry before applying aerosol hairsprays, dry shampoos, or heavy silicone-based moisturizers. These products create a hydrophobic film that repels water-based liquid cleaners, requiring multiple soak cycles to break down. By adopting a 'put it on last, take it off first' routine, you can reduce your need for liquid submersion to a simple bi-weekly maintenance schedule, keeping your metals pristine and your gemstones radiating maximum light return.


