Step-by-Step: Using an Ultra Sonic Jewelry Cleaner Safely
Learn how to safely use an ultra sonic jewelry cleaner for diamonds, gold, and platinum. Follow our expert step-by-step guide to restore brilliance.

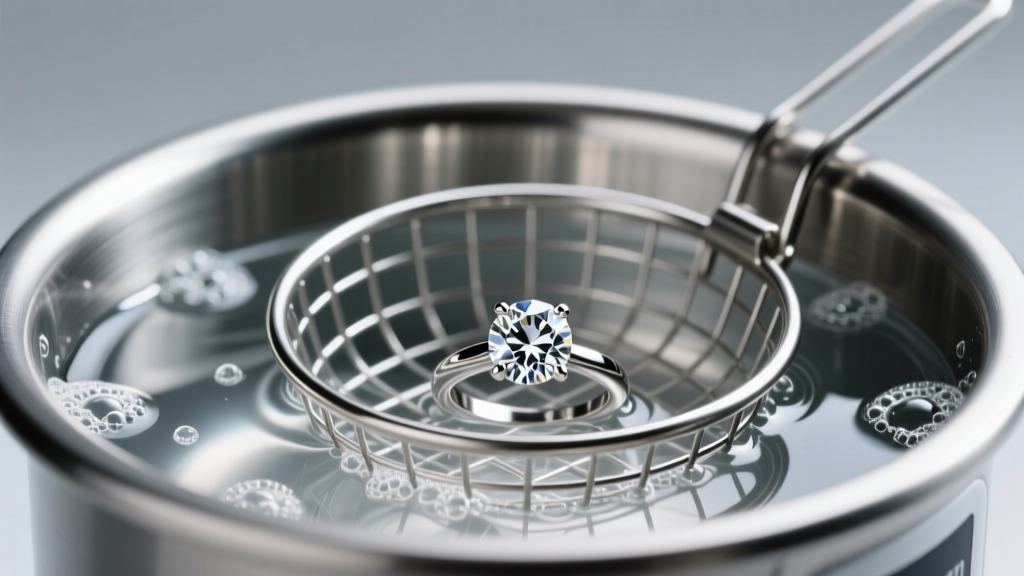
The Science of Cavitation: How an Ultra Sonic Jewelry Cleaner Works
When you invest in an ultra sonic jewelry cleaner, you are not just buying a vibrating bowl; you are harnessing the physics of acoustic cavitation. These machines typically operate at frequencies between 40,000 and 42,000 Hz (40-42 kHz). At this frequency, the transducers bonded to the stainless steel tank emit high-frequency sound waves that compress and expand the liquid molecules. During the expansion phase, microscopic vacuum bubbles form. When these bubbles collapse against the surface of your jewelry, they generate localized micro-jets of liquid traveling at hundreds of miles per hour. This imploding force blasts away microscopic layers of sebum, cosmetic residue, and environmental grime from the pavilions of gemstones and the intricate galleries of metal settings that a traditional soft-bristle brush simply cannot reach.
However, this immense microscopic power requires strict operational protocols. According to the Gemological Institute of America (GIA), while ultrasonic cleaning is the gold standard for diamonds and precious metals, it can be catastrophic for porous, treated, or fragile gemstones. Below, we detail the exact step-by-step methodology for safely operating your machine.
Material Compatibility Matrix: What to Clean and What to Avoid
Before dropping any piece into the tank, you must verify its material composition. The vibrations can shatter brittle stones, while the heat and cavitation can strip chemical treatments from others.
| Material / Gemstone | Ultrasonic Safe? | Expert Notes & Failure Modes |
|---|---|---|
| Diamond (Untreated) | Yes | Mohs 10. Safe unless heavily included (feathers can expand). |
| Platinum & 14k/18k Gold | Yes | Dense metals. Highly resistant to pitting at 42 kHz. |
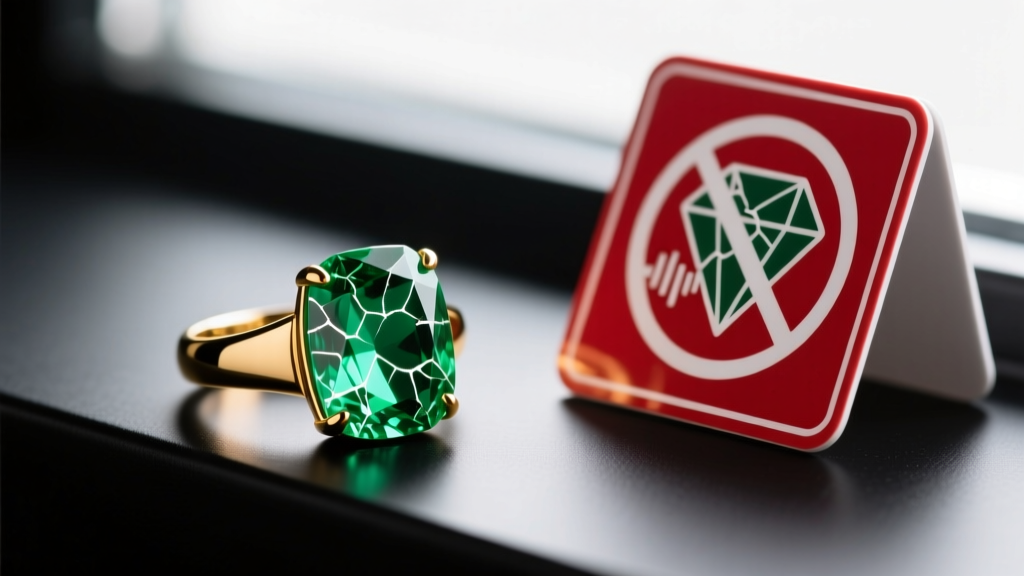
| Emerald | No | Almost all are cedar oil or resin treated. Cavitation strips the filler, leaving white fractures. |
| Opal | No | Contains 3-21% water. Vibrations cause internal crazing and structural cracking. |
| Pearl & Coral | No | Organic and soft (Mohs 2.5-3.5). The surface nacre will pit and dissolve. |
| Tanzanite | No | Has perfect cleavage planes; thermal shock and vibrations can cause splitting. |
Preparation: Gathering Your Supplies
To achieve professional-grade results at home, do not use tap water. Tap water contains dissolved calcium and magnesium. When the ultrasonic waves atomize the liquid, these minerals deposit onto the jewelry, leaving a stubborn, cloudy film. You will need:
- Distilled Water: The baseline solvent.
- Ammonia-Free Dish Detergent: A mild surfactant (e.g., Dawn or a dedicated ultrasonic concentrate) to break the surface tension of the water and dissolve lipids.
- 10x Jeweler's Loupe: For pre-cleaning inspection.
- Lint-Free Microfiber Cloth: For final polishing.
- 99% Isopropyl Alcohol: For the final displacement rinse.
Step-by-Step Cleaning Protocol
Step 1: Solution Mixing and Temperature Control
Fill the stainless steel tank with distilled water up to the indicated fill line. Add exactly one teaspoon of ammonia-free dish detergent per 16 ounces of water. If your ultra sonic jewelry cleaner features a built-in heater, set the temperature to 104°F–122°F (40°C–50°C). This specific thermal window is critical: it lowers the surface tension of the water and softens hardened sebum, optimizing the cavitation implosion force without risking thermal shock to heat-sensitive gemstones like tanzanite or aquamarine.
Step 2: The Pre-Inspection (Crucial)
Never skip this step. Use your 10x loupe to examine the prongs and galleries of your rings. If a diamond is even slightly loose in its setting, the 42,000 Hz vibrations will rattle it completely out of the prongs, sending it to the bottom of the tank where it can be scratched by the steel basket or other jewelry. If you see lifted prongs, worn metal, or hear a rattle when shaking the piece gently near your ear, do not use the ultrasonic cleaner. Take it to a jeweler for retipping first.
Step 3: The Cavitation Cycle
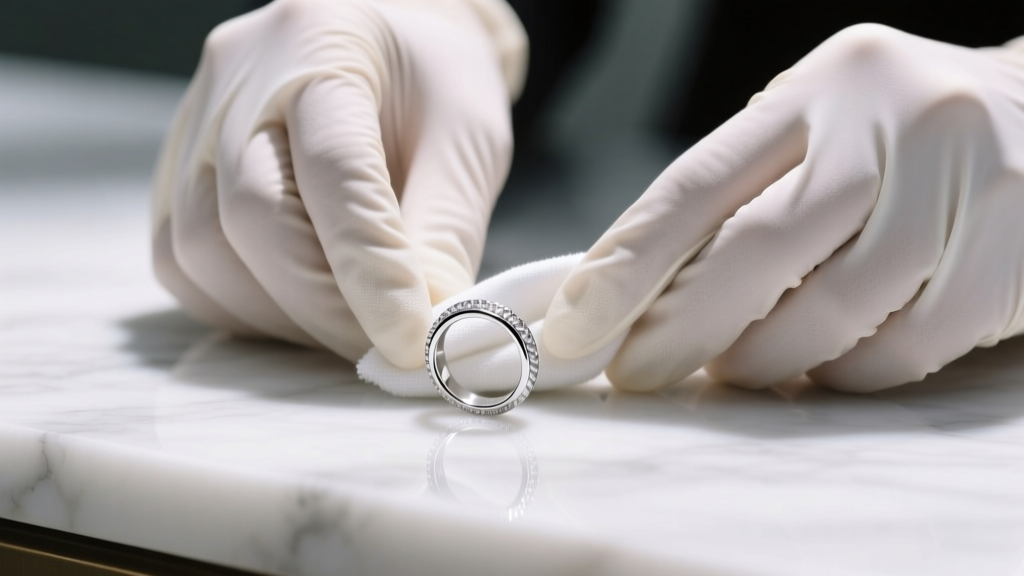
Place your jewelry in the provided plastic or stainless steel basket. Never drop jewelry directly onto the bottom of the steel tank. Direct contact with the vibrating tank floor can scratch soft metals like 18k gold and dampen the transducers, reducing the machine's cleaning efficiency. Lower the basket into the solution. Set the timer for exactly 3 minutes. For heavily soiled pieces, you may run a second 3-minute cycle, but do not exceed 5 minutes continuously, as prolonged exposure can fatigue metal solder joints.
Step 4: The Displacement Rinse and Polish
Remove the basket and lift the jewelry. Rinse it thoroughly under a gentle stream of warm distilled water to wash away suspended dirt and soap residue. Next, dip the piece briefly into a small glass of 99% isopropyl alcohol. The alcohol acts as a dehydrating agent, instantly displacing the water from microscopic crevices and preventing hard water spots. Remove the piece and gently pat it dry with a lint-free microfiber cloth. The Jewelers of America recommends avoiding paper towels, as their wood-pulp fibers can inflict micro-scratches on polished gold and platinum surfaces.
Troubleshooting Common Ultrasonic Issues
My Diamond Looks Cloudy After Cleaning
If your diamond appears milky or cloudy immediately after an ultrasonic cycle, you are likely dealing with hard water spots or a residual soap film. To fix this, skip the tap water rinse entirely. Submerge the ring in 99% isopropyl alcohol for 30 seconds, agitate gently, and blow it dry with a clean, oil-free compressed air duster or a hairdryer on the cool setting.
I Hear a Buzzing or Rattling Noise
While a steady, high-pitched hum is the normal sound of cavitation, a distinct metallic buzzing or rattling indicates a mechanical failure in the jewelry, not the machine. Stop the cycle immediately. A gemstone is loose in its setting, or a solder joint on a chain link has fractured. Remove the piece and consult a professional bench jeweler.
The Metal Looks Dull or Pitted
If your silver or gold jewelry emerges with a dull, frosted, or pitted texture, you have either used a frequency that is too low (industrial cleaners operating at 20-25 kHz can pit soft metals) or left the jewelry in the bath for too long. Stick strictly to 40-42 kHz machines designed specifically for jewelry, and adhere to the 3-minute time limit.
Maintaining Your Ultra Sonic Jewelry Cleaner
To ensure the longevity of your machine's transducers, never use harsh chemicals like bleach, chlorine, or ammonia in the tank. These chemicals can corrode the stainless steel basin and degrade the epoxy bonding the transducers to the metal. Empty the tank after every use, wipe it down with a soft cloth, and leave the lid open to air dry. Store the unit in a dry, room-temperature environment to protect the internal circuitry from humidity-induced corrosion.
Final Thoughts
An ultra sonic jewelry cleaner is an unparalleled tool for maintaining the optical brilliance of your diamonds and the luster of your precious metals. By respecting the physics of cavitation, strictly adhering to material compatibility guidelines, and utilizing the proper chemical solvents, you can achieve professional, jeweler-grade results from the comfort of your home. Remember that when in doubt about a gemstone's treatment or structural integrity, manual cleaning with a soft brush and mild soap remains the safest alternative.


