Beginner Guide To Alexandra Marks Permanent Jewelry Techniques
Master the basics of Alexandra Marks permanent jewelry techniques. Learn welder settings, chain gauges, and beginner setup tips for flawless links.

Introduction to the Alexandra Marks Permanent Jewelry Method
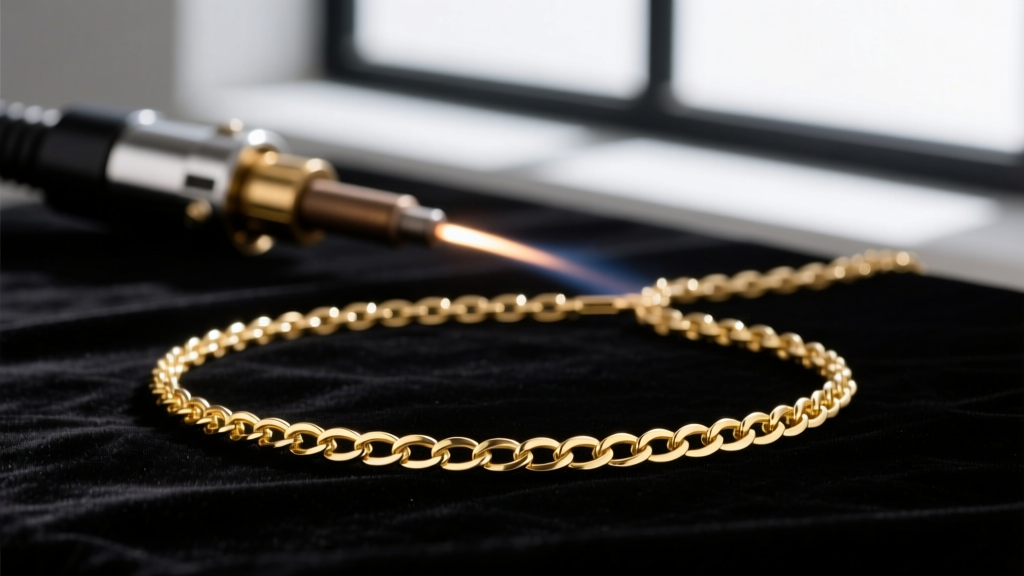
The permanent jewelry industry has evolved dramatically over the last few years, shifting from a niche festival trend to a staple of modern fine jewelry retail. As we navigate the market in 2026, the Alexandra Marks permanent jewelry methodology has emerged as a gold standard for beginners and seasoned jewelers alike. Known for its emphasis on minimalist aesthetics, ultra-low-spark welding, and meticulous chain selection, this approach prioritizes quality over sheer volume. For DIY enthusiasts and aspiring jewelry business owners, understanding the core tenets of this technique is crucial for producing durable, high-end welded bracelets and necklaces that clients will cherish for years.
Unlike older, high-spark methods that often left clients intimidated and chains prone to blowouts, the Alexandra Marks method focuses on precision pulse arc welding. This guide will break down the exact tools, material grades, and welding parameters you need to replicate this flawless, beginner-friendly technique in your own studio or mobile setup.
Essential Equipment and Workspace Setup
To achieve the signature seamless welds associated with top-tier permanent jewelry, your equipment must be calibrated for finesse. The cornerstone of this setup is a reliable pulse arc welder. While there are many entry-level models on the market, professionals consistently recommend the Sunstone Orion 150s or mPulse series for their ability to deliver precise, low-energy sparks that won't melt through delicate 14k gold chains.
The Argon Gas Advantage
One of the most critical, yet frequently overlooked, components of the Alexandra Marks technique is the use of Argon shielding gas. When welding karat gold or sterling silver, oxygen in the air causes oxidation, resulting in dark, brittle welds. By flowing pure Argon gas at a rate of 2 to 3 Cubic Feet per Hour (CFH) directly over the weld joint, you displace the oxygen. This yields a bright, clean, and structurally sound weld that requires minimal post-weld polishing.
Electrode Preparation
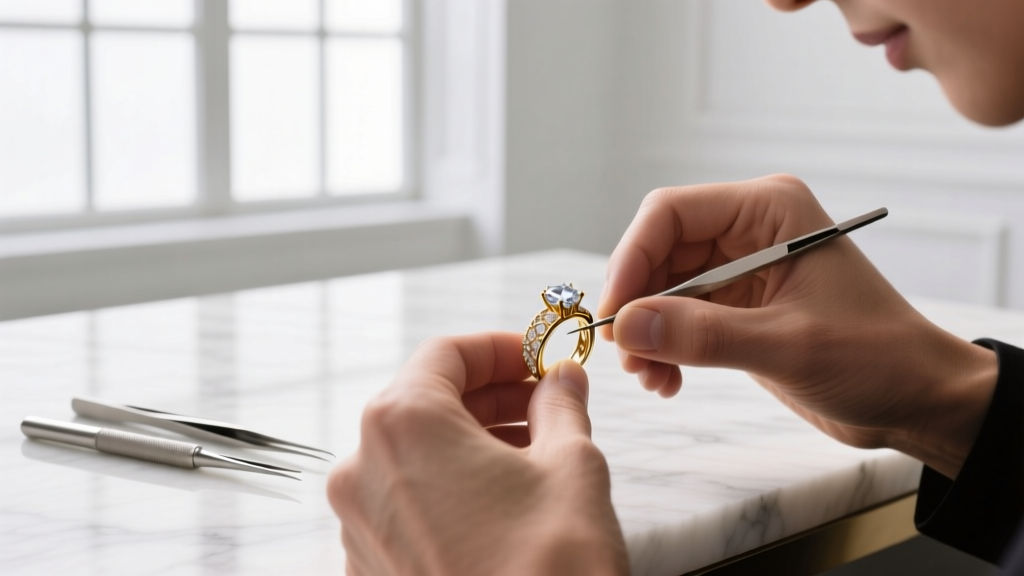
Your tungsten electrode is the needle that delivers the spark. For delicate permanent jewelry chains (typically 1.2mm to 2.0mm in width), you should use a 1/16th-inch tungsten electrode. According to welding best practices outlined by Rio Grande, the electrode must be sharpened to a fine 45-degree point using a diamond lap. A blunt electrode will scatter the spark, causing blowouts and damaging the surrounding chain links.
Chain Selection and Findings
The Alexandra Marks aesthetic relies heavily on dainty, durable chains that catch the light without overwhelming the wrist. When sourcing materials, always opt for solid 14k gold or high-quality 14k gold-filled chains. Avoid sterling silver for beginners; silver conducts heat much faster than gold, making it highly susceptible to melting and blowouts if your welder settings are even slightly too high.
| Chain Style | Width (mm) | Weld Difficulty | Notes |
|---|---|---|---|
| Cable Chain | 1.2 - 1.5 | Easy | Best for beginners; flat links provide a stable welding surface. |
| Curb Chain | 1.8 - 2.2 | Medium | Interlocking links require precise alignment to avoid fusing adjacent links. |
| Figaro Chain | 1.5 - 2.0 | Medium | Varying link sizes require adjusting joules on the fly. |
| Rope Chain | 1.5 - 2.5 | Hard | Twisted geometry scatters the spark; not recommended for first-time welders. |
Sizing the Jump Ring
The jump ring is the bridge between the chain and the weld. For a 1.5mm cable chain, a 3.0mm outer diameter (OD) jump ring made from 22-gauge 14k gold wire is ideal. The jump ring must be perfectly flush when closed with flat-nose pliers before welding. Any gap larger than 0.1mm will result in a weak weld or a visible dark line.
Step-by-Step: Executing the Perfect Weld
Now that your workspace is prepped and your materials are selected, it is time to execute the weld. Follow this precise sequence to ensure a permanent, seamless bond.
- Measure and Cut: Wrap the chain around the client's wrist, adding half an inch for comfort. Cut the chain using flush cutters, ensuring the end link is clean and not pinched.
- Thread and Align: Thread one end of the chain through the jump ring, then thread the other end. Use a copper welding jig or a third-hand tool to hold the chain flat. Copper will not weld to gold, making it the perfect backing material.
- Position the Electrode: Lower the tungsten electrode so it is exactly 1mm to 1.5mm above the seam of the jump ring. Do not let the electrode touch the metal, or it will fuse to the chain.
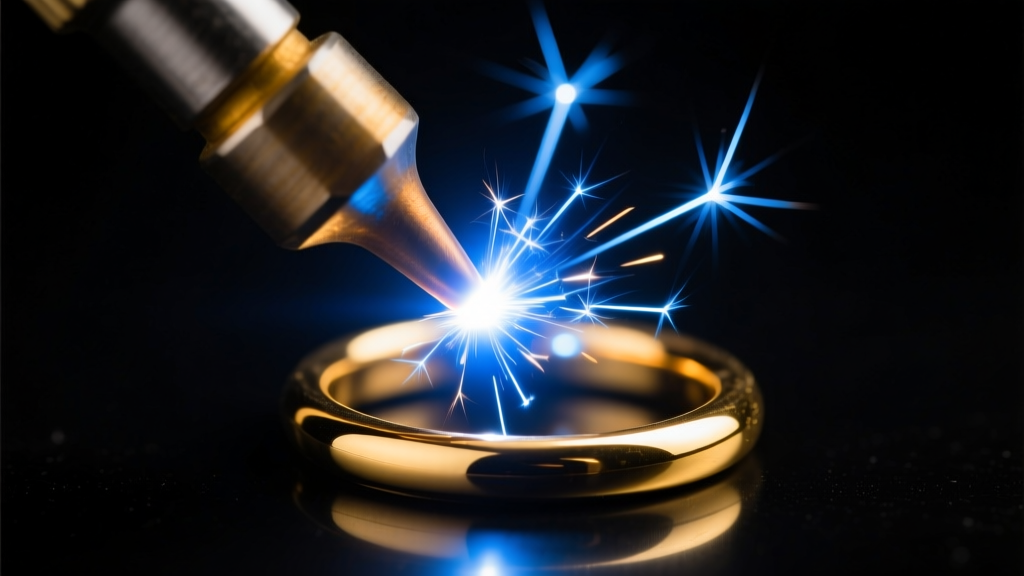
- Purge and Spark: Depress the foot pedal to initiate the Argon gas flow. Wait one second for the gas to purge the oxygen, then trigger the spark. For 14k gold, start at 35 Joules. If the weld looks dull or doesn't fuse, increase by 5 Joules. If it balls up or blows a hole, decrease by 5 Joules.
- Inspect and Polish: Examine the weld under a magnifying lamp. Use a lightweight fiberglass scratch brush to gently remove any microscopic oxidation, revealing a bright, seamless finish.
Troubleshooting Common Beginner Mistakes
Even when following the Alexandra Marks permanent jewelry protocols, beginners will encounter hiccups. Here is how to diagnose and fix the most common issues, drawing on metallurgical principles from the Gemological Institute of America (GIA) regarding alloy melting points.
- The Blowout (Hole in the Chain): This happens when your energy (Joules) is too high, or the electrode is too close to the metal. The 14k gold alloy has melted completely and vaporized. Fix: Drop your setting by 10 Joules and raise the electrode slightly.
- The Brittle Weld (Snaps Easily): Often caused by welding without Argon gas, which introduces oxygen and creates porosity inside the weld joint. Fix: Check your gas tank level and ensure your flow rate is at least 2 CFH.
- Fused Links (Chain is Stiff): You accidentally welded the jump ring to the adjacent chain link. Fix: Carefully use a pair of chain-nose pliers to gently twist and snap the microscopic weld bridge, then re-polish the area.
Business Basics: Pricing and Margins
Mastering the physical technique is only half the battle. To build a sustainable DIY jewelry business in 2026, you must understand your unit economics. The Alexandra Marks model positions permanent jewelry as an accessible luxury, meaning your pricing must reflect high-quality materials and expert craftsmanship.
| Component | Wholesale Cost (per inch) | Retail Price (per inch) | Gross Margin |
|---|---|---|---|
| 14k Gold Cable Chain | $3.50 - $5.00 | $12.00 - $16.00 | ~ 70% |
| 14k Gold Filled Chain | $0.80 - $1.20 | $4.00 - $6.00 | ~ 80% |
| Welding & Labor Fee | $0.00 (Time) | $15.00 - $25.00 (Flat) | 100% |
Conclusion
Diving into the world of welded bracelets can feel daunting, but the Alexandra Marks permanent jewelry method provides a clear, structured pathway to mastery. By investing in a quality pulse arc welder, strictly utilizing Argon shielding gas, and starting with forgiving 14k gold cable chains, you will build the muscle memory required for flawless, permanent links. Remember that consistency in your electrode sharpening and joules settings will ultimately define the quality of your work. Practice on scrap chain, document your successful settings, and soon you will be offering a premium, permanent jewelry experience that rivals high-end boutiques.


