How to Make Beaded Jewelry Instructions for Elastic Gemstone Bracelets
Master how to make beaded jewelry instructions for elastic bracelets. Learn cord sizing, knotting techniques, and gemstone bead selection for lasting wear.

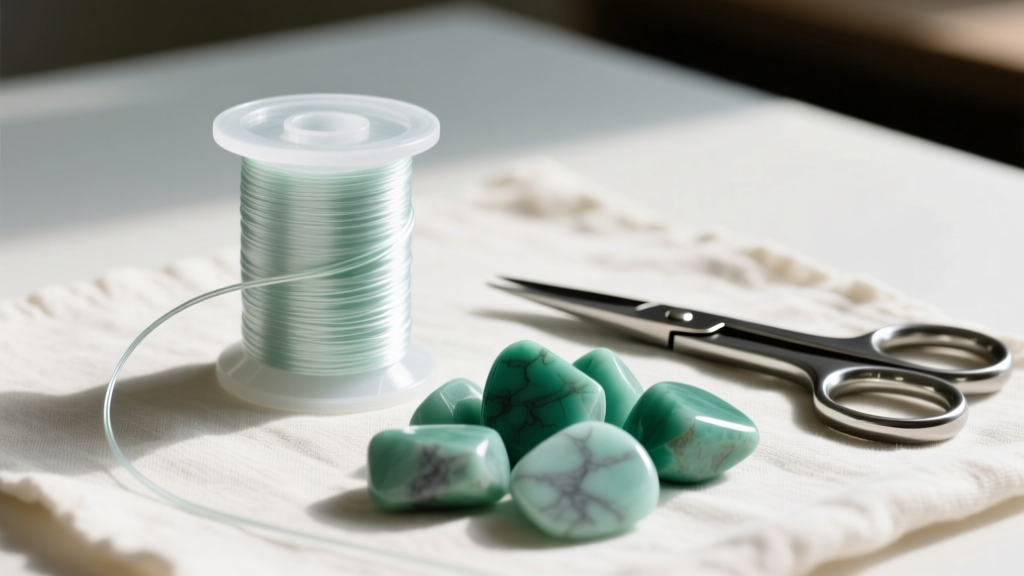
Entering the world of DIY jewelry making can feel overwhelming, but mastering the stretch bracelet is the ultimate gateway project. If you have been searching for reliable how to make beaded jewelry instructions that go beyond vague blog posts and actually address the material science of jewelry crafting, you are in the right place. Elastic gemstone bracelets are not only highly profitable for beginners but also deeply satisfying to craft when you understand the mechanics of tension, knotting, and bead hole compatibility.
In this comprehensive guide, we will break down the exact specifications, material grades, and step-by-step methodologies required to create professional-grade stretch bracelets that will not snap after a week of wear. Whether you are crafting for an Etsy shop or building your personal collection, these techniques will elevate your work from amateur to artisan.
The Material Science of Elastic Cords
Not all elastic cords are created equal. The most common failure point for beginner beaders is selecting the wrong cord composition for their specific bead type. According to Fire Mountain Gems, understanding the polymer base of your cord is critical for longevity.
Polyurethane vs. Elastane (Braided)
- Polyurethane (e.g., Stretch Magic): This is a solid, extruded monofilament cord. It is incredibly strong, highly resistant to snapping under sudden tension, and completely clear. However, it is prone to "plastic deformation"—meaning if it is stretched too far without pre-conditioning, it will permanently lose its memory and become baggy. It is also susceptible to degradation from prolonged UV exposure and natural skin oils.
- Elastane Multifilament (e.g., Opelon): This consists of multiple tiny elastic strands braided or wrapped together. It is much more resistant to UV and oil degradation and offers a softer drape. The downside is that it is difficult to knot securely without the knot slipping or the outer sheath fraying.
For this guide, we will focus on 0.7mm polyurethane cord, the industry standard for gemstone chip and 6mm roundel bracelets, due to its ease of use and superior knot-holding capability when paired with the right adhesive.
Sizing Framework: Cord Diameter vs. Bead Holes
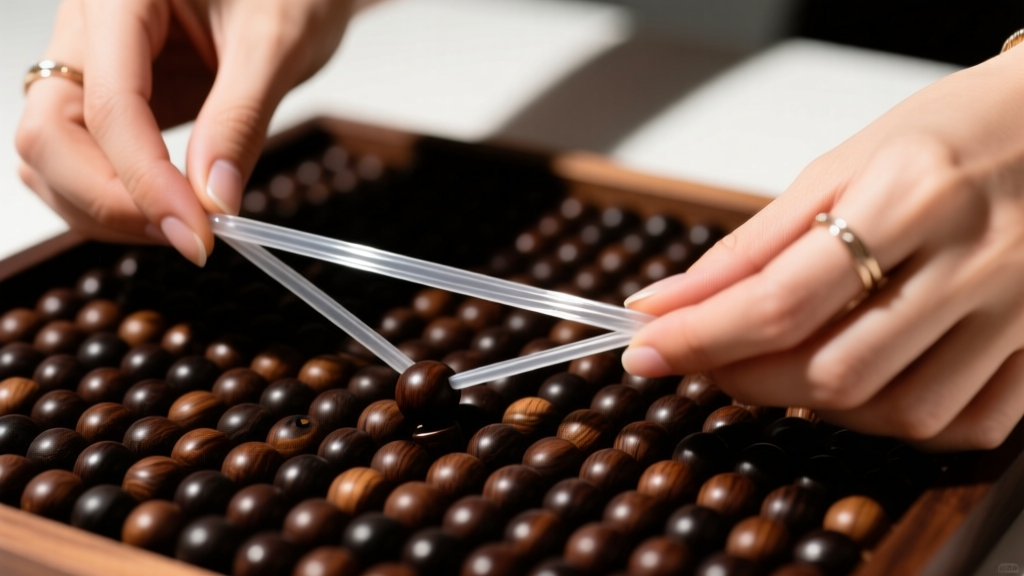
A frequent beginner mistake is forcing a 1.0mm cord through a bead with a 0.6mm hole, causing micro-fractures in the bead or shredding the cord. Conversely, using a cord that is too thin for heavy beads results in excessive friction and eventual snapping. Below is a practical decision framework for matching your cord to your materials.
| Cord Type & Size | Ideal Bead Hole Diameter | Tensile Limit | Best Material Pairing |
|---|---|---|---|
| Stretch Magic 0.5mm | 0.6mm - 0.8mm | Low (approx. 4 lbs) | Glass seed beads (Miyuki 8/0), lightweight pearls |
| Stretch Magic 0.7mm | 0.8mm - 1.2mm | Medium (approx. 7 lbs) | Gemstone chips, 4mm-8mm crystal roundels |
| Stretch Magic 1.0mm | 1.2mm - 1.5mm+ | High (approx. 12 lbs) | Large lampwork beads, heavy metal focal beads |
| Opelon 0.7mm (Flat) | 1.0mm+ | High (braided core) | Pony beads, large-hole wooden beads |
Sourcing High-Quality Gemstone Chips
When learning how to make beaded jewelry instructions for stretch designs, bead quality dictates the final drape. Gemstone chips are graded on a scale from A to D (with A being the highest). B-grade chips offer the best balance for beginners: they have consistent coloring, minimal matrix (host rock) inclusions, and uniformly drilled holes.
Avoid ungraded "bargain bin" chips from unverified marketplaces. These often feature poorly drilled holes with sharp, jagged edges on the inside. These sharp edges act like microscopic saws, cutting through your polyurethane cord within days of wear. Always inspect your first few beads from a new strand; if the drill holes feel rough, use a bead reamer to smooth them, or source from reputable suppliers like Rio Grande or established Etsy lapidary vendors.
Step-by-Step Stretch Bracelet Instructions
Step 1: Pre-Stretch the Cord (Crucial)
Before cutting any cord, pull a 12-inch length taut between your hands and stretch it firmly several times. This process, known as "pre-conditioning," forces the polyurethane to undergo its initial plastic deformation. If you skip this step, the cord will stretch on the wearer's wrist over the first few days, leaving unsightly gaps between your carefully chosen gemstone chips.
Step 2: Calculate Your Bead Count
The standard women's bracelet size is 7 inches. However, the thickness of your beads and the cord itself eats up internal circumference. For 6mm beads on a 7-inch wrist, you will typically need about 7.5 inches of strung beads to achieve a comfortable fit. Lay your beads out on a grooved bead design board to verify the pattern and length before threading.
Step 3: Threading and Tension
Cut an 18-inch length of pre-stretched 0.7mm cord. To create a makeshift needle, dip the last half-inch of the cord into clear nail polish or super glue and let it dry completely to form a stiff tip. Thread your beads, maintaining a slight tension on the cord as you work. Do not let the beads sit loosely on the cord, as this will result in a stiff, unyielding bracelet.

Step 4: The Surgeon's Knot with Cyanoacrylate
The knot is where 90% of beginner bracelets fail. A standard overhand knot will slip under the cyclic loading of a wrist moving throughout the day. Instead, use a Surgeon's Knot:
- Cross the left cord over the right and wrap it around twice (instead of once).
- Pull tight firmly. You should hear a slight "squeak" as the polyurethane grips itself.
- Cross the right cord over the left and wrap it around once to complete the square knot base.
- Pull all four ends tightly to seat the knot flush against the adjacent bead.
Apply a microscopic drop of cyanoacrylate gel adhesive (like Loctite Gel Control) directly to the knot. Avoid liquid super glue, which will wick into the bead holes and cause discoloration. Let it cure for 60 seconds, then trim the tails flush using precision micro-shears or Xuron flush cutters. Tuck the knot into the hole of the adjacent bead if possible.
Troubleshooting Common Beginner Failures
Even with perfect instructions, variables in materials can cause issues. Here is how to diagnose and fix the most common problems:
- Problem: The bracelet feels too stiff and won't drape around the wrist.
Diagnosis: You strung the beads too tightly, or you used beads with holes that are exactly the same diameter as the cord, leaving no room for the cord to bend.
Fix: Remove a bead and re-knot, or switch to a 0.5mm cord if the bead holes permit. - Problem: The knot keeps slipping apart despite using glue.
Diagnosis: You used a standard square knot instead of a surgeon's knot, or the cord was dusty/oily when tied.
Fix: Wipe the cord ends with a bit of rubbing alcohol before knotting to remove manufacturing residue, and ensure you are doing the double-wrap on the first half of the knot. - Problem: The cord snaps cleanly near the knot after a few weeks.
Diagnosis: The flush cutters you used to trim the cord tail left a sharp, angled edge that eventually sliced through the cord under tension.
Fix: Always use high-quality flush cutters designed for jewelry, and trim the cord leaving a 1mm tail, melting the very tip with a quick pass of a lighter flame to create a smooth, rounded nub.
Final Thoughts on Building Your Craft
Mastering the stretch bracelet provides a foundational understanding of tension, material limits, and ergonomic sizing that applies to all areas of jewelry making. By focusing on the micro-details—pre-stretching your polyurethane, matching cord gauge to bead hole diameter, and utilizing a surgeon's knot with gel adhesive—you transition from simply assembling beads to engineering durable, wearable art. Keep your workspace organized, invest in quality lapidary materials, and let the natural beauty of the gemstones guide your design journey.


