How to Choose Elastic Cord for Jewelry Making: Beginner Guide
Learn how to choose the best elastic cord for jewelry making. Discover sizing, knotting tricks, and material tips to stop your beaded bracelets from breaking.

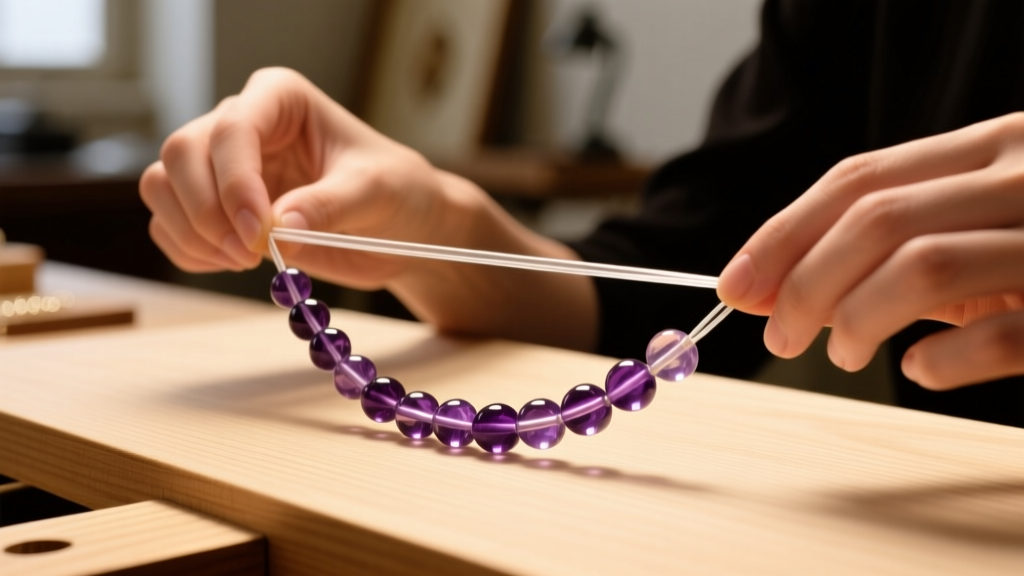
Why Your Beaded Bracelets Keep Snapping
There is nothing more discouraging for a beginner beader than spending hours stringing a beautiful gemstone bracelet, only to have it snap and scatter across the floor the first time you put it on. The culprit is almost never the beads themselves; it is a fundamental misunderstanding of how to select and handle elastic cord for jewelry making. Many beginners assume all stretchy strings are created equal, grabbing whatever is cheapest at the local craft store. This inevitably leads to sagging, fraying, or catastrophic snapping.
To create durable, professional-looking stretch bracelets, you must understand the polymer science behind the cord, match the exact millimeter thickness to your bead weight, and use knotting techniques that accommodate the material's unique memory. As of 2026, modern polyurethane blends have seen slight improvements in UV resistance, but the fundamental rules of tension, friction, and adhesive chemistry remain entirely unchanged. Let us break down exactly how to choose and use the right elastic for your next project.
The Material Showdown: Polyurethane vs. Braided Elastic
When shopping for elastic cord for jewelry making, you will primarily encounter two distinct materials. Each behaves differently under tension and requires a different approach to knotting.
1. Solid Polyurethane (e.g., Stretch Magic)
Polyurethane cord is a solid, round, single-strand elastomer. It is incredibly strong, capable of stretching up to 300% of its original length without snapping. Because it is solid, it does not fray, making it easy to thread through beads without a needle. However, it has a high "memory," meaning it will try to shrink back to its original shape, which can cause knots to slip or pull apart if not secured properly. It is also susceptible to degradation from prolonged exposure to body oils and UV light.
2. Braided Elastic (e.g., Elonga or Elastic Silk)
Braided elastic is composed of multiple fabric or rubber strands woven together. It has a much lower stretch factor (usually around 50% to 100%) and feels more like a traditional thread. The major advantage of braided elastic is its failure mode: instead of snapping suddenly, it frays and weakens over time, giving you a visual warning to restring your bracelet before it breaks. Knots hold much better in braided elastic due to the high surface friction, but the ends can fray while stringing, requiring a beading needle or a folded wire threader.
Expert Insight: Never use flat, ribbon-like elastic meant for sewing waistbands. It lacks the tensile strength to support the point-load friction of gemstone bead holes and will tear laterally when stretched over the wrist.
The Definitive Elastic Cord Sizing Chart
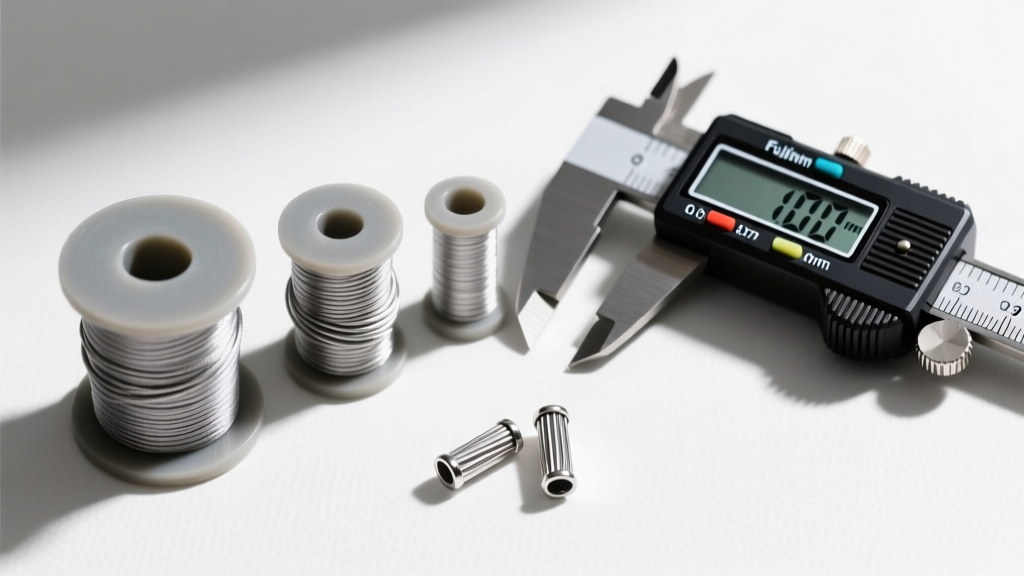
The most common mistake beginners make is using a cord that is too thin for heavy beads, or too thick to pass through the bead holes. According to the Fire Mountain Gems Encyclopedia, the golden rule of stringing is that the cord should fill roughly 75% of the bead hole to minimize friction and movement. Below is a practical sizing framework for standard jewelry supplies.
| Cord Diameter | Ideal Bead Size & Material | Minimum Hole Requirement | Best Cord Type |
|---|---|---|---|
| 0.5mm | Seed beads, 2-4mm pearls, lightweight glass | 0.6mm | Solid Polyurethane |
| 0.7mm | 4-6mm standard crystals, glass beads | 0.8mm | Solid Polyurethane |
| 0.8mm - 1.0mm | 8mm+ gemstones, heavy metal beads, lava rock | 1.0mm+ | Braided Elastic (Multi-strand) |
If you are working with natural gemstones like turquoise or jasper, be aware that their drill holes are often rough and narrow. You may need to use a bead reamer to smooth and widen the holes before stringing them on a 0.8mm cord.

Step-by-Step: Tying a Bulletproof Surgeon's Knot
Polyurethane cord is notoriously slippery. A standard overhand knot will easily pull through itself when subjected to the outward pressure of a wrist. To secure your elastic cord for jewelry making, you must use a Surgeon's Knot combined with a flexible adhesive.
- Pre-Stretch the Cord: This is the most skipped step. Pull the cord firmly between your hands 3 to 4 times before stringing any beads. This relaxes the polymer memory and prevents the bracelet from sagging after the first wear.
- String Your Beads: Leave at least 4 inches of tail on both ends to ensure you have enough leverage to pull the knot tight.
- The First Throw (Double Wrap): Cross the left tail over the right. Instead of wrapping it through the loop once, wrap it through twice. Pull tight. This double friction lock prevents the knot from loosening while you prepare the second half.
- The Second Throw (Single Wrap): Cross the right tail over the left and wrap it through the loop once. Pull the knot as tight as physically possible, tugging on all four strands (the two tails and the two bead strands).
- Apply Adhesive: Place a tiny, precise drop of flexible glue directly onto the knot.
- Hide the Knot: Once the glue is tacky, pull the adjacent bead over the knot to hide it inside the bead hole.
The Great Glue Debate: What to Use (and What to Avoid)
The adhesive you choose can make or break your bracelet. According to the Rings & Things Stringing Materials Guide, flexibility is paramount.
- GS Hypo Cement: The industry standard. It is a solvent-based, flexible adhesive that wicks into the fibers of the knot without hardening into a brittle shell. It takes about 15 minutes to set.
- E6000 Jewelry Adhesive: Excellent for braided elastic, but very thick. It requires 24 hours to fully cure and can leave a messy residue on glass or crystal beads if you are not careful.
- WARNING - Cyanoacrylate (Super Glue): Never use Super Glue on polyurethane cord. Cyanoacrylate causes an exothermic chemical reaction with polyurethane elastomers. It will crystallize and burn through the cord, guaranteeing that your bracelet will snap within 48 hours of wear.
Troubleshooting Common Failure Modes
Even with the right cord and knot, bracelets can fail. Here is how to diagnose and fix the most common issues encountered by beginners.
Sharp Drill Holes Sawing Through the Cord
Natural stone beads, especially those sourced from overseas wholesalers, often have rough, jagged edges inside the drill hole. As the bracelet stretches and moves, these sharp edges act like tiny saws, cutting through the polyurethane over time. The Fix: Inspect bead holes against a light source. If you see jagged edges, use a diamond-coated bead reamer to smooth the interior, or place a small, smooth glass "buffer" bead on either side of the sharp stone.
UV and Oil Degradation
Polyurethane is essentially a plastic, and plastics degrade under ultraviolet light and prolonged contact with the acidic oils and lotions on human skin. A bracelet worn daily in the sun will become cloudy, stiff, and brittle within 12 to 18 months. The Fix: Educate your customers (or yourself) that stretch bracelets are "semi-permanent" jewelry. Plan to restring valuable gemstone pieces once a year as routine maintenance.
Using Metal Crimp Tubes on Elastic
Beginners often try to secure elastic cord using metal crimp tubes and crimping pliers, the same way they would finish beading wire. The Fix: Never crush a metal crimp onto elastic. The sharp, folded edges of the flattened metal will instantly sever the elastomer fibers. If you need a metallic finish to hide your knot, use a glued crimp cover or a knot-hiding bead cap instead.
Final Thoughts on Elastic Stringing
Mastering elastic cord for jewelry making is about respecting the material's physical limits. By matching the correct millimeter thickness to your bead weight, pre-stretching the polymer, tying a proper surgeon's knot, and avoiding destructive adhesives, you can create stretch bracelets that are both beautiful and remarkably durable. Keep your digital calipers handy, invest in high-quality GS Hypo Cement, and always keep a spool of 0.7mm polyurethane in your toolkit for those standard, everyday beading projects.


