How to Make Jewelry From Breast Milk: DIY Beginner Guide
Learn how to make jewelry from breast milk safely. This beginner DIY guide covers preservation, non-yellowing resin casting, and avoiding mold.

The Science of Preservation: Why Breast Milk Spoils in Resin
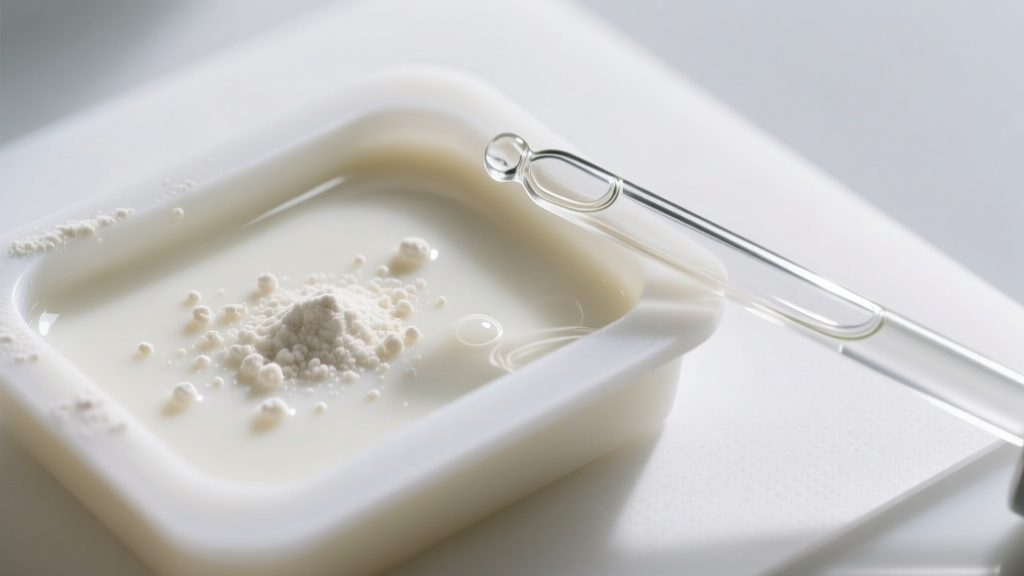
Creating sentimental keepsakes from breast milk is a beautiful way to commemorate a nursing journey, but it presents a unique chemical challenge. Breast milk is approximately 87% water, alongside lipids, proteins, and carbohydrates. If you attempt to encapsulate raw or improperly preserved milk directly into epoxy or UV resin, the trapped water will prevent the resin from curing properly, while the organic matter will inevitably rot, leading to unsightly black mold and foul odors within weeks.
To successfully learn how to make jewelry from breast milk, you must act as both a jeweler and a food scientist. The core objective is complete dehydration. By removing 100% of the moisture and breaking down the remaining solids into a micron-level powder, you create a stable, inert pigment that can be safely suspended in jewelry-grade resin. As of 2026, while commercial preservation powders have improved, understanding the underlying thermodynamics of dehydration remains the single biggest factor separating professional-quality keepsakes from amateur failures.
Essential Tools and Materials
Do not substitute materials when working with organic inclusions. Using hardware-store resin or improper molds will result in yellowing and structural failure. Below is the professional-grade starter kit required for this process.
| Item | Specification / Grade | Purpose | Estimated Cost |
|---|---|---|---|
| Epoxy Resin | Aliphatic, UV-stabilized (e.g., ArtResin) | Crystal-clear encapsulation without yellowing | $35 - $55 |
| Preservation Powder | Modified Tapioca/Cornstarch blend | Binds residual moisture during heating | $15 - $25 |
| Silicone Molds | Platinum-cure, shallow bezels (under 1/2 inch) | Prevents exothermic flash-curing | $12 - $20 |
| Nitrile Gloves | Powder-free, 4-mil to 6-mil thickness | Skin protection against resin sensitizers | $15 |
| Craft Grinder | Burr coffee grinder (dedicated to crafts) | Milk powder micronization | $25 - $40 |
Step 1: Dehydrating and Powdering the Milk
The preservation phase is where most beginners fail. You need approximately 15ml (half an ounce) of breast milk to yield enough powder for 3 to 5 pendants, depending on your desired opacity.
The Heating Process
Pour the milk into a non-stick saucepan or a glass double boiler. Add your preservation powder (typically 1/2 teaspoon per 15ml of milk) and whisk continuously. Heat the mixture over medium-low heat, aiming for a steady temperature of 150°F (65°C). Do not exceed 170°F, as high heat will trigger the Maillard reaction, scorching the milk proteins and turning your final jewelry piece a permanent, unappealing yellow-brown.
As the water evaporates, the milk will transform into a thick, paste-like consistency. Once it pulls away from the sides of the pan, transfer it to a parchment-lined baking sheet. Spread it as thinly as possible.
Final Dehydration and Grinding
Place the baking sheet in a food dehydrator set to 130°F (54°C) for 12 to 24 hours. If you do not have a dehydrator, use an oven on its lowest possible setting with the door propped open slightly to allow moisture to escape. The milk is fully dehydrated only when it snaps cleanly and crumbles into dust; it should not bend or feel leathery. Perform the 'clump test': pinch the dried flakes. If they stick together, moisture remains.
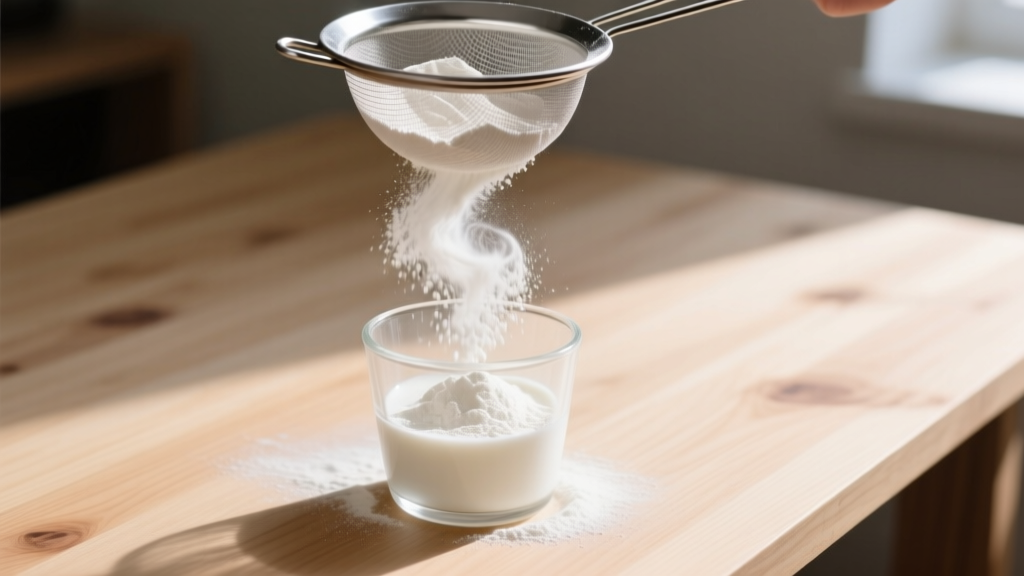
Once bone-dry, grind the flakes in your dedicated craft grinder. Pulse in 10-second intervals to avoid heating the powder with the blade's friction. Sift the resulting dust through a fine stainless steel mesh sieve. Large flakes will create cloudy halos in your resin, so re-grind any remnants until you achieve a uniform, talc-like powder.
Step 2: Mixing and Casting Without Bubbles
When selecting a resin, opt for an aliphatic epoxy resin formulated with HALS (Hindered Amine Light Stabilizers) and UV absorbers. Aromatic epoxies, while cheaper, are highly susceptible to UV degradation and will yellow rapidly when exposed to sunlight. According to ArtResin's chemical guidelines, UV stabilizers are non-negotiable when encapsulating white or light-colored organic materials, as yellowing is much more visible against a white background than against dark pigments.
The Mixing Ratio
For a standard opaque, pearl-like finish, use exactly 1/8 teaspoon of breast milk powder per 10ml of mixed resin. If you prefer a translucent, ethereal look, reduce the powder to a mere pinch. Always mix your Part A (resin) and Part B (hardener) first, stirring slowly in a figure-eight motion for a full 3 to 5 minutes to ensure a complete chemical crosslink. Only add the milk powder after the resin is fully blended.
Fold the powder into the resin gently. Whipping the mixture will introduce micro-bubbles that are nearly impossible to remove once the resin is poured into shallow bezel molds.
Casting and Curing
Pour the mixture into your silicone molds. To eliminate surface tension bubbles, pass a butane torch or heat gun quickly over the surface. Warning: Do not hold the heat source in one spot. Localized overheating will scorch the milk powder suspended near the surface, creating permanent brown scorch marks. Cover the molds with a dust-proof dome and allow them to cure at a stable room temperature of 72°F to 75°F (22°C to 24°C) for 24 to 48 hours.
Troubleshooting Common Failure Modes
Even with meticulous preparation, environmental variables can affect your cure. Use this diagnostic chart to troubleshoot your results.
| Issue | Root Cause | Corrective Action |
|---|---|---|
| Severe Yellowing | UV exposure or overheating during torching | Switch to a high-grade aliphatic resin; use a lighter touch with the heat gun. |
| Internal Mold / Rot | Incomplete dehydration of milk solids | Extend dehydrator time; ensure powder passes the 'clump test' before mixing. |
| Cloudy Halos | Milk powder ground too coarsely | Sift powder through a finer mesh; regrind large particles to a micron dust. |
| Sticky / Tacky Surface | Inaccurate 1:1 mixing ratio or cold room | Use digital scales instead of volume cups; cure in a room strictly above 70°F. |
Finishing: Sanding and Polishing
Once fully cured, pop the resin pieces out of the silicone molds. The edges will likely be sharp, and the surface may have minor imperfections. To achieve a glass-like, professional finish, you must wet-sand the resin.
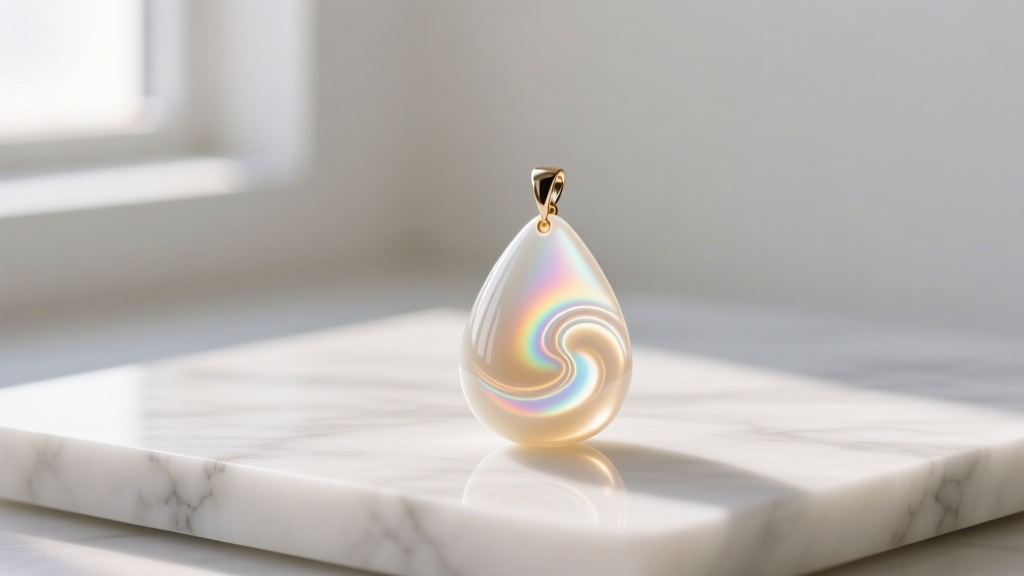
Submerge your piece and a block of wet/dry sandpaper in a bowl of water. Progress sequentially through the grits: 400, 800, 1200, 2000, and finally 3000. Do not skip grits, as deep scratches from the 400-grit paper will remain visible if you jump straight to 1200. After sanding, apply a specialized plastic polishing compound (such as Novus 2) with a microfiber cloth, buffing in tight circles until the surface is optically clear and smooth. Follow up with Novus 1 for a final protective shine.
Safety and Storage Best Practices
Handling bodily fluids and toxic chemicals requires strict adherence to safety protocols. The CDC's standard precautions dictate that any handling of human milk should be done with intact skin barriers. Always wear your nitrile gloves during the heating and powdering phases to prevent cross-contamination and protect your skin.
Furthermore, uncured epoxy resin is a known contact sensitizer. Repeated skin exposure without gloves can lead to severe, lifelong allergic contact dermatitis. Work in a well-ventilated area, wear a respirator mask rated for organic vapors when sanding cured resin, and never pour leftover resin down your household drain.
Finally, to preserve the longevity of the finished jewelry, store breast milk pendants in a cool, dark jewelry box when not being worn. While UV-stabilized resins significantly delay yellowing, no resin is 100% immune to decades of direct, unfiltered sunlight. Treat these pieces as delicate heirlooms, and they will safely preserve your nursing memories for a lifetime.


