Don't Rob the Jewelry Store and Make Me a Grill: DIY Gold Guide
Skip the retail markup. Learn how to source dental-grade gold, safe molding compounds, and casting supplies to DIY custom grillz at home.

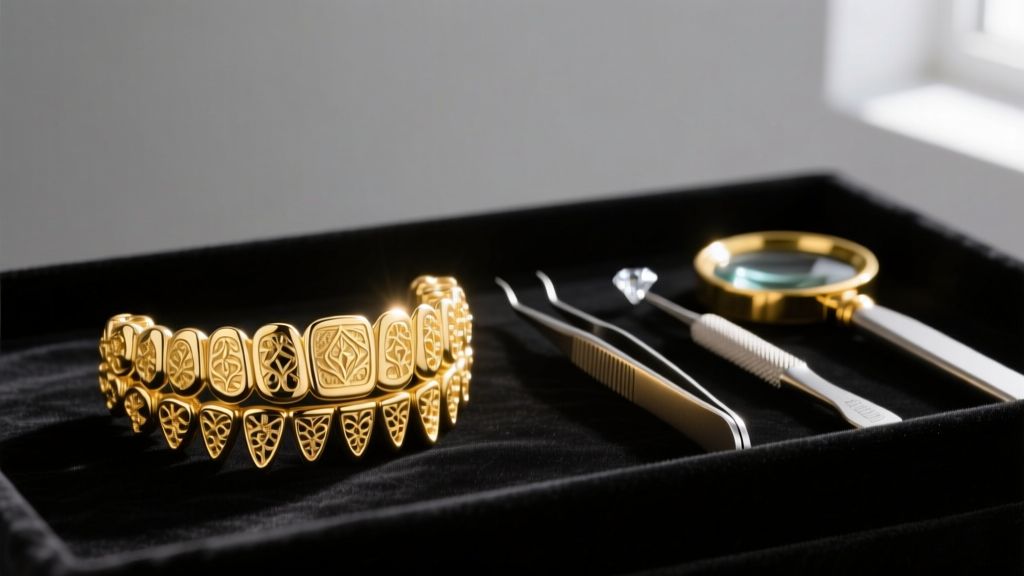
When hip-hop artists and influencers joke about wanting to "rob the jewelry store and make me a grill," they are usually calling out the astronomical retail markups on custom dental jewelry. A simple 6-tooth gold grill can easily retail for $800 to $2,500 at a boutique jeweler, despite the raw materials costing a fraction of that price. You don't need to commit a felony—or pay felony-level prices—to achieve a flawless, custom-fitted smile. In the 2026 DIY jewelry landscape, accessible desktop casting equipment and direct-to-consumer dental alloys have made it entirely possible to fabricate professional-grade grillz from your home studio.
However, the mouth is a harsh, acidic, and high-pressure environment. You cannot simply melt down old jewelry rings and expect a safe or durable result. This guide breaks down the exact material properties, metallurgical requirements, and safe molding compounds you need to DIY custom grillz without compromising your oral health.
The Metallurgy of the Mouth: Why Standard Jewelry Gold Fails
The human mouth is an electrochemical battery. Saliva acts as an electrolyte, and the constant mechanical force of mastication (chewing) requires materials with high yield strength. Standard 18k or 24k jewelry gold is far too soft for dental applications; it will warp, scratch, and lose its retention fit within weeks. Furthermore, improper alloying can lead to galvanic shock—a sharp, electrical pain caused when dissimilar metals in the mouth interact with saliva.
Understanding Dental Gold Alloys
According to the American Dental Association, dental casting gold alloys are classified into four types based on their hardness and intended use. For removable grillz (which do not bear the full brunt of chewing forces like permanent crowns), a Type II or Type III medium-hard alloy is ideal.
- Gold (Au): Provides tarnish resistance and biocompatibility. Grillz typically range from 10k (41.7% gold) to 14k (58.3% gold). Going higher than 14k compromises structural integrity.
- Silver (Ag): Increases fluidity during the casting process but can introduce a greenish tint if not balanced with copper.
- Copper (Cu): The primary hardening agent. It increases the Vickers Hardness (HV) of the alloy, ensuring the grill snaps securely onto the teeth without bending.
- Palladium (Pd) or Platinum (Pt): Often added to white gold grillz to prevent the alloy from reacting with sulfur in the mouth, which causes severe tarnishing.
Expert Warning: Never use scrap jewelry of unknown origin for dental casting. Nickel is a common cheap hardener in commercial white gold, but it is a known contact allergen that can cause severe oral mucosal reactions and gingivitis when worn against the gums for extended periods.
Sourcing Materials: Beating the "Robbery" Markup
To truly embrace the DIY ethos, you must bypass the middleman. Sourcing raw casting grain and dental-specific molding compounds directly from metallurgical suppliers is the key to keeping costs under $150 per project. Reputable suppliers like Rio Grande Jewelry Supply offer specialized casting grains that are pre-alloyed for optimal melting temperatures and flow characteristics.
| Component | Retail Jeweler Cost | DIY Sourcing Cost | Material Specification |
|---|---|---|---|
| Custom Fitting & Mold | $50 - $150 | $12 - $25 | Food-safe Platinum-Cure Silicone |
| Gold Material (6-tooth, 14k) | $400 - $1,200 | $180 - $350 | 14k Yellow Dental Casting Grain |
| Labor & Casting Fee | $200 - $800 | $0 (if using home kiln) | Lost-wax casting investment |
| Total Estimated Cost | $650 - $2,150+ | $192 - $375 |
While the upfront cost of a tabletop centrifugal caster or an induction melting machine might seem steep (ranging from $400 to $1,500), the per-unit cost of your materials drops dramatically, making this a highly viable setup for independent jewelry makers.
Safe Molding: Alginate vs. Platinum-Cure Silicone
The foundation of a perfect grill is a flawless impression of the teeth. If the mold shrinks or distorts, the final gold casting will not seat properly, leading to gum irritation and trapped food particles.
Why You Must Avoid Tin-Cure Silicones
In general DIY jewelry making, tin-cure (condensation) silicone is a popular, cheap molding rubber. However, it is not food-safe and releases toxic byproducts (like ethyl alcohol) during the curing process. For intraoral use, you must use either:
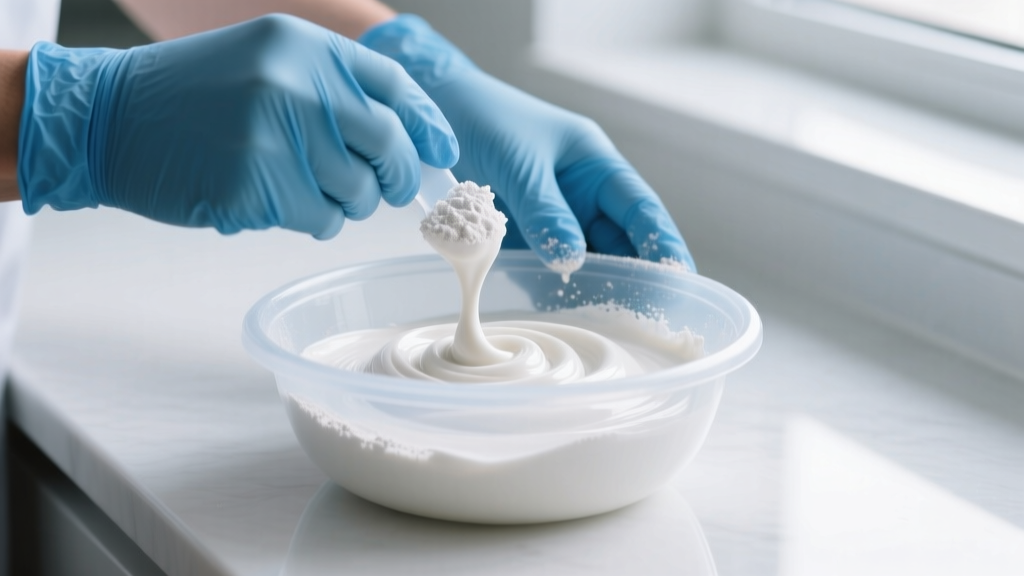
- Dental Alginate: An inexpensive, water-based powder that sets in minutes. It is highly accurate but degrades quickly, meaning you must pour your stone model immediately.
- Platinum-Cure Silicone (Addition Silicone): The gold standard for DIY grillz. It is FDA-approved for oral contact, exhibits virtually zero shrinkage, and can be poured multiple times. Look for brands specifically labeled as "intraoral" or "dental impression" silicones.
Once the impression is taken, it must be filled with a high-strength dental stone (like Class IV die stone) rather than standard plaster. Dental stone has a much higher compressive strength and lower expansion rate, ensuring your wax carving matches the exact dimensions of the wearer's teeth.
The Lost-Wax Process for Dental Contours
Carving wax for a grill requires a different approach than carving a pendant or a ring. You are essentially creating a micro-thin shell that must wrap precisely around the cervical margin (the gumline) of the tooth without impinging on the gingival tissue.
Wax Selection and Spruing
Use a hard dental baseplate wax or a specialized inlay wax. These waxes have a high melting point and low thermal expansion, which is critical when burning out the mold. When attaching the sprue (the channel through which the molten gold will flow), attach it to the thickest part of the wax pattern—usually the lingual (back) side of the central incisors. A 10-gauge or 12-gauge wax sprue former is typically sufficient to ensure a complete cast without premature freezing of the metal.
After investing the wax tree in a phosphate-bonded investment powder and burning it out in a kiln at 1350°F (732°C), the mold is ready for casting. The gold alloy must be heated to approximately 1900°F (1038°C) before the centrifugal force drives it into the microscopic details of the tooth impression.
Finishing and Polishing: Achieving the Mirror Shine
A rough casting straight out of the investment mold will look dull and oxidized. Achieving the iconic, reflective "mirror shine" of a premium grill requires a multi-step abrasive process.
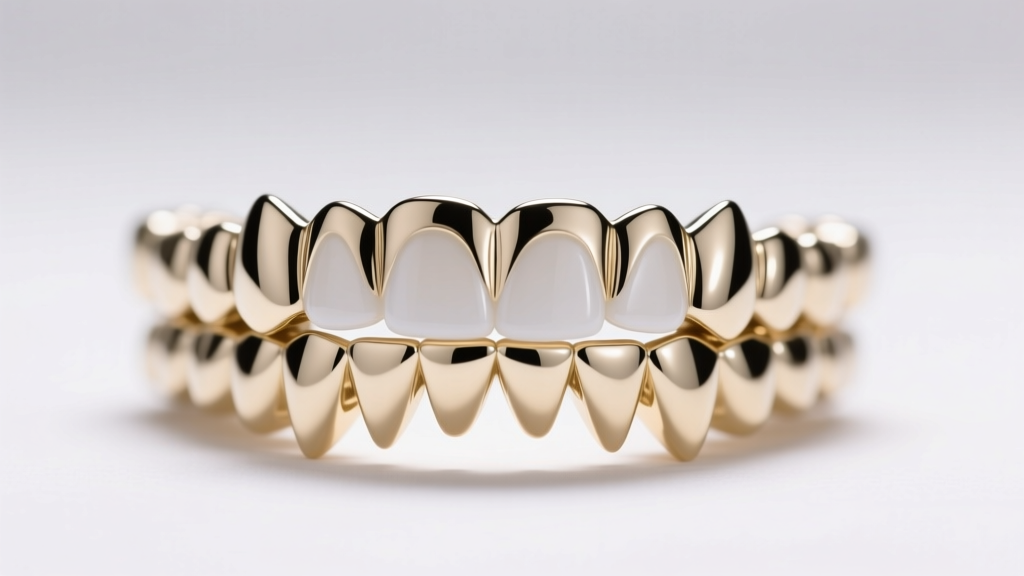
- Quenching and Pickling: After casting, quench the piece in water and drop it into a warm citric acid or sodium bisulfate pickle solution to remove surface oxidation and flux residue.
- Pre-Polishing: Use a soft brass brush with soapy water, followed by a medium-grit rubber polishing wheel to smooth out any minor porosity or casting lines.
- Final Buffing: Apply a high-quality jeweler's rouge (like red iron oxide or green chromium oxide) to a clean muslin buffing wheel. Keep the piece moving to avoid generating excessive heat, which can warp the thin gold walls.
- Ultrasonic Cleaning: Finish by placing the grill in an ultrasonic cleaner with a mild, ammonia-free jewelry solution to remove any leftover polishing compounds from the deep crevices between the teeth.
By mastering these material properties and techniques, you completely eliminate the need to overpay at retail. You aren't just saving money; you are gaining total control over the alloy purity, the fit, and the artistry of your custom dental jewelry.


