How Do You Make Your Own Jewelry Last? Expert DIY Care
Learn how do you make your own jewelry last with expert cleaning, sealing, and maintenance tips for wire-wrapped, beaded, and resin DIY pieces.

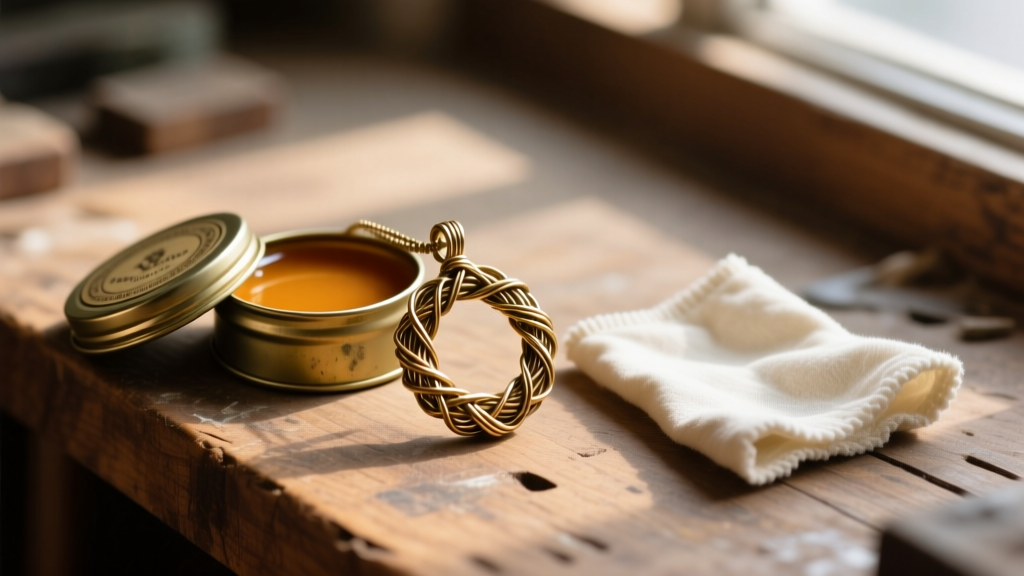
When beginners first ask how do you make your own jewelry, they almost exclusively focus on assembly techniques—mastering the wrapped loop, perfecting the resin pour, or securing a crimp bead. However, the true mark of a professional maker lies in what happens after the pliers are put down. Post-creation care, sealing, and maintenance dictate whether a handmade piece becomes a cherished heirloom or a tarnished disappointment in a customer's drawer.
This guide bypasses generic advice and dives deep into the metallurgy, chemistry, and material science required to protect your DIY jewelry. Whether you are working with raw copper wire, UV resin, or porous gemstones, understanding the specific vulnerabilities of your mediums is essential for long-term durability.
The Hidden Final Step: Sealing and Finishing DIY Metals
Base metals like copper, brass, and bronze are staples in DIY wire wrapping due to their malleability and low cost. However, they are highly reactive to the sulfur and moisture in human skin and ambient air. If you apply a liver of sulfur patina to antique your wire work, sealing it is non-negotiable to prevent the darkened recesses from rubbing off onto the wearer's skin.
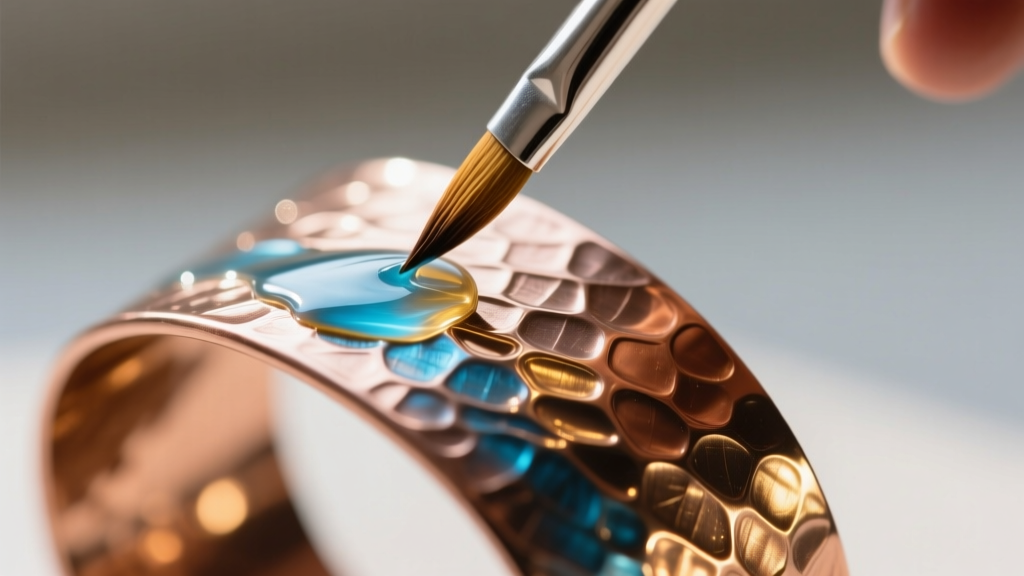
For heavy-wear items like rings and cuffs, Ganoksin and other metallurgical resources recommend Everbrite ProtectaClear. This is a polyurethane-based, self-leveling coating specifically formulated for metals. Unlike cheap aerosol clear coats that yellow and flake within weeks, ProtectaClear cures to a microscopic, flexible barrier that withstands the natural expansion and contraction of body-heated metals.
Application Protocol for ProtectaClear
- Prep: Degrease the metal completely using acetone. Any fingerprint oil left on the wire will trap moisture under the sealant, causing localized verdigris (green corrosion).
- Coat 1: Apply a thin layer with a high-density foam brush. Allow to dry for 45-60 minutes until tack-free.
- Coat 2: Apply a second coat within 24 hours to ensure cross-linking of the polymers. Two coats provide roughly 1.5 mils of protection, sufficient for daily wear.
For sterling silver pieces where you want to maintain a natural metallic feel without a plastic-like topcoat, Renaissance Wax is the industry standard. Originally developed by the British Museum, this micro-crystalline wax fills the microscopic pores of the silver, blocking hydrogen sulfide from triggering the tarnish reaction. Buff it vigorously with a microfiber cloth after application to avoid a cloudy residue.
Medium-Specific Cleaning and Maintenance Protocols
Different DIY mediums require drastically different cleaning chemistries. Using an ultrasonic cleaner on the wrong material can shatter gemstones or melt adhesives. Below is a decision matrix for cleaning common DIY jewelry materials.
| DIY Medium | Safe Cleaning Agent | Recommended Tool | Critical Avoidances |
|---|---|---|---|
| Raw Copper/Brass Wire | Lemon juice & fine sea salt dip | Soft bristle toothbrush | Ammonia-based cleaners (causes stress corrosion cracking) |
| UV & Epoxy Resin | 91% Isopropyl Alcohol | Lint-free microfiber pad | Acetone or MEK (will melt and cloud the resin surface) |
| Polymer Clay | Mild dish soap & warm water | Q-tips for crevices | Alcohol (leaches plasticizers, making clay brittle) |
| Oxidized Sterling Silver | Baking soda paste (spot clean only) | Fingertip application | Silver dip liquids (will strip intentional liver of sulfur patinas) |
Neutralizing Acid Dips for Wire Workers
If you use a lemon juice and salt bath to brighten raw copper wire before wrapping, you must neutralize the acid afterward. Failing to do so leaves microscopic acidic residue that will cause the wire to turn dark brown and brittle within days. Always follow an acid dip with a 5-minute soak in a water and baking soda solution (1 tablespoon per cup of water), then rinse with distilled water to prevent hard water spots.
Gemstone-Specific Care in Beaded Assemblies
When sourcing materials from suppliers like Fire Mountain Gems, you will encounter a vast array of stone hardness levels. The Mohs Hardness Scale dictates how you must instruct your customers to clean their beaded pieces.
High-Risk Porous Stones (Mohs 3 to 6)
Stones like turquoise, malachite, lapis lazuli, and opals are highly porous and chemically sensitive. Turquoise, for example, is a hydrous phosphate of copper. If exposed to harsh chemicals, ultrasonic vibrations, or even prolonged contact with skin oils and cosmetics, it will absorb the impurities and permanently shift from bright robin's egg blue to a muddy green. Care instruction: Wipe only with a dry, untreated cloth. Never submerge in water.
Durable Quartz Varieties (Mohs 7)
Amethyst, citrine, and agate are robust enough for mild soap and water cleaning. However, they are susceptible to thermal shock. If a customer wears an amethyst ring in a hot tub and then plunges into cold water, the rapid temperature change can cause internal fracturing along the stone's crystalline lattice. Always advise removing quartz jewelry before extreme temperature exposure.
Archival Storage: Stopping Tarnish Before It Starts
How you store your inventory or ship your products is just as critical as how you make them. Tarnish on silver and copper is primarily caused by hydrogen sulfide gas in the atmosphere reacting with the metal to form silver sulfide or copper sulfide.
The Plastic Bag Trap
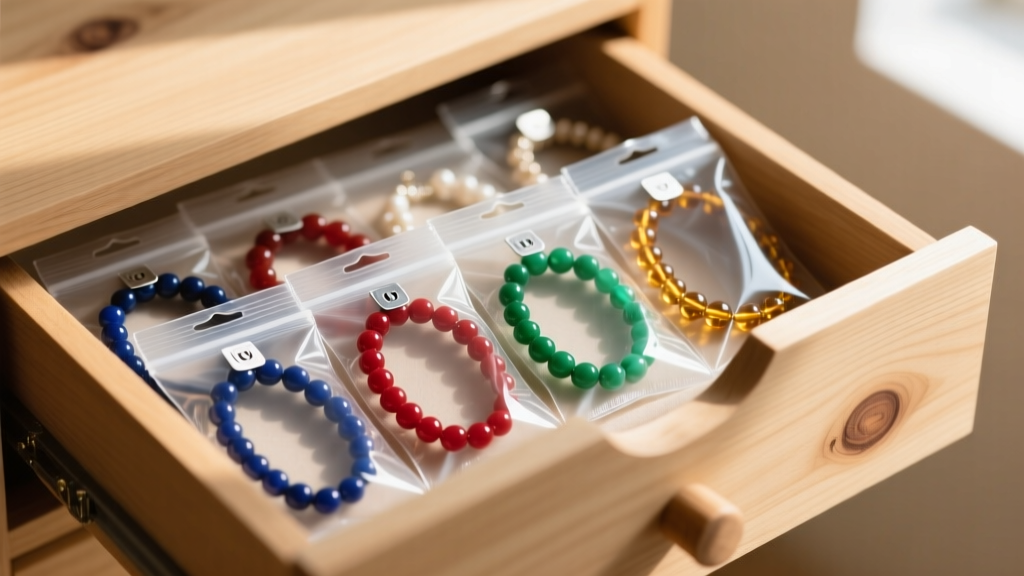
Many DIY makers mistakenly store their finished pieces in standard plastic baggies. If the plastic contains Polyvinyl Chloride (PVC), it will emit sulfur and chlorine gases as it degrades, actively accelerating the tarnishing process inside the sealed environment. Always ensure you are using Polyethylene (PE) or Polypropylene (PP) zip bags, which are chemically inert and safe for long-term metal storage.
Active Tarnish Inhibition
For high-value inventory, place a 3M Anti-Tarnish Strip inside each polyethylene bag. These strips contain copper particles that act as a sacrificial anode—they react with the ambient sulfur in the trapped air before the sulfur can reach your sterling silver or brass jewelry. According to Rio Grande's metal care guidelines, these strips remain effective in a sealed environment for up to 12 months, making them an essential, low-cost addition to your packaging workflow.
Troubleshooting Common DIY Finishing Failures
Even experienced makers encounter finishing failures. Here is how to diagnose and fix the most common post-assembly issues:
- Failure: Tumbler burnishing marks (black smudges) on wire-wrapped pendants.
Fix: You likely used plain water in your rotary tumbler. You must use a burnishing compound like Rio Grande's Sunsheen. The compound provides lubrication that prevents the stainless steel shot from dragging and oxidizing the metal surface. If smudges are already present, remove them with a Sunshine Polishing Cloth. - Failure: ProtectaClear peeling off copper wire after a few weeks.
Fix: The metal was not properly degreased, or the ambient humidity was above 70% during application. Polyurethane sealants will trap moisture against the metal if applied in high humidity, leading to delamination. Always seal in a climate-controlled room and prep with pure acetone. - Failure: UV Resin developing a sticky, uncured 'inhibition layer' on the surface.
Fix: Oxygen inhibition is a natural chemical reaction in UV curing. Wipe the finished piece with 91% isopropyl alcohol to remove the sticky residue, then apply a final, ultra-thin layer of resin and cure it under a silicone mat to block ambient oxygen during the final flash cure.
Mastering these care, sealing, and storage techniques elevates your craft from a hobbyist pursuit to a professional jewelry brand. By understanding the chemical realities of your materials, you ensure that the answer to how do you make your own jewelry includes the vital step of making it endure.


