How to Do Permanent Jewelry: A Technical Micro-Welding Guide
Master how to do permanent jewelry with this technical guide to pulse arc micro-welding, metallurgy, argon gas setups, and troubleshooting weld defects.

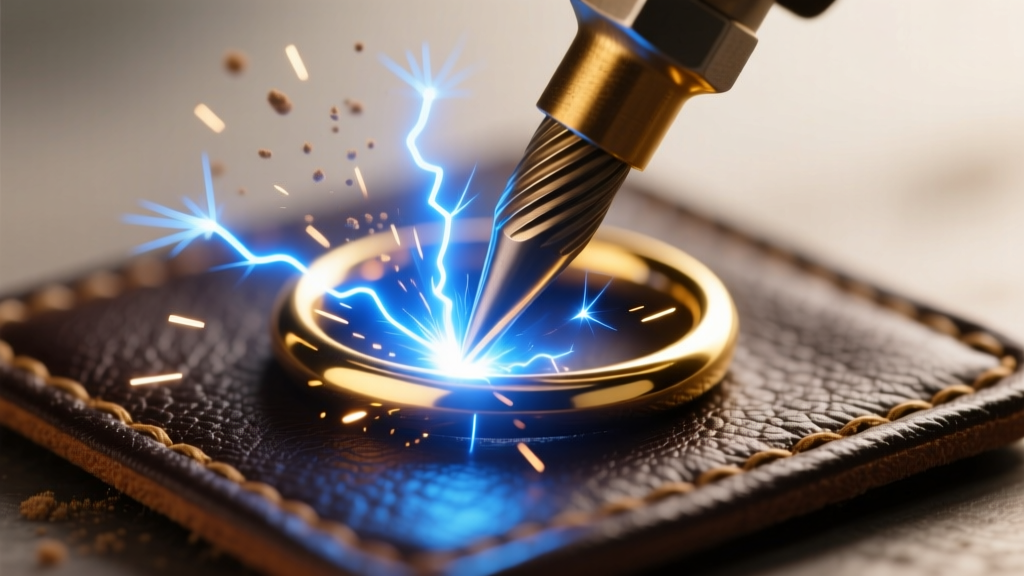
The permanent jewelry industry has evolved from a fleeting social media trend into a permanent fixture of modern studio services. However, as consumer expectations for durability and finish quality have risen, so too has the technical barrier to entry. If you are researching how to do permanent jewelry at a professional level, you must abandon basic soldering techniques and master pulse arc micro-welding. This deep dive explores the metallurgy, physics, and precise execution required to create claspless, welded chains that withstand daily wear without compromising the client's skin or the integrity of the precious metals.
The Physics of Pulse Arc Micro-Welding
Unlike traditional torch soldering, which relies on capillary action and filler metals, permanent jewelry relies on pulse arc welding. This process utilizes a high-frequency, high-voltage capacitor discharge to create a localized plasma arc. The arc reaches temperatures exceeding 4,000°F (2,200°C) in a fraction of a millisecond.
This extreme thermal spike is what makes the process safe for human skin. The thermal mass of a delicate 1.5mm chain link is so low, and the duration of the weld is so brief (typically 2 to 5 milliseconds), that the heat dissipates before it can travel down the chain and burn the client. The result is an autogenous weld—meaning the base metals of the two connecting links melt and fuse together without the need for solder, which can tarnish or cause allergic reactions.
Metallurgical Compatibility and Chain Selection
Not all chains are suitable for micro-welding. The alloy composition dictates the pulse energy required and the structural integrity of the final weld. According to metal suppliers like Rio Grande, understanding the specific karat and filler ratios is critical before striking an arc.
| Material | Melting Point Range | Weldability | Recommended Pulse Energy |
|---|---|---|---|
| 14k Yellow Gold | 1,535°F - 1,600°F | Excellent | 15% - 20% |
| 18k Yellow Gold | 1,550°F - 1,650°F | Excellent (Softer weld) | 12% - 18% |
| 14/20 Gold-Filled | Variable (Brass core) | Moderate (Risk of burn-through) | 8% - 12% |
| Sterling Silver (.925) | 1,545°F - 1,640°F | Good (Prone to porosity) | 20% - 28% |
| Stainless Steel (316L) | 2,500°F - 2,600°F | Poor (Requires high-end laser) | N/A for standard pulse arc |
Note: Gold-filled chains feature a brass core. If your pulse energy is too high, you will vaporize the outer gold layer, leaving a brittle, discolored brass weld that will inevitably snap.
The Anatomy of a Perfect Flush Cut
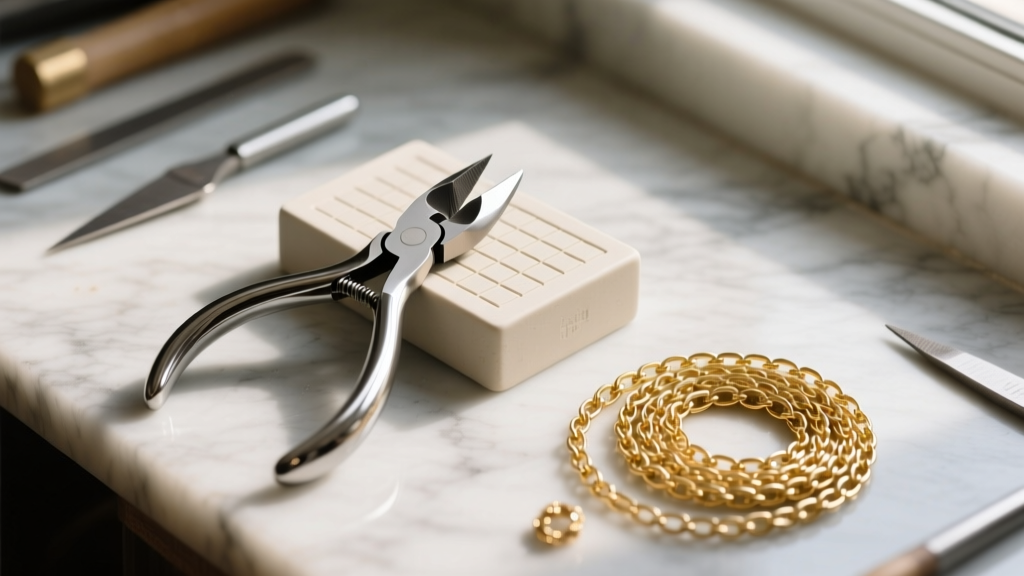
The most common point of failure in permanent jewelry is not the welder, but the jump ring. To understand how to do permanent jewelry correctly, you must source or create saw-cut jump rings. Machine-cut rings are stamped or sheared, leaving a wedge-shaped gap when closed. Pulse arc welding cannot bridge a gap larger than 0.1mm without causing severe pitting or structural weakness.
- Wire Gauge: For standard delicate chains (1.2mm to 2.0mm width), use 20-gauge or 18-gauge jump rings.
- Closure Technique: Use two pairs of flat-nose pliers to twist the ring open laterally. Never pull the ends apart, as this distorts the circular geometry and prevents a flush seam.
- Seam Alignment: The seam must be perfectly flush. If you run your fingernail over the joint and feel a catch, the weld will fail.
Step-by-Step Execution: The Welding Process
Executing a flawless weld requires a strict adherence to environmental and technical controls. Here is the professional workflow.
1. Shielding Gas Preparation
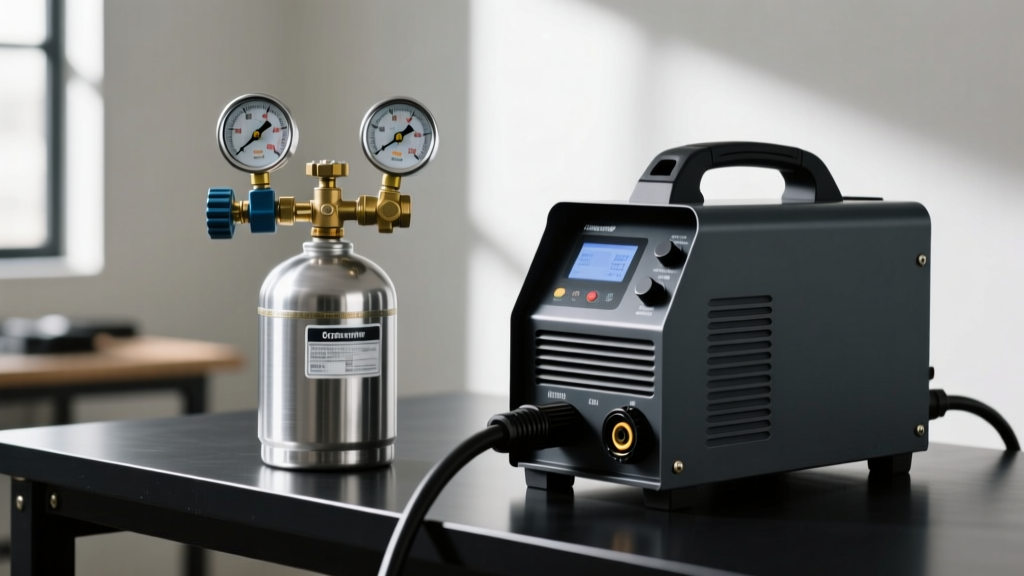
Atmospheric oxygen and nitrogen will contaminate the molten metal pool, causing porosity (tiny bubbles inside the weld that weaken it). You must use 100% pure Argon gas. Do not use argon/CO2 mixtures intended for MIG welding. Set your dual-gauge regulator to a flow rate of 3 to 5 Cubic Feet per Hour (CFH). The argon creates an inert envelope around the arc, ensuring a clean, bright fusion.
2. Electrode Alignment
Your welder uses a tungsten electrode. This electrode must be ground to a fine, needle-like point using a dedicated tungsten sharpener or a fine-grit diamond file. Position the electrode exactly 1mm to 1.5mm away from the jump ring seam. The arc will naturally seek the path of least resistance; if your angle is off, the arc will strike the side of the link rather than the seam.
3. The Strike and Cooling
Engage the foot pedal. You will hear a sharp 'snap' and see a brilliant flash of blue-white light. Keep the argon gas flowing for an additional 1.5 seconds post-weld (a feature known as post-flow shielding on advanced machines like the Sunstone Orion series) to protect the cooling metal from oxidizing. Inspect the weld under a 10x jeweler's loupe. A successful weld will show a smooth, slightly recessed bead with no discoloration.
'The difference between an amateur and a professional permanent jeweler is entirely in the prep work. A perfect weld on a poorly aligned, machine-cut jump ring is still a weak link. Spend 90% of your time on the seam alignment, and 10% on the actual weld.' — Master Bench Jeweler
Troubleshooting Common Weld Defects
Even with premium equipment, variables in humidity, metal impurities, and power fluctuations can cause defects. Here is how to diagnose and correct them:
- Porosity (Sponge-like texture): Caused by gas contamination. Check your argon tank level, ensure there are no drafts from HVAC vents blowing your shielding gas away, and clean the chain with isopropyl alcohol to remove skin oils.
- Cold Shuts (Visible seam line, no fusion): The pulse energy was too low, or the electrode was too far from the workpiece. Increase your energy dial by 3% and close the gap distance.
- Burn-Through (Melted link edges): The pulse energy was too high for the specific karat or wire gauge. This is highly common with 18k gold and gold-filled materials. Dial the energy back immediately.
- Electrode Sticking: The tungsten touched the metal during the strike. This contaminates the electrode. You must break off the contaminated tip and re-sharpen it before proceeding.
Essential Equipment and Studio Safety
Setting up a professional permanent jewelry station requires a significant capital investment and strict adherence to safety protocols. According to wholesale suppliers like Halstead Bead, investing in high-quality chain and findings is just as important as the welding hardware.
Core Hardware Requirements
- Pulse Arc Welder: Entry-level studio models (e.g., Sunstone Orion 100s) range from $4,500 to $6,500. Avoid cheap, imported 'spot welders' which lack precise microsecond timing and will destroy fine chains.
- Microscope or Opti-Visor: Visual acuity is paramount. A boom-mounted stereo microscope with 10x to 45x magnification is ideal for aligning micro-jump rings.
- Leather Welding Pad: Provides a fireproof, non-reflective surface that won't accidentally ground the electrical circuit.
Optical and Respiratory Safety
The pulse arc flash emits intense ultraviolet (UV) and infrared (IR) radiation. Standard sunglasses are entirely insufficient. Both the operator and the client must wear certified welding safety glasses rated at Shade 10 or higher to prevent arc eye (photokeratitis). Additionally, while pulse welding produces minimal smoke compared to torch soldering, vaporized metal particulates are still present. A localized HEPA fume extractor positioned 6 inches from the weld zone is a mandatory studio upgrade for long-term respiratory health.
Conclusion
Learning how to do permanent jewelry is an exercise in applied physics and metallurgical discipline. By mastering the pulse arc parameters, insisting on saw-cut findings, and maintaining a sterile argon environment, you elevate your service from a temporary novelty to a permanent, high-value studio offering. Precision in the micro-details guarantees longevity in the macro-business.


