Verify Metals With A Jewelry Test Kit Before Cleaning
Learn how to use a jewelry test kit to identify metal purity before cleaning. Prevent damage to your DIY and vintage jewelry with proper acid testing.

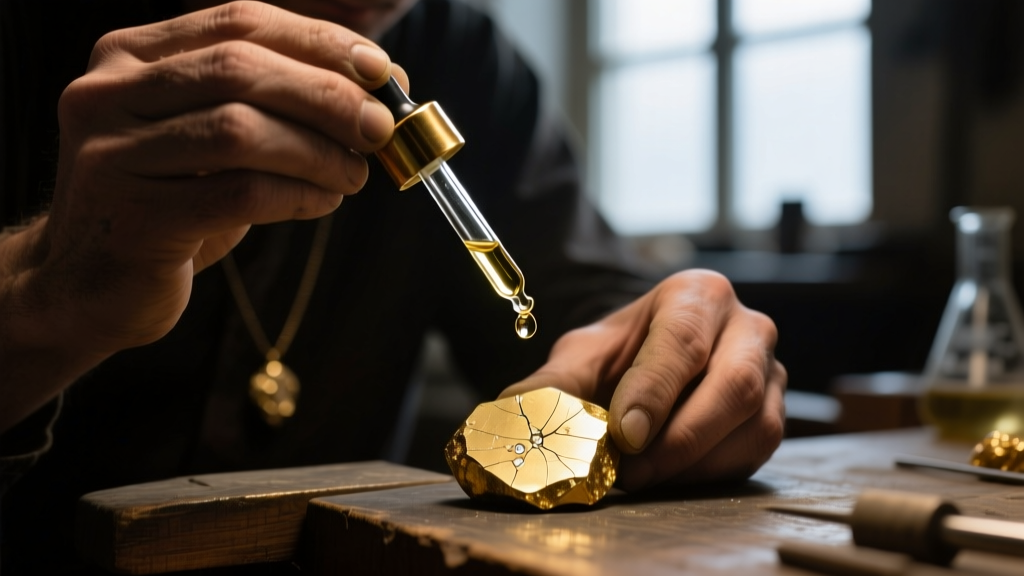
The Hidden Danger of Cleaning Mystery Metals
As a DIY jewelry maker, sourcing scrap metal, estate sale finds, and mystery wire is a thrilling part of the creative process. However, applying the wrong cleaning chemical to an unverified metal can instantly ruin a piece. Many commercial silver dips contain thiourea, a harsh chemical that strips high-karat gold, corrodes porous gemstones, and leaves a permanent, dull film on platinum. In 2026, while ultrasonic cleaners and advanced electrolytic polishing tanks are more accessible than ever, they can still blister gold-filled wire or dissolve the rhodium plating on vermeil components if you guess the metal content incorrectly.
Before you reach for the polishing compound or chemical dip, you must verify your materials. Using a reliable jewelry test kit is the only way to confidently identify metal purity, ensuring your maintenance routine enhances rather than destroys your work. According to the Gemological Institute of America (GIA), misidentifying base metals disguised as precious alloys is one of the most common pitfalls for independent jewelers and hobbyists.
Types of Jewelry Test Kits for the DIY Workbench
Not all testing methods are created equal. Depending on your budget and the volume of scrap you process, you will need to choose the right tool for your bench.
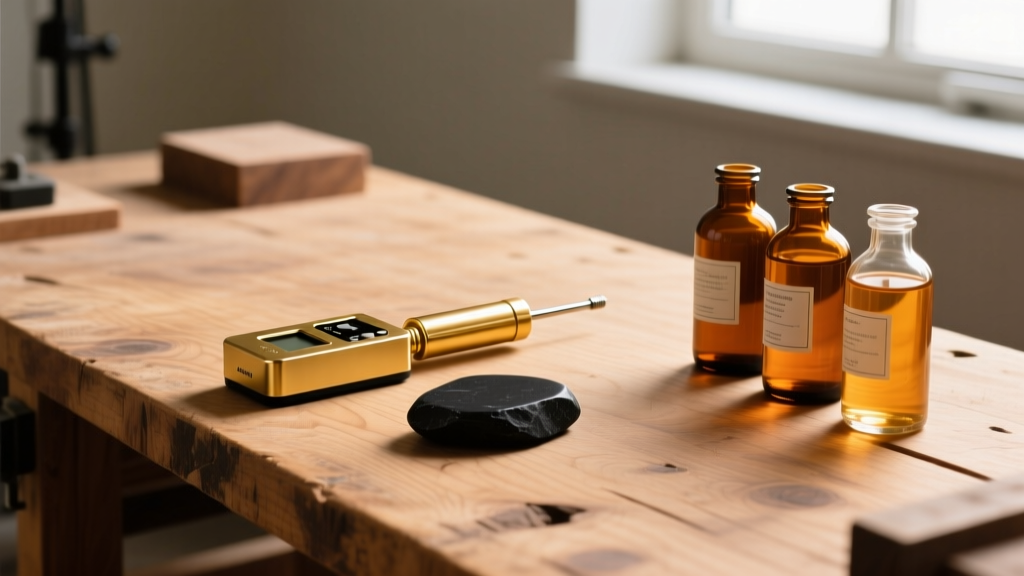
- Traditional Acid Test Kits ($15 - $35): The industry standard for quick, destructive testing. Kits from brands like Kassoy or Schwerdtfeger include a testing stone and bottled nitric and hydrochloric acids calibrated for 10K, 14K, 18K, and silver. They are highly accurate but require careful handling and proper ventilation.
- Electronic Gold Testers ($150 - $450): Devices like the Tri Electronics Aurum use electrical conductivity to measure karat purity without scratching the piece. While excellent for finished, high-value items, they struggle with heavy surface oxidation and are generally overkill for basic DIY wire wrapping scrap.
- Neodymium Magnet Tests ($5 - $15): A preliminary, non-destructive step. Precious metals (gold, silver, platinum, palladium) are non-magnetic. If a mystery chain or clasp snaps to a strong neodymium magnet, it contains a ferrous base metal and should never be placed in a standard silver dip.
Step-by-Step: Acid Testing Scrap Before Polishing
If you are processing heavy scrap or vintage wire for upcycling, acid testing provides definitive results. Here is the exact protocol professional jewelers use to verify metals before applying abrasives like Zam or Rouge, as recommended by Rio Grande.
- Prepare the Scratch Plate: Use a dedicated, unglazed ceramic testing stone. Ensure it is clean; residual metal dust from previous tests will cause false reads.
- Make a Deep Scratch: Rub the mystery metal firmly against the stone to leave a visible, metallic streak. If you suspect the item is plated, use a small jeweler's file to cut a notch into the piece first, then rub the exposed interior metal on the stone.
- Apply the Acid: Using the glass dropper, apply a single drop of the corresponding acid (e.g., 14K gold acid or silver acid) directly over the scratch.
- Read the Reaction (10-15 seconds):
- 10K Gold: Turns a murky brown.
- 14K Gold: Turns a dark, mustard yellow.
- 18K Gold: Turns a bright, rich orange.
- Sterling Silver (925): Turns a creamy, milky red.
- Coin Silver (900): Turns a slightly darker, blood red.
- Base Metal/Plated: Bubbles aggressively and turns dark green or clear.
- Neutralize and Clean: Wipe the stone clean with a baking soda and water solution to neutralize the acid, then rinse thoroughly.
Metal Purity and Cleaning Chemical Compatibility
Once your jewelry test kit has confirmed the metal grade, you must match it to the correct maintenance protocol. Using a one-size-fits-all approach will lead to catastrophic surface damage. Refer to the compatibility chart below before cleaning your DIY inventory.
| Verified Metal | Purity Grade | Safe Cleaning Method | Chemicals & Tools to Avoid |
|---|---|---|---|
| Gold | 18K - 24K | Mild dish soap, warm water, soft toothbrush | Thiourea dips, harsh ultrasonic vibrations |
| Gold | 10K - 14K | Commercial non-ammonia jewelry foams, polishing cloths | Bleach, chlorine, stiff wire brushes |
| Silver | Sterling (925) | Polishing cloths, aluminum foil/baking soda bath | Thiourea liquid dips (causes micro-pitting) |
| Platinum | PT950 | Ultrasonic cleaner with mild alkaline solution | Acidic cleaners, lead-based solders nearby |
| Copper/Brass | Base Alloys | Lemon juice and salt, or commercial brass polish | Silver dips, ammonia-based cleaners |
Maintenance Tips Post-Verification
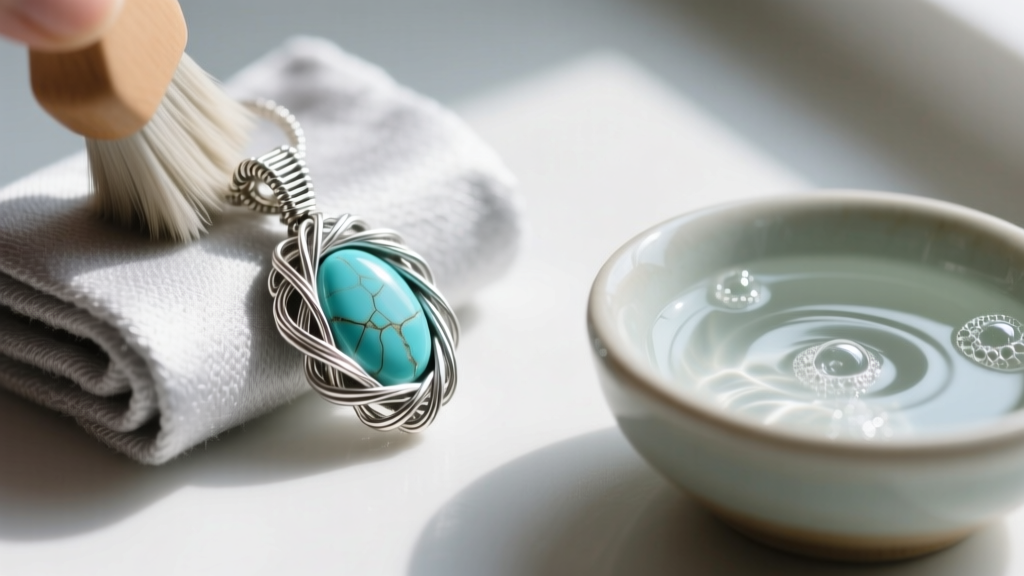
After verifying and properly cleaning your materials, proper storage is critical to minimize future maintenance. Sterling silver and copper components used in wire wrapping are highly susceptible to oxidation when exposed to ambient humidity and sulfur in the air.
Store your verified DIY components in airtight ziplock bags alongside 3M anti-tarnish strips. These strips absorb airborne sulfides and can protect silver and copper for up to 12 months. For high-karat gold and platinum findings, keep them separated in soft, lint-free flannel pouches to prevent harder metals from scratching softer high-purity alloys during storage.
Troubleshooting False Reads and Kit Maintenance
A jewelry test kit is only as reliable as its maintenance. The most common reason DIYers misidentify metals is due to degraded testing acids. Nitric acid has a shelf life of roughly 12 to 18 months once opened. If your acid turns a yellowish-brown color in the bottle, or if it fails to react to a known piece of 14K gold, it has lost its potency and must be replaced. Furthermore, always test your acids on a known control piece (like a verified scrap of sterling silver) before testing a valuable mystery find.
Expert Workbench Tip: Never test a piece of jewelry that has been recently polished with a wax-based compound. The wax creates a barrier that prevents the acid from reaching the metal, resulting in a false 'no reaction' read that mimics high-karat gold or platinum. Always clean the piece in an ultrasonic bath or with alcohol before testing.
By integrating a jewelry test kit into your initial sorting process, you eliminate the guesswork from your DIY jewelry making workflow. You will save money, preserve the integrity of your vintage finds, and ensure that every piece you craft and clean is treated with the exact chemical care it requires.


