How to Make a Cross Out of Old Jewelry on a Strict Budget
Learn how to make a cross out of old jewelry while maximizing value. Compare DIY upcycling costs versus custom jeweler fees today.

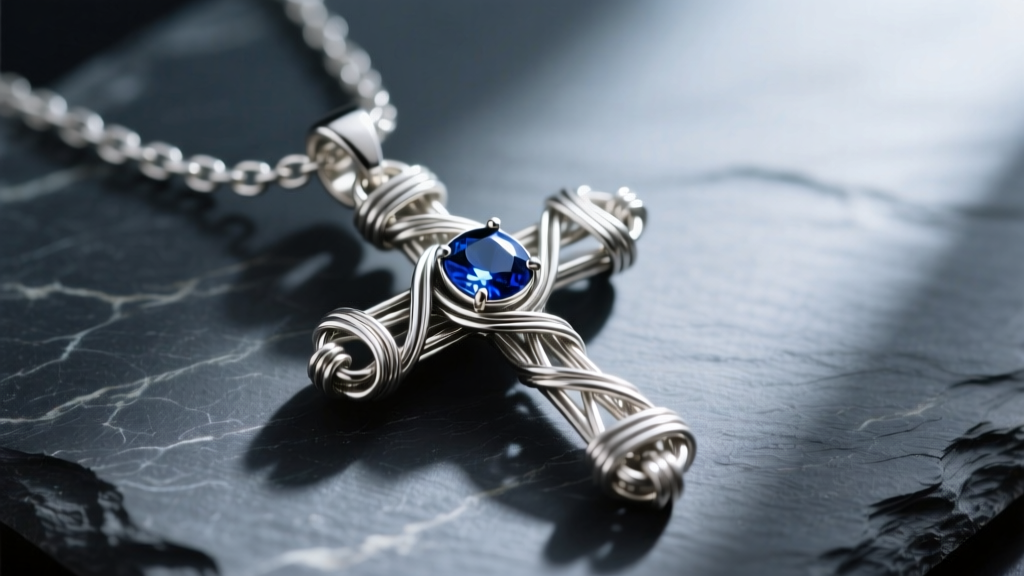
The True Cost of Upcycling: DIY vs. Custom Jeweler
When you inherit a tangled box of broken chains, single earrings, and outdated charms, the sentimental value often outweighs the scrap metal value. If you are researching how to make a cross out of old jewelry, you are likely trying to preserve that sentimental connection without spending hundreds of dollars on custom fabrication. Before picking up a pair of pliers, it is crucial to conduct a budget and value assessment of your options.
A traditional custom jeweler will typically charge between $85 and $150 just for the labor to laser-weld or solder scrap gold and silver into a new cross pendant. This process often involves melting down the metal, which results in a 5% to 10% loss of the original material weight, plus the destruction of any original chain weaves or vintage textures. By choosing the DIY wire-wrapping and cold-connection route, you retain 100% of the original metal weight and keep your budget strictly limited to basic hand tools and supplemental wire.
| Construction Method | Estimated Cost | Metal Retention | Tool Investment |
|---|---|---|---|
| Custom Jeweler (Soldering/Casting) | $85 - $150+ | 90% - 95% | $0 |
| DIY Wire-Wrapping (Cold Connection) | $25 - $45 | 100% | $30 - $60 (One-time) |
| DIY Riveting / Micro-Screws | $40 - $70 | 98% | $50 - $90 (One-time) |
Assessing Your Scrap: What Old Jewelry is Actually Worth?
Not all old jewelry is created equal, and understanding the metallurgy of your scrap pile will dictate your construction method. You cannot easily solder gold-filled or plated jewelry without burning off the thin outer layer of precious metal, exposing the brass or copper core beneath. Therefore, cold connections (like wire wrapping) are the most budget-friendly and structurally sound methods for mixed-metal scrap.
Precious Metal Melt Value vs. Sentimental Value
If your scrap consists of solid 14k gold chains, the melt value might be $35 to $45 per gram depending on current market rates. However, melting a vintage 1940s rope chain destroys its historical craftsmanship. By using the chain as the horizontal and vertical arms of your cross and securing them with 24-gauge wire, you preserve the chain's legacy while creating a wearable piece. Always check for stamps like '14K', '925', or 'GF' (Gold-Filled) using a standard 10x jeweler's loupe before deciding to cut or bend the metal.
Harvesting Gemstones for the Centerpiece
A cross pendant often benefits from a focal stone at the intersection. You can harvest stones from broken rings or earrings. According to the GIA Gem Encyclopedia, identifying whether a stone is a natural gem, a synthetic, or a simple cubic zirconia will change how much pressure you can apply during wire wrapping. Natural emeralds and opals are highly included or fragile and will crack if wrapped too tightly with heavy-gauge wire. Stick to harvesting durable stones like sapphires, rubies, or quartz from your old jewelry pile for the center of the cross.
Essential Tools for Cross Construction (And What to Skip)
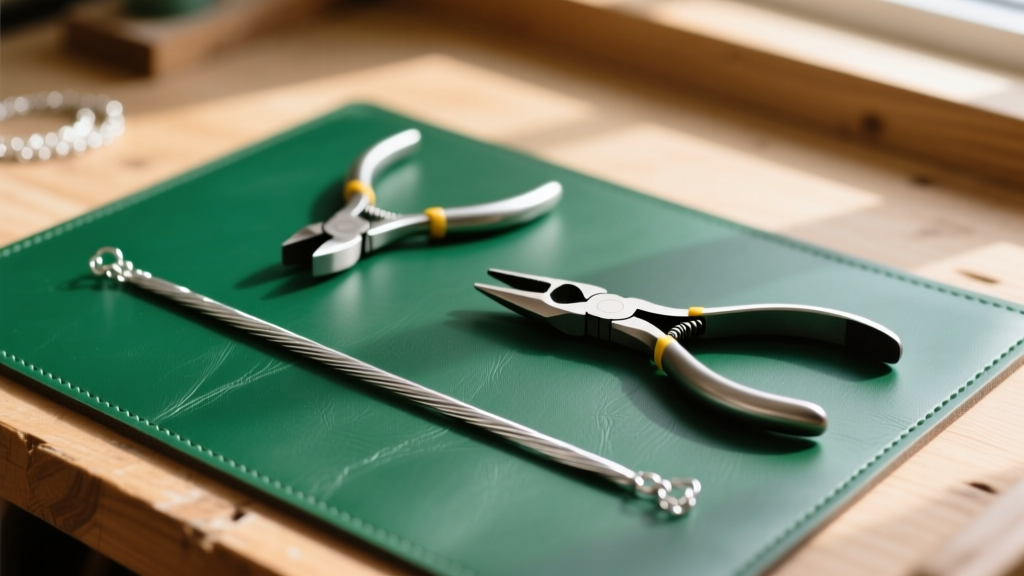
To keep your budget under $50, you must be strategic about tool purchases. Avoid expensive flex shafts or soldering torches; focus entirely on high-quality hand tools that provide mechanical leverage and prevent marring your harvested scrap.
- 20-Gauge Dead Soft Wire: You will need a base wire to bind the scrap pieces together. Dead soft temper is mandatory for making the sharp 90-degree bends required for a cross shape. Half-hard wire will snap or work-harden too quickly. Rio Grande offers excellent dead soft Argentium silver or copper wire for practice.
- Flush Cutters: A sharp pair of micro-flush cutters is required to snip 24-gauge wrapping wire perfectly flat against the frame, preventing sharp snags on clothing.
- Chain Nose Pliers (Smooth Jaw):strong> Serrated jaws will permanently dent soft gold and silver. Invest in smooth-jaw chain nose pliers for gripping and tucking wire ends.
- Nylon Jaw Pliers: This is the ultimate budget-saving tool. Nylon jaws allow you to straighten bent scrap chains and pull wire tight without scratching the metal's finish, eliminating the need for expensive polishing compounds later.
Step-by-Step: Wire-Wrapping a Cross from Scrap Chains
The most structurally sound and budget-friendly way to build a cross from old jewelry is the 'lashed frame' technique. This method uses heavy wire as a splint to bind two pieces of scrap chain or broken bangle segments together at a perfect right angle.
Step 1: Sizing the Armature
Cut your vertical scrap chain to exactly 2.5 inches and your horizontal piece to 1.75 inches. Use a permanent marker to mark the exact center intersection on the vertical piece. The intersection should sit slightly above the true center (about 30% from the top, 70% from the bottom) to mimic the traditional proportions of a Latin cross.
Step 2: The Core Bind
Lay the horizontal chain across the vertical mark. Cut a 12-inch piece of 20-gauge dead soft wire. Anchor the wire by tucking it under the horizontal chain, then begin wrapping it tightly in a figure-eight pattern around both chains. This figure-eight lashing pulls the two pieces together with immense mechanical tension, creating a joint that is often stronger than a poorly executed silver solder joint.
Step 3: Securing the Perimeter and Adding Flair
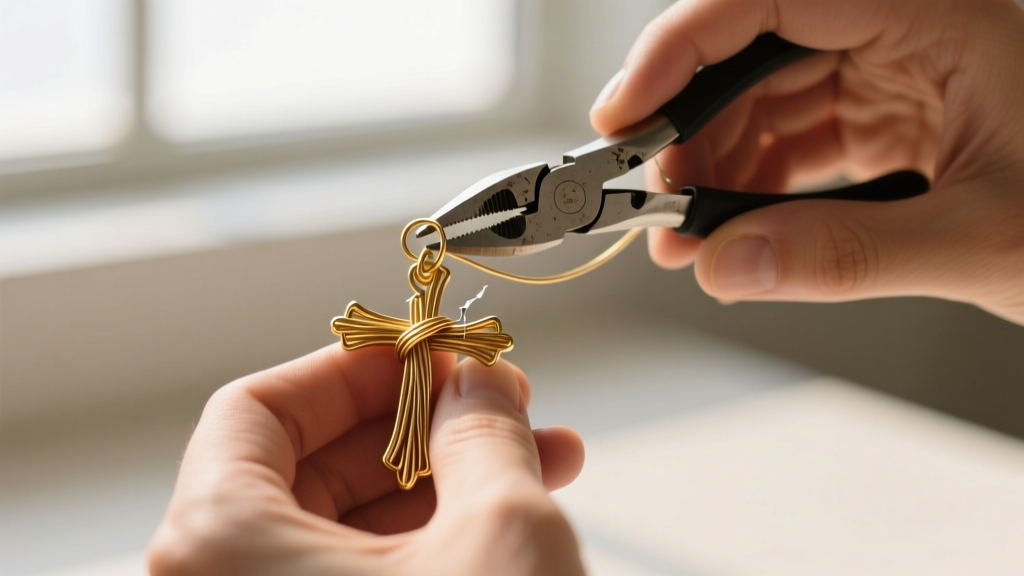
Once the center is bound with 6 to 8 figure-eight wraps, transition to a 24-gauge wire for decorative weaving. Weave the thinner wire back and forth between the links of the scrap chain and the 20-gauge frame wire. This not only adds a beautiful, intricate texture but also locks the heavy structural wire in place so it cannot unravel over time.
Pro-Tip for Value Maximization: If your scrap jewelry includes small, loose seed pearls or tiny glass beads, thread them onto your 24-gauge weaving wire before you begin wrapping. This integrates the harvested beads directly into the cross's binding, elevating the perceived value of the piece from 'craft project' to 'artisan jewelry' without spending an extra dime.
Hidden Costs and Failure Modes to Avoid
While the DIY route is incredibly budget-friendly, there are specific failure modes that can ruin your scrap jewelry and force you to buy replacement materials, blowing your budget.
- Work Hardening Snaps: If you bend a piece of 20-gauge wire back and forth to adjust the angle of your cross, the metal will work-harden and snap. Always bend wire once, using smooth-jaw pliers to form the corner in a single, confident motion.
- Galvanic Corrosion: Never mix base metals (like raw copper or brass) with precious metals (like sterling silver) if the piece will be worn against the skin in humid environments. The sweat acts as an electrolyte, causing the base metal to corrode rapidly and stain the skin green. Stick to like-metals, or use a clear jewelry shield coating on the back of the pendant.
- Stone Crushing: When pulling your 24-gauge wire tight around a harvested gemstone, use your fingers for the final tension pull rather than metal pliers. Pliers can easily slip and chip the girdle of a harvested diamond or sapphire.
Final Verdict: Is the DIY Route Worth Your Time?
From a strict budget and value assessment perspective, learning how to make a cross out of old jewelry via wire-wrapping is the undisputed winner. You avoid the steep $100+ labor fees of a custom bench jeweler, you prevent the 10% metal loss associated with melting and casting, and you preserve the exact historical chain links and charms that carry your family's sentimental value. With an initial tool investment of under $45 and a few hours of careful, methodical wrapping, you can transform a box of broken, unwearable scrap into a heavy, durable, and deeply meaningful cross pendant that will last for generations.


