Making Jewelry Bails: Post-Creation Care & Cleaning
Learn essential care, maintenance, and cleaning tips after making jewelry bails. Discover how to polish, protect inner loops, and prevent tarnish.

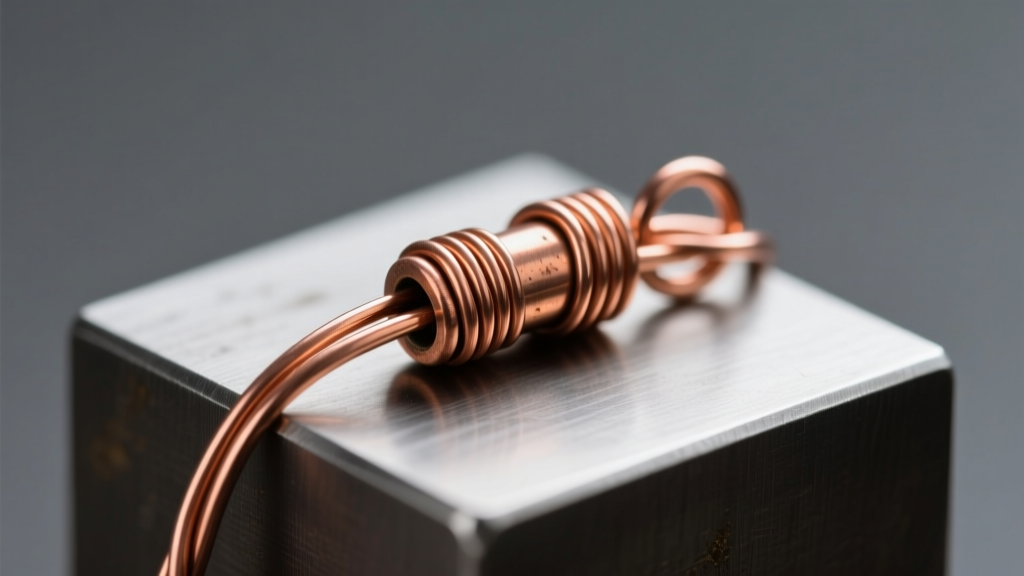
The Hidden Step: Why Post-Creation Care Matters
The process of making jewelry bails is often romanticized in DIY tutorials, focusing heavily on the initial bends, wraps, and soldering techniques. However, as we move through 2026, professional makers and serious hobbyists alike recognize that the true mark of quality lies in the finishing, care, and maintenance phases. A bail is the structural bridge between your pendant and the chain; it endures constant friction, skin oils, and environmental exposure. If you skip post-creation care, even the most beautifully crafted wire-wrapped or soldered bail will quickly tarnish, weaken, or worse, act as a micro-saw that destroys your customer's favorite necklace chain.
Proper maintenance begins the second your bail leaves the soldering block or wire-jig. This guide dives deep into the metallurgical and material-specific cleaning protocols required to ensure your handmade bails remain durable, brilliant, and safe for long-term wear.
Cleaning Soldered and Wire-Wrapped Metal Bails
When making jewelry bails from sterling silver, gold-filled, or copper wire, oxidation and flux residue are your immediate enemies. If you are soldering a tube bail or a folded V-bail, you are likely using a flux like Handy Flux or Stay-Silv, followed by a quench in a pickle solution.
Neutralizing Pickle and Flux Residue
According to metallurgical guidelines from Ganoksin, leaving a bail in a standard Sparex #2 (sodium bisulfate) pickle pot at 150°F to 180°F will strip oxidation, but it leaves behind microscopic acidic residues. If not neutralized, this acid will continue to eat away at the metal, causing structural brittleness over time.
- The Baking Soda Bath: Always transfer your freshly pickled bails into a saturated sodium bicarbonate (baking soda) and water solution. The fizzing action mechanically lifts trapped flux from tight wire wraps and solder joints.
- Ultrasonic Assist: For complex wire-wrapped bails with multiple overlapping loops, place the bail in an ultrasonic cleaner filled with warm water and a drop of mild dish detergent for exactly 3 to 5 minutes. This cavitation process removes debris from crevices that a brush simply cannot reach.
- The Copper Flashing Danger: Never use steel tweezers to retrieve silver or gold bails from the pickle pot. The acid reacts with the steel, depositing a thin layer of copper onto your precious metal bail (known as copper flashing). Always use copper, brass, or wooden tweezers.
Tumbling and Work-Hardening Wire Bails
When making jewelry bails from dead-soft wire (typically 18-gauge to 20-gauge), the metal is highly malleable and prone to bending out of shape during daily wear. Cleaning and hardening must happen simultaneously.
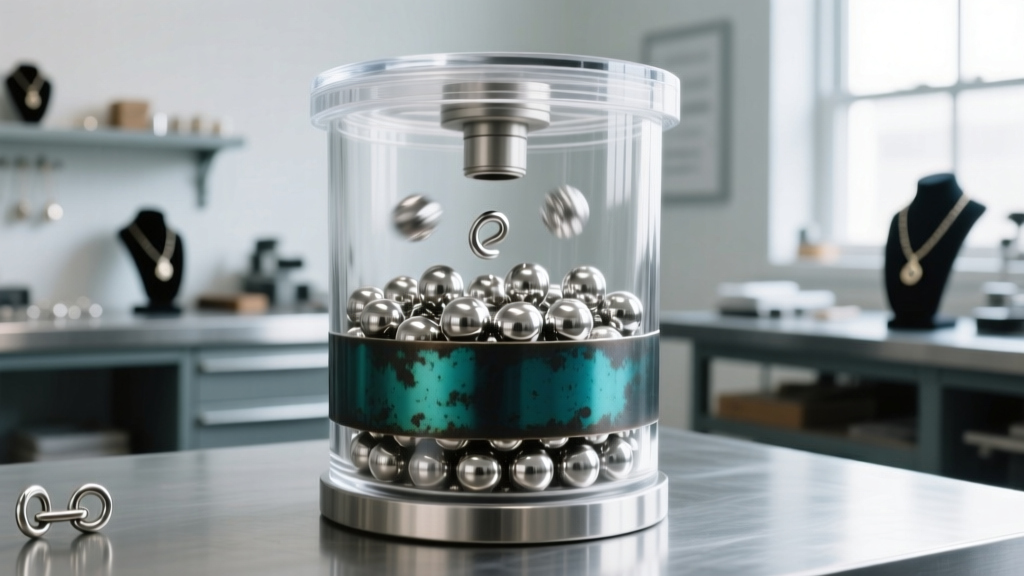
Rotary tumbling is the industry standard for finishing wire bails. As noted by Rio Grande's finishing guides, using a mixed stainless steel shot (jeweler's mix) with a specialized burnishing compound does more than just polish the surface. The continuous, gentle hammering of the steel shot compresses the outer molecules of the wire, effectively work-hardening the bail without altering its shape. For an 18-gauge sterling silver wire bail, tumble for 45 to 60 minutes. For harder metals like 14-gauge copper, extend the time to 90 minutes. This step ensures your bail can support the weight of a heavy stone pendant without the top loop slowly pulling open.
Material-Specific Maintenance Matrix
Different materials require vastly different cleaning agents. Using the wrong chemical can permanently ruin the surface finish or structural integrity of your bail. Refer to this decision matrix when maintaining your inventory or personal pieces.
| Bail Material | Primary Cleaning Agent | Polish / Maintenance Method | Critical Warning |
|---|---|---|---|
| Sterling Silver | Warm water + mild dish soap | Zam polishing compound on a muslin buff; 3M anti-tarnish strips for storage | Avoid bleach or chlorine; causes irreversible pitting and blackening. |
| Copper / Brass | Bar Keepers Friend or white vinegar + salt | Renaissance Wax coating to delay patina; tumble for shine | Acidic cleaners will strip intentional liver of sulfur (LOS) antiquing. |
| Gold-Filled Wire | Ammonia-free jewelry cleaner | Microfiber cloth wipe-down; avoid aggressive buffing wheels | Polishing compounds will strip the thin gold layer, exposing the brass core. |
| UV / Epoxy Resin | Isopropyl alcohol (90%+) or soapy water | Novus Plastic Polish kit to remove micro-scratches and restore clarity | Never use ultrasonic cleaners; high-frequency vibrations will shatter cured resin. |
Protecting the Inner Loop: Preventing Chain Wear
The most overlooked aspect of making jewelry bails is the interior of the loop where the chain rests. When you cut wire with flush cutters, or file down a soldered seam, microscopic burrs and sharp edges are often left on the inside of the bail. While the outside of the bail may look flawless, the rough inner loop will act like a reciprocating saw against delicate chains, particularly soft styles like box chains, snake chains, and omega chains.
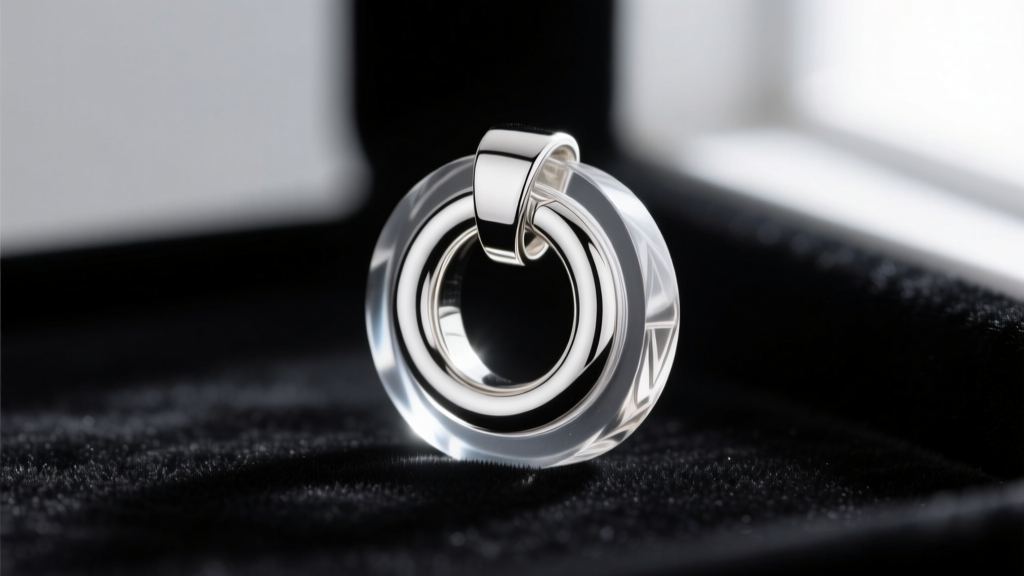
To prevent catastrophic chain failure, you must burnish and seal the inner loop:
- The Cup Burr Method: Use a high-speed rotary tool equipped with a Busch or Gesswein cup burr (size 2.0mm to 3.0mm). Gently run the burr along the inside of the bail loop to round off any sharp wire ends or solder seams. Follow this with a folded piece of 600-grit Micro-Mesh abrasive cord to smooth the surface to a satin finish.
- The Resin Liner Technique: For high-end pendants, apply a microscopic layer of clear, UV-curing jewelry resin to the inside of the metal loop. Once cured, this creates a smooth, frictionless barrier that completely eliminates metal-on-metal wear between the bail and the chain.
- Jump Ring Integration: If your bail design has a rigid or unusually shaped loop, consider adding a heavy-duty, soldered oval jump ring as the actual connection point. This sacrifices a $0.20 jump ring to wear-and-tear, rather than risking a $50 necklace chain.
Long-Term Storage and Anti-Tarnish Protocols
If you are making jewelry bails for inventory rather than immediate sale, proper storage is non-negotiable. Sterling silver and copper bails will react with sulfur in the ambient air, leading to a dull, yellowish, or black tarnish that requires aggressive re-polishing before sale.
Expert Tip: Never store finished wire-wrapped or soldered bails in standard polyethylene ziplock bags or PVC plastic containers. These plastics off-gas chemicals that actually accelerate tarnishing. Instead, use specialized anti-tarnish poly bags or line your storage drawers with Pacific Silvercloth.
For long-term storage, place a 3M Anti-Tarnish Strip inside each sealed compartment. These strips absorb airborne sulfides and hydrogen sulfide, protecting the bails for up to 12 months. If you are selling your handmade bails directly to consumers, include a small square of treated anti-tarnish paper in the packaging. This small detail elevates the perceived value of your work and educates the buyer on how to maintain the piece long after it leaves your studio.
Conclusion
The art of making jewelry bails extends far beyond the initial construction. By implementing rigorous neutralization protocols, utilizing rotary tumbling for work-hardening, meticulously smoothing inner loops, and employing modern anti-tarnish storage solutions, you transform a simple DIY component into a professional-grade, heirloom-quality finding. Your chains will last longer, your metals will shine brighter, and your reputation as a meticulous jeweler will grow.


