Making Wire Jewelry: Step-by-Step Woven Cabochon Pendant Guide
Master the art of making wire jewelry with our step-by-step guide to weaving a secure, professional cabochon pendant using sterling silver.

Introduction to Advanced Wire Weaving
When making wire jewelry, the transition from simple wrapped loops to complex, structural weaves marks the leap from beginner to intermediate artisan. A woven wire cabochon pendant is the quintessential project for this transition. It demands a precise understanding of wire temper, gauge selection, and tension control. Unlike soldered bezels, a woven wire frame relies entirely on mechanical tension and structural geometry to secure the stone. In this comprehensive guide, we will break down the exact metallurgy, tooling, and step-by-step mechanics required to craft a professional-grade woven pendant using sterling silver and fine silver wire.
Essential Tools and Material Specifications
The most common failure mode for beginners making wire jewelry is selecting the wrong wire temper. Wire temper refers to the hardness of the metal, which dictates how it holds its shape and how easily it bends. According to the metallurgical standards outlined by Rio Grande, a leading jewelry supply authority, using dead-soft wire for a structural frame will result in a flimsy pendant that warps when the stone is set. Conversely, using half-hard wire for weaving will cause the wire to work-harden and snap mid-weave.
| Component | Wire Gauge (AWG) | Temper | Material Recommendation |
|---|---|---|---|
| Main Core Frame | 20 AWG | Half-Hard | .925 Sterling Silver or Argentium |
| Secondary Support Frame | 22 AWG | Dead-Soft | .925 Sterling Silver |
| Weaving Wire | 28 AWG | Dead-Soft | .999 Fine Silver (resists tarnishing in weave) |
Tooling Requirements: To prevent marring your sterling silver, you must use nylon jaw pliers. The Swanstrom 1438 nylon jaw pliers are an industry standard for gripping wire without leaving teeth marks. For cutting, invest in a pair of Pepe Tools or Lindstrom flush cutters. A true flush cut leaves one side of the wire perfectly flat, which is critical when tucking weaving wire ends against the core frame.
Step 1: Preparing the Core Frame
The foundation of your pendant requires three parallel wires to create a stable track for the weaving wire. Cut two 12-inch lengths of 20-gauge half-hard sterling silver (your main frame) and one 12-inch length of 22-gauge dead-soft sterling silver (your center support).
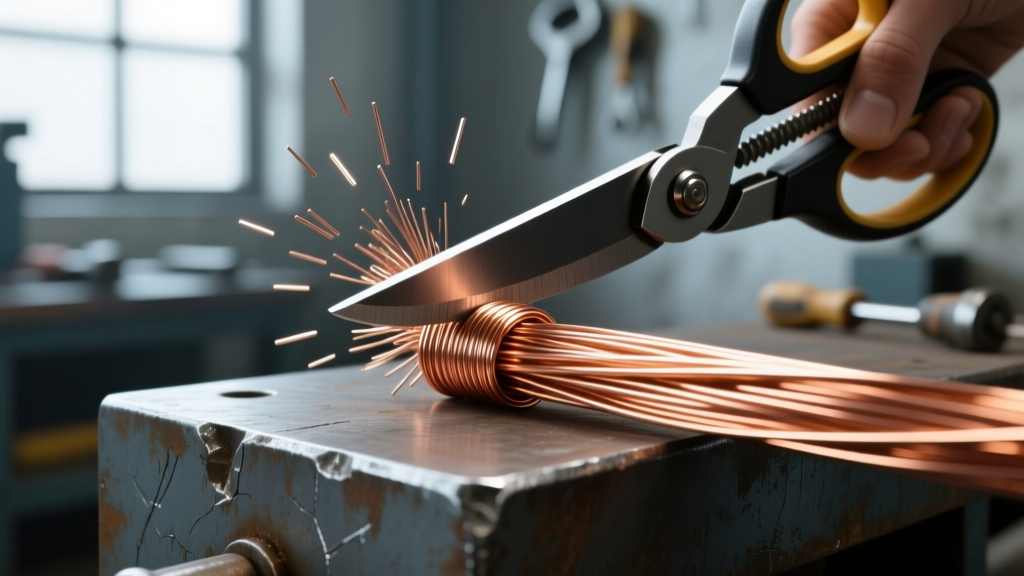
Bundle the three wires together, ensuring they are perfectly parallel and flat. Use low-tack painter's tape to secure the wires together at the top and bottom of your working area. This prevents the wires from splaying apart while you establish the initial weave. Leave about 4 inches of bare wire at the top of the bundle; this will eventually be forged and wrapped to create the bail (the loop that holds the chain).
Step 2: The Figure-8 Weaving Process
The structural integrity of the pendant relies on a continuous figure-8 weave. Cut approximately 6 feet of 28-gauge dead-soft fine silver wire. Fine silver is preferred over sterling for weaving because it lacks the copper alloy found in .925 sterling, meaning it will not work-harden as quickly and will remain pliable for a longer working time.
- Anchor the Weave: Wrap the 28g wire tightly around the top wire of your bundle three times to anchor it. Leave a 1-inch tail, which you will tuck later.
- The Over-Under Pattern: Bring the weaving wire down over the top wire, pass under the middle wire, and come over the bottom wire.
- The Return Loop: Wrap under the bottom wire, bring it up over the middle wire, and pass under the top wire.
- Maintain Tension: Use your thumb and index finger to push each wrap tightly against the previous one. Gaps in the weave are the hallmark of amateur wire work.
Troubleshooting: If your 28g weaving wire snaps, you have allowed it to work-harden. This happens when you bend the wire back and forth repeatedly or pull it with excessive tension. To fix a break, use your flush cutters to snip the broken end flush against the frame, anchor a new piece of weaving wire by wrapping it three times around the adjacent core wire, and resume the pattern. The join will be virtually invisible once oxidized.
Step 3: Shaping the Frame and Setting the Cabochon
Once you have woven approximately 3 inches down the bundle, it is time to shape the frame around your stone. For this guide, we are using a standard 30x40mm oval agate cabochon. Remove the painter's tape and gently peel the woven section away from the bare bottom wires.
Using your nylon jaw pliers, bend the bare bottom wires outward to form a U-shape that perfectly cradles the bottom curve of the cabochon. The 20-gauge outer wires will act as your primary prongs, while the 22-gauge center wire will be trimmed and tucked to form a backstop that prevents the stone from falling through the rear of the pendant.
Place the cabochon into the woven cradle. Using a bezel pusher or the smooth jaws of your pliers, gently push the 20-gauge outer wires up and over the beveled edge of the stone. Do not push directly down on the wire; instead, use a burnishing motion, rubbing the metal over the curve of the stone to lock it in place. The mechanical tension of the half-hard wire snapping over the stone's bevel is what secures it.
Step 4: Oxidization and Finishing Techniques
A woven wire pendant looks flat and two-dimensional until patina is applied. Oxidization darkens the recessed weaving wire, creating a stark contrast that makes the structural frame pop. The jewelry industry standard for this is Liver of Sulfur (LOS).
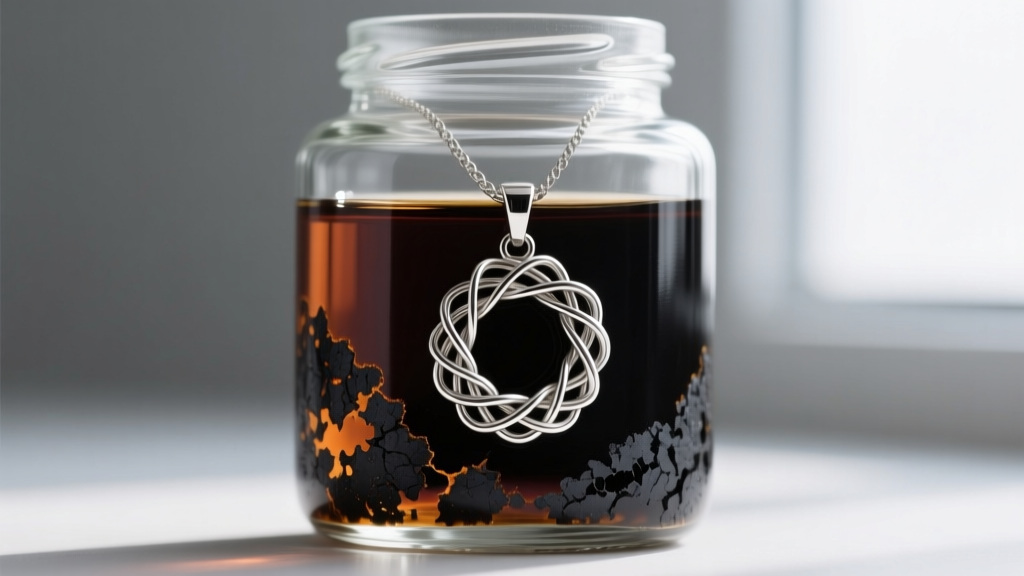
According to finishing experts at Ganoksin, the temperature and pH of your LOS bath drastically alter the color spectrum. To achieve a deep, gunmetal-black patina that highlights the silver weave:
- Mix a pea-sized amount of Liver of Sulfur gel into a glass jar of warm water (approximately 120°F to 140°F). Boiling water will cause the sulfur to flash off as gas, ruining the bath.
- Add a few drops of household ammonia to the solution. Ammonia raises the pH, which accelerates the oxidation process and pushes the color past iridescent golds and purples directly into a dark, uniform black.
- Submerge the finished pendant for 3 to 5 minutes. Remove it with plastic tweezers (metal tweezers will react with the sulfur) and quench it in a baking soda and water bath to neutralize the acid.
Once dry, use 3M radial bristle discs (starting with 80 grit and moving to 400 grit) attached to a flex shaft or rotary tool to polish only the high points of the 20-gauge frame wire. Leave the 28-gauge woven wire completely black. This selective polishing creates the professional, high-contrast finish that defines premium handmade wire jewelry.
Final Thoughts on Wire Tension
Making wire jewelry at a professional level is less about artistic flair and more about mechanical engineering. The success of your woven cabochon pendant hinges entirely on your ability to maintain uniform tension during the figure-8 weave and your understanding of how different wire tempers behave under stress. By strictly adhering to the gauge and temper specifications outlined above, and utilizing proper flush-cutting and oxidization techniques, you will produce durable, gallery-quality pendants that stand the test of time.


