Metal Clay Jewelry Making: Post-Fire Cleaning & Care Guide
Discover expert post-fire cleaning, polishing, and long-term care tips for metal clay jewelry making. Keep your PMC and Art Clay pieces pristine.

The Unique Metallurgy of Fired Metal Clay
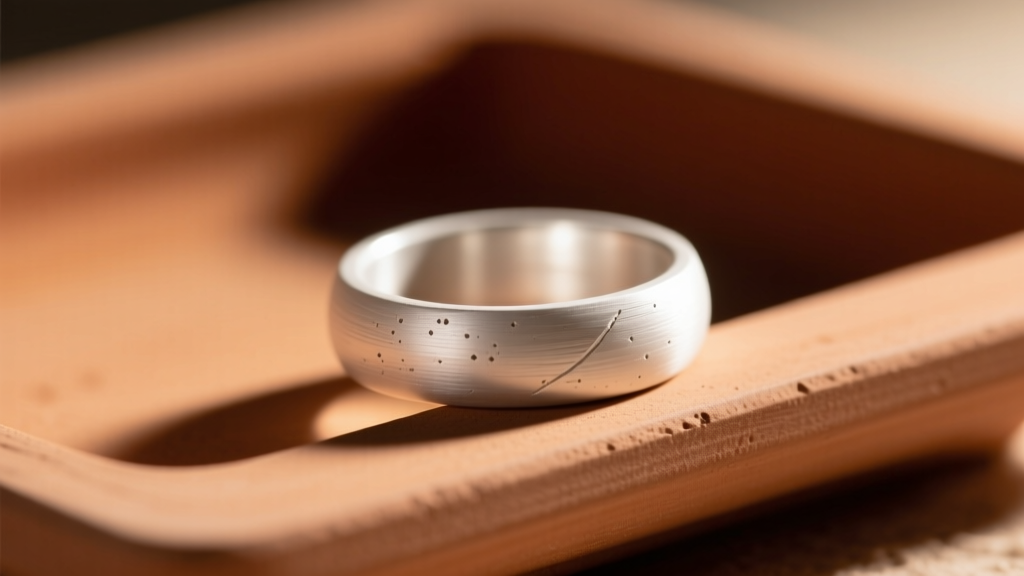
When engaging in metal clay jewelry making, the kiln firing process is often viewed as the finish line. In reality, it is merely the halfway point. Metal clay—whether you are using Precious Metal Clay (PMC), Art Clay Silver, or base metal alternatives like copper and bronze—undergoes a radical transformation in the kiln. The organic binders burn away, and the microscopic metal particles sinter together. However, freshly fired fine silver (.999) clay emerges in a 'dead-soft' state and possesses a micro-porous surface that appears matte white. Without proper post-fire finishing, the piece will remain fragile, prone to scratching, and highly susceptible to environmental tarnishing.
Understanding the metallurgy of your specific clay type is critical. Fine silver clays do not contain copper, meaning they will not develop firescale during firing, but they are significantly softer than sterling silver. Conversely, base metal clays and sterling silver clays (.925) require aggressive pickling to remove oxidation. This guide details the exact protocols for cleaning, work-hardening, and preserving your metal clay creations in 2026, ensuring your DIY projects achieve professional-grade durability and luster.
The Post-Fire Protocol: Quenching and Brushing
The immediate moments after your kiln cycle completes dictate the baseline surface quality of your jewelry. Do not skip the foundational cleaning steps.
1. The Quench
Once your piece has cooled to a dull red heat (or entirely to room temperature, depending on your clay brand's specific instructions), quench it in a bowl of cold distilled water. This thermal shock helps loosen any residual kiln wash or investment material clinging to the piece. Avoid using tap water, as the dissolved minerals and chlorides can cause localized spotting on the highly reactive, freshly sintered silver.
2. Brass Wire Brushing
To transform the matte, chalky white surface into a soft satin sheen, you must burnish the surface pores. Use a brass wire brush with mild dish soap and running water. Never use a steel wire brush on fine silver clay. Steel bristles are harder than fine silver and will embed microscopic iron particles into the porous metal. Over time, these embedded particles will oxidize, creating ugly, unremovable rust spots on your silver jewelry. Brush in a single direction to create a uniform satin finish, paying special attention to deep textures where the brush bristles might not naturally reach.
Tumbling for Work-Hardening and Surface Compression
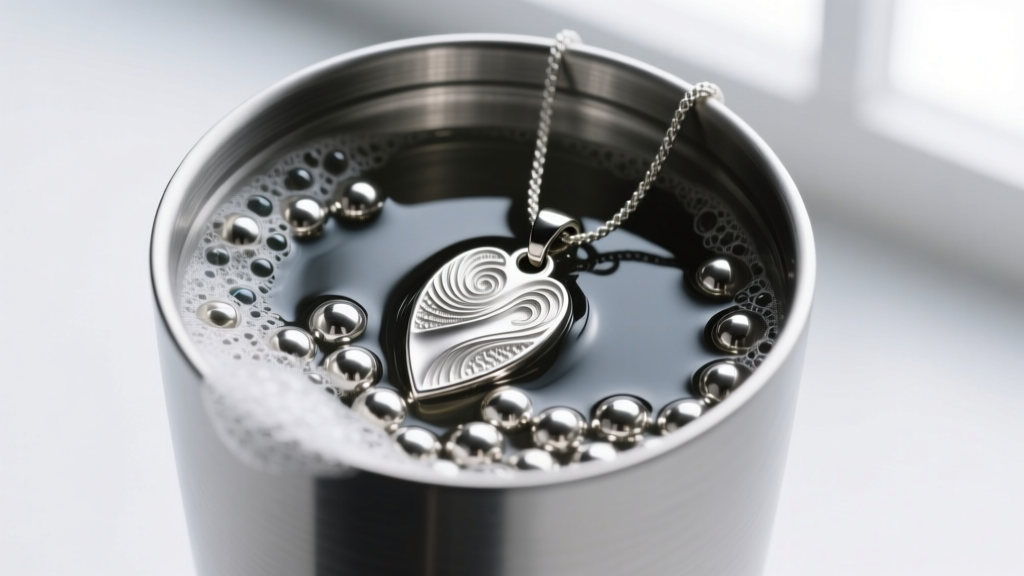
Because fired fine silver clay is dead-soft, rings and bangles will easily bend out of shape during daily wear. Tumbling is the most efficient method to work-harden the surface without altering the delicate dimensions or textures of your design.
The Tumbler Recipe
For optimal results, use a rotary tumbler rather than a vibratory one, as rotary tumblers provide a more aggressive burnishing action. According to the experts at Rio Grande Metal Clay Supplies, the ideal media for metal clay is a mixed stainless steel shot (including 2mm spheres, 5mm spheres, and diagonal pins). The pins are crucial for reaching the interior of jump rings and deep recessed textures.
- Media Ratio: Fill the barrel 1/2 to 2/3 full with stainless steel shot.
- Lubricant: Add 1 teaspoon of a dedicated burnishing compound (like Rio Grande Super Sheen or Dawn dish soap in a pinch).
- Water Level: Add distilled water just until it covers the shot and jewelry.
- Duration: Tumble for 2 to 4 hours at 30-40 RPM. Check hourly; over-tumbling can cause 'peening' (tiny surface dents) or round off sharp, deliberate edges.
Advanced Patina Application and Preservation
Metal clay jewelry making truly shines when you leverage the material's ability to hold intricate textures. Applying a dark patina creates contrast, making those textures pop. Liver of Sulfur (LOS) is the industry standard for oxidizing silver.
Mixing and Applying Liver of Sulfur
Ditch the dry lump form of LOS, which degrades quickly when exposed to air. Modern gel formulations (like Cool Tools Patina Gel) offer a vastly superior shelf life and more predictable results. Mix a pea-sized amount of LOS gel into one cup of warm (not boiling) water. Submerge your fully polished, oil-free piece using brass tweezers. The silver will transition through yellow, copper, purple, blue, and finally a metallic gunmetal black. Once you reach the desired depth, immediately plunge the piece into a neutralizing bath of water and baking soda (1 tablespoon per cup) to halt the chemical reaction.
Sealing the Patina
Oxidation on fine silver is inherently fragile and will rub off on the 'high' points of the jewelry through natural wear. To preserve the dark recesses, use a Pro Polish Pad or a micro-mesh abrasive cloth to gently buff only the high points, leaving the recesses dark. For high-wear items like rings, apply a micro-crystalline wax (such as Renaissance Wax) using a soft brush. Let it haze for 10 minutes, then buff gently. This creates a physical barrier against skin oils and sulfur in the air.
Troubleshooting Common Metal Clay Finishing Issues
Even experienced artisans encounter finishing anomalies. Use this diagnostic table to correct post-fire defects.
| Issue | Root Cause | Actionable Solution |
|---|---|---|
| Blistering or Bubbles on Surface | Moisture trapped in the clay or firing too fast | Sand down with 400-grit paper; ensure clay is bone-dry (use a food dehydrator at 165°F for 2 hours) before firing. |
| Uneven, Splotchy Tumbling Finish | Residual oils from handling or insufficient media | Wash piece in an ultrasonic cleaner with ammonia-free solution before tumbling; increase shot-to-piece ratio to 5:1. |
| Patina Rubbing Off Instantly | Surface was not chemically clean prior to LOS dip | Pickle the piece in a mild citric acid bath or scrub with a pumice powder paste to strip invisible finger oils. |
| Cracking During Wire Brushing | Under-fired clay resulting in poor sintering | Re-fire the piece at the manufacturer's maximum recommended temperature and time to complete the sintering process. |
Base Metal Clays: A Different Care Paradigm
If your metal clay jewelry making involves copper, bronze, or steel clays, the post-fire care shifts dramatically. These clays are typically fired in activated carbon to prevent oxidation during sintering. However, upon removal, they often exhibit heavy firescale or a soot-covered surface.
Do not use LOS on copper or bronze clays unless you intend to turn them completely black. Instead, clean base metal clays by pickling them in a warm solution of Sparex #2 or a 10% citric acid bath. According to the Ganoksin Jewelry Making Encyclopedia, base metal clays are highly porous and will absorb the pickle solution. You must neutralize them in a baking soda bath and boil them in clean water for 10 minutes to expel trapped acids, which will otherwise cause 'pickle rash' (green verdigris spotting) weeks later.
Long-Term Maintenance and Archival Storage
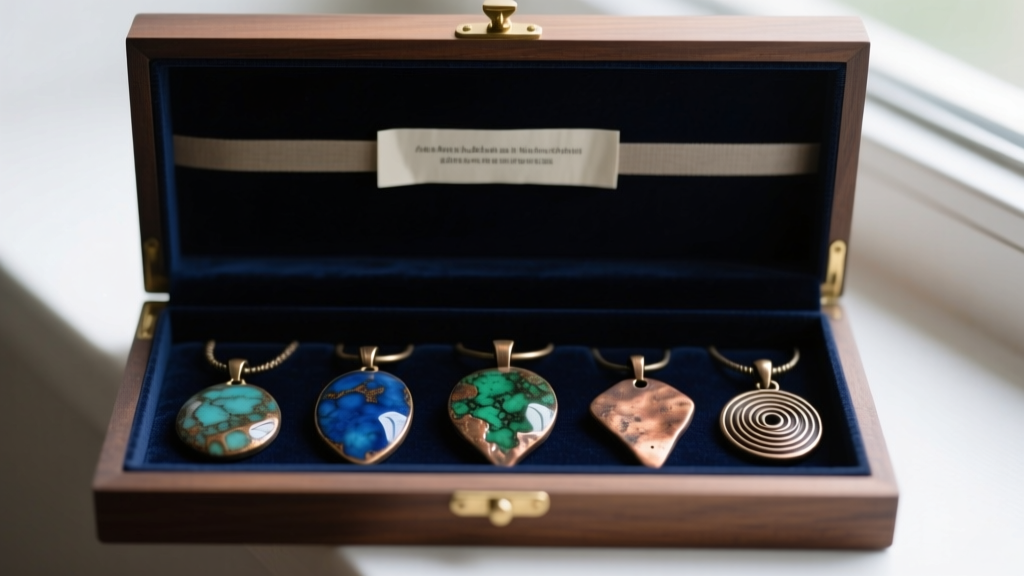
The care of your metal clay jewelry extends far beyond the workbench. Fine silver is highly reactive to hydrogen sulfide in the atmosphere, which causes tarnish. How you store your finished pieces dictates how much maintenance they will require over the years.
The Storage Hierarchy
- Avoid Standard Ziploc Bags: Many cheap plastic bags contain sulfur-based plasticizers that actually accelerate tarnishing.
- Use Anti-Tarnish Strips: Place 3M anti-tarnish strips inside your storage containers. These strips absorb airborne sulfides and chlorides, protecting the silver for up to 6 months before needing replacement.
- Pacific Silvercloth: For premium inventory or heirloom pieces, wrap them in Pacific Silvercloth. This specialized cotton fabric is embedded with microscopic silver particles that act as a sacrificial anode, absorbing tarnish-causing gases before they reach your jewelry.
Routine Cleaning for the End Wearer
Educate your clients or end-users on proper maintenance. Advise them to remove metal clay rings before swimming in chlorinated pools or using household bleach, as chlorine reacts catastrophically with silver, causing deep, brittle stress-cracking. For routine cleaning, a simple soak in warm water with a few drops of phosphate-free dish soap, followed by a gentle scrub with a baby-soft toothbrush, is all that is required to maintain the piece's original luster without degrading the patina.
Conclusion
Mastering the kiln is only the beginning of metal clay jewelry making. By implementing rigorous post-fire cleaning protocols, utilizing proper tumbling media for work-hardening, and understanding the chemical nuances of patinas and storage, you elevate your craft from fragile DIY experiments to enduring, professional-quality jewelry. For further technical deep-dives into advanced texturing and stone-setting in metal clay, the Metal Clay Academy remains an indispensable resource for modern artisans.


