Permanent Jewelry Disney Springs: A Beginner DIY Guide
Learn how to design and weld sweat-proof, Disney Springs-inspired permanent jewelry at home with our beginner-friendly guide to chains, charms, and tools.

The Magic of Permanent Jewelry (And Why Disney Springs Inspires It)
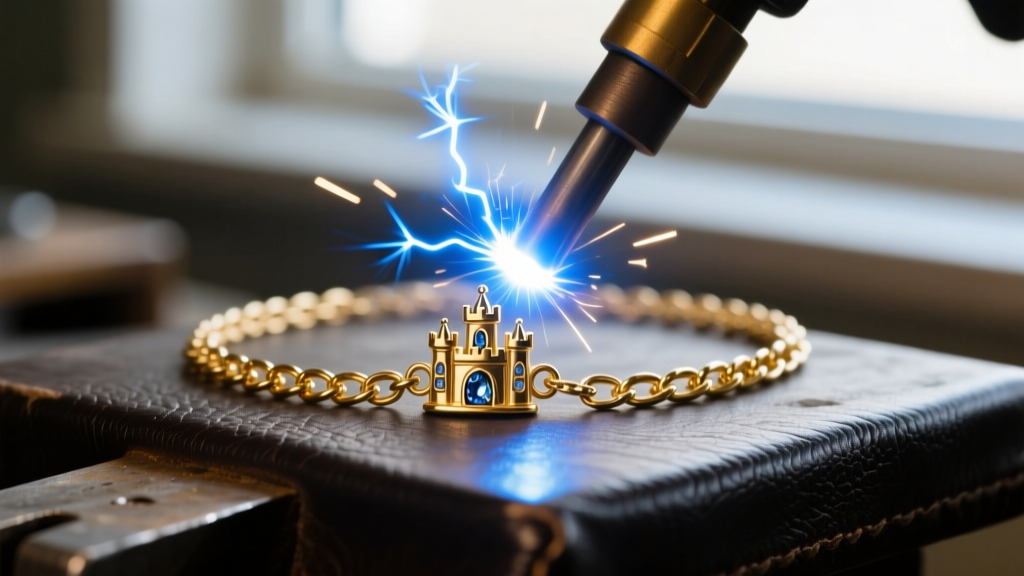
When you stroll through the cobblestone walkways of Disney Springs, you are surrounded by high-end boutique experiences, artisan pop-ups, and a distinct aesthetic that blends whimsy with everyday luxury. One of the most sought-after trends in this vibrant retail hub is permanent jewelry. The "permanent jewelry Disney Springs" aesthetic is characterized by layered, charm-heavy designs that capture a sense of magic while remaining durable enough to survive long, humid days in Florida theme parks.
For DIY jewelry makers, replicating this high-end boutique experience at home is an incredibly rewarding project. Whether you are looking to invest in a micro-welder to start your own pop-up business or simply want to craft sweat-proof, clasp-less bracelets for your next Orlando vacation, understanding the exact material grades, chain gauges, and welding parameters is essential. This beginner-friendly explainer will walk you through the precise technical details needed to create flawless, theme-park-ready permanent jewelry.
Sourcing Sweat-Proof Materials for Florida Theme Parks
The biggest enemy of jewelry in Central Florida is not just water; it is the combination of high humidity, intense UV exposure, and human sweat. When designing a piece meant to mimic the premium quality found at Disney Springs boutiques, material selection is your most critical decision. Many beginners mistakenly attempt to weld gold-filled chains, only to ruin the piece. Pulse arc welding relies on an electrical spark that melts the metal at the joint. If you weld 14k gold-filled chain, the spark will instantly vaporize the thin outer layer of gold, exposing the brass or copper core underneath and leaving a permanent, ugly black scar.
| Material Grade | Weldability | Sweat & Humidity Resistance | Best Use Case |
|---|---|---|---|
| Solid 14k Yellow Gold | Excellent (Melts cleanly at 15-20W) | Superior (Will not tarnish or turn skin green) | High-end permanent bracelets, luxury charms |
| Solid 10k Gold | Good (Requires lower energy, ~12W) | High (More copper content, slightly prone to oxidation) | Budget-friendly permanent chains |
| 14k Gold Filled | Poor (Burns through gold layer, exposes core) | Moderate (Core will tarnish if scratched or welded) | Faux-permanent crimped designs only |
| Sterling Silver (.925) | Fair (Prone to porosity and firescale without argon) | Low (Tarnishes quickly in high humidity/sweat) | Practice welding, low-cost pop-ups |
For authentic, boutique-quality results, you must source solid 14k gold. According to the jewelry supply experts at Rio Grande, 14k gold offers the perfect balance of purity and structural integrity. The alloy metals (usually copper and silver) give the chain enough hardness to withstand daily wear and tear, while the 58.5% pure gold content ensures it will never tarnish, even after riding water attractions or sweating through a 12-hour park day.
Selecting the Right Chain Gauges and Charms
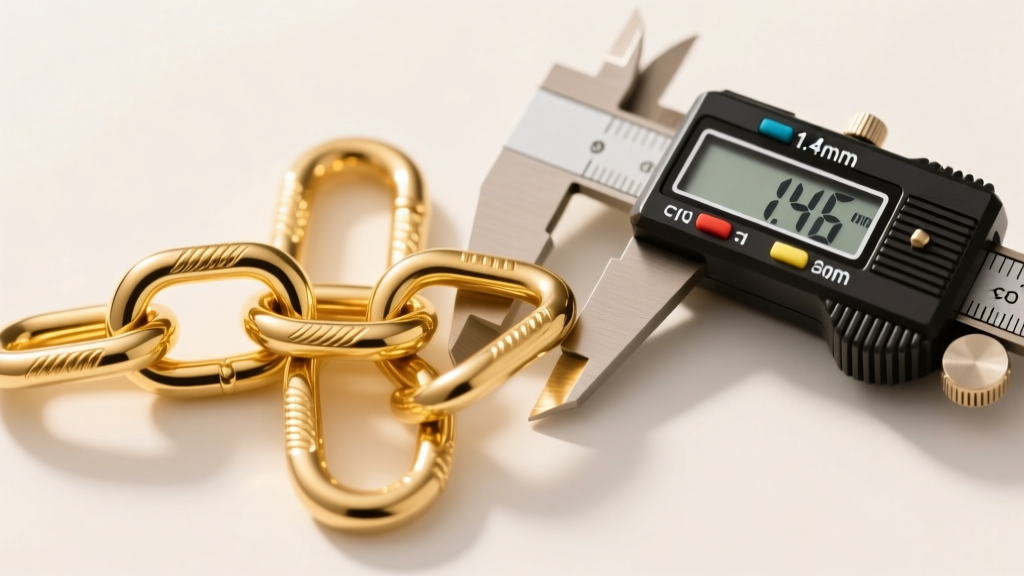
The "Disney Springs" look often features delicate but resilient chains adorned with meaningful, thematic charms. When sourcing chains for permanent welding, you must pay strict attention to the millimeter (mm) thickness, often referred to as the gauge in the wire wrapping world.
Optimal Chain Thicknesses
- 1.0mm - 1.2mm (Ultra-Delicate): Best for anklets or clients who want a barely-there look. However, these are highly susceptible to snapping if caught on clothing or luggage.
- 1.3mm - 1.5mm (The Sweet Spot): The industry standard for wrist bracelets. Cable, paperclip, and figaro chains in this thickness offer excellent drape, high tensile strength, and are incredibly easy to weld with a standard pulse arc welder.
- 1.8mm - 2.2mm (Heavy Duty): Ideal for permanent necklaces or heavy charm bracelets. Requires higher welding energy and a steadier hand.
Integrating Thematic Charms
To capture that magical, vacation-ready vibe, incorporate solid 14k gold charms like subtle castle silhouettes, starbursts, or minimalist animal motifs. Crucial E-E-A-T Tip: Never weld a charm directly to the chain using the pulse arc welder unless the charm has a specifically designed, thick solder ring (at least 1.2mm). If the charm's jump ring is too thin (under 0.8mm), the electrical spark will melt the charm entirely. Instead, use a laser welder for delicate charm attachments, or solder the jump rings shut with a micro-torch before bringing the chain to your pulse arc welder for the final wrist closure.
Step-by-Step: Assembling Your DIY Micro-Welding Kit
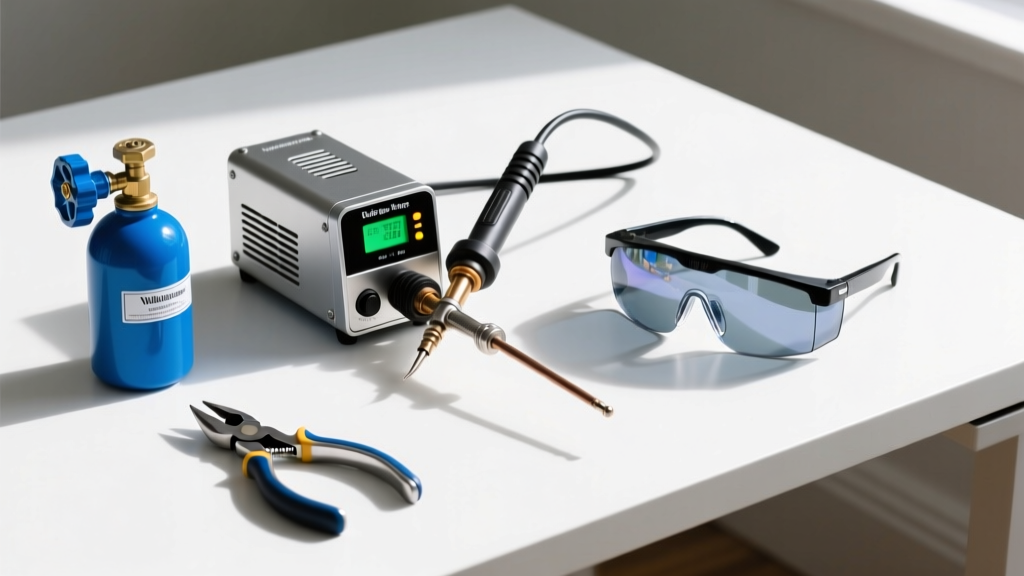
If you are ready to move beyond basic beading and wire wrapping into the lucrative world of permanent jewelry, you need the right equipment. Professional setups like those provided by Sunstone Welders are the industry standard, but building your own beginner kit requires understanding the ancillary tools that make or break a weld.
A successful permanent jewelry weld is 20% machine power and 80% preparation, alignment, and shielding gas flow.
Essential Tool Checklist
- Pulse Arc Welder: The core machine. Look for models with adjustable energy outputs (measured in watts or joules) to accommodate different chain thicknesses.
- Argon Gas Tank & Regulator: You must use 99.99% pure argon. Argon displaces oxygen around the weld spot, preventing oxidation (the dark, crusty burn mark). Set your flow rate to 3-5 Cubic Feet per Hour (CFH).
- Copper Tape & Alligator Clips: Used to ground the chain and protect the client's skin or your workbench from stray electrical arcs.
- Precision Flush Cutters: Brands like Lindstrom or Xuron are mandatory. You need a perfectly flat cut on the chain links to ensure they mate seamlessly before welding.
- Protective Eyewear: Auto-darkening welding glasses rated for pulse arc light to protect your retinas from the intense UV flash.
Troubleshooting Common Welding Failures
Even seasoned jewelers encounter welding failures. When replicating high-end permanent jewelry, knowing how to diagnose a bad weld is what separates amateurs from professionals.
The "Brittle Snap" Failure Mode
If your welded joint snaps immediately when gently tugged, you likely suffered from porosity. This happens when your argon gas flow is too low, or you are welding in a room with a ceiling fan or AC vent blowing across your workbench. The moving air strips away the argon shield, allowing oxygen to mix with the molten gold, creating microscopic air bubbles inside the weld joint. Fix: Increase argon flow to 5 CFH and block all ambient drafts.
The "Melted Link" Disaster
If the chain link completely melts into a spherical ball of gold, your energy setting is too high for the chain's mass. A 1.3mm 14k gold paperclip chain requires significantly less energy than a 1.8mm figaro chain. Fix: Always test your welder's energy dial on a scrap piece of the exact same chain before applying it to the client's wrist. Start at 15 watts and incrementally increase until you achieve a smooth, flat weld bead.
The "Faux-Permanent" Alternative for Beginners
Not everyone is ready to invest $2,000+ into a micro-welding setup. If you want to create Disney Springs-inspired, clasp-less jewelry for your own vacation using basic DIY wire-wrapping tools, you can create a "faux-permanent" illusion.
Using high-quality 14k gold-filled chain, measure the chain to fit snugly around the wrist. Thread both ends through a heavy-duty 18-gauge solid gold-filled jump ring. Using chain-nose pliers, twist the jump ring shut perfectly. Then, slide a 2mm gold-filled crimp cover over the jump ring seam and use crimping pliers to squeeze it shut. The crimp cover mimics the look of a smooth, welded bead. While it won't survive years of daily wear like a solid gold pulse-arc weld, it is a brilliant, sweat-resistant, and budget-friendly workaround for a one-week theme park vacation.