A Step-by-Step Guide to Peyote Stitch in Beading Jewelry Making
Master the even-count peyote stitch with our step-by-step beading jewelry making guide. Learn thread tension, bead sizing, and pro techniques.

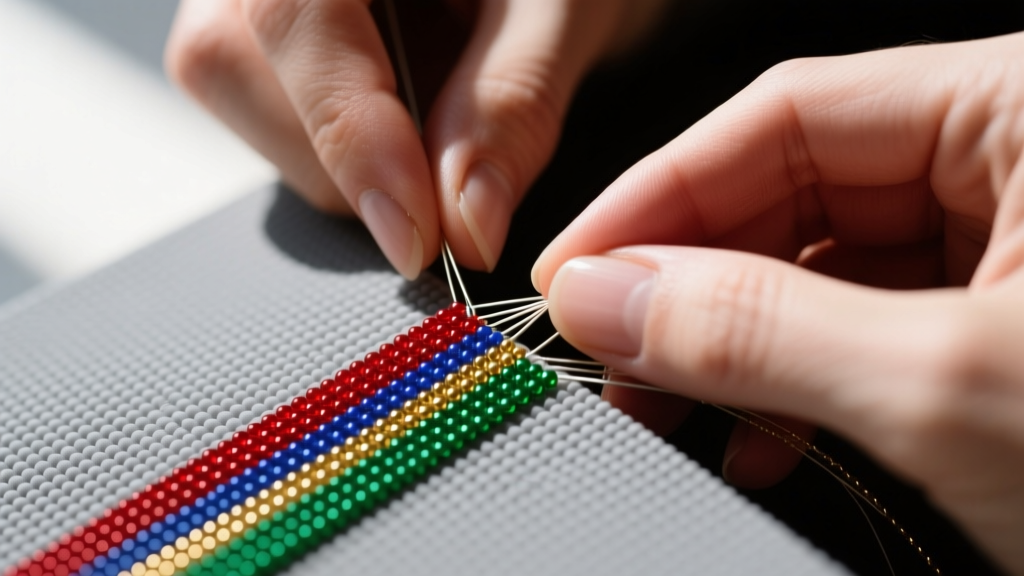
The Foundation of Off-Loom Beading
When it comes to off-loom beading jewelry making, few techniques are as versatile, durable, and foundational as the even-count peyote stitch. Often referred to as the gourd stitch in historical contexts, peyote creates a flexible, fabric-like beadwork that interlocks in a staggered, brick-like pattern. Whether you are crafting a delicate seed bead ring, a structured beaded cuff, or a complex geometric necklace strap, mastering this stitch is non-negotiable for serious jewelry artisans.
Unlike right-angle weave (RAW) which relies on thread tension to create structural loops, peyote stitch derives its strength from the physical interlocking of the beads themselves. This means that even if your thread eventually degrades decades from now, the beadwork will largely hold its shape. In this comprehensive guide, we will bypass the generic fluff and dive deep into the material science, exact tooling specifications, and mechanical execution required to achieve professional-grade tension and flawless edges.
Material Science: Selecting Beads, Thread, and Needles
The most common failure mode for beginners in beading jewelry making is material mismatch. Using the wrong thread diameter for your bead hole will cause fraying, while using round seed beads instead of cylinder beads will result in uneven, jagged edges.
The Bead: Cylinder vs. Round
For flat peyote stitch, cylinder beads are the gold standard. Miyuki Delica and Toho Treasures are precision-manufactured in Japan to exact tolerances. A standard size 11/0 Delica measures exactly 1.3mm in diameter, 1.6mm in length, and features a generous 0.8mm hole. This large hole is critical, as peyote stitch requires your needle and thread to pass through certain beads up to four times. Round seed beads (like Miyuki Rocailles) have smaller holes and irregular shapes that will cause your fabric to pucker and curl.
The Thread: Gel-Spun vs. Nylon
Your thread choice dictates the drape and durability of your piece. Gel-spun polyethylene threads, like Fireline, are incredibly strong, have zero stretch, and resist fraying. However, they can be stiff. Nylon threads, like KO or Nymo, offer a beautiful drape and soften with wear, but they stretch and require pre-stretching and conditioning with microcrystalline wax.
| Thread Brand & Type | Diameter / lb Test | Needle Size (John James) | Best Application |
|---|---|---|---|
| Fireline (Gel-Spun) | 6 lb (0.006 in) | Size 12 or 13 | Stiff cuffs, rings, structural pieces |
| KO (Nylon) | 0.008 in | Size 10 or 12 | Draping necklaces, fringe, soft cuffs |
| Wildfire (Thermally Fused) | 6 lb (0.006 in) | Size 12 | All-purpose, waterproof, zero stretch |
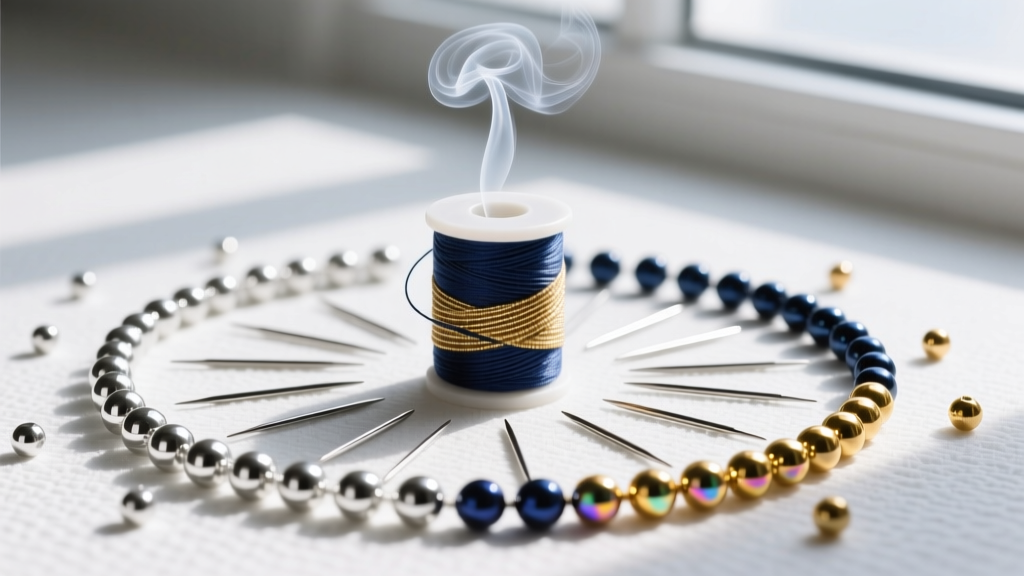
Step-by-Step: Executing the Even-Count Peyote Stitch
For this guide, we will be creating a flat, even-count peyote stitch band, which is the starting point for most beaded jewelry making projects like watch bands and choker straps. Cut approximately two yards of 6lb Fireline thread. Do not use longer lengths, as the friction of pulling the thread through beads will cause it to fray and weaken over time.
Step 1: The Stop Bead and Base Row
Pick up one size 8/0 or 6/0 seed bead to serve as your stop bead. Slide it down, leaving a 6-inch tail. Pass your needle back through this stop bead in the same direction to lock it in place. This bead prevents your work from sliding off the thread and will be removed at the very end.
Next, pick up an even number of your size 11/0 Delica beads (e.g., 12 beads). This forms your foundational base row. Lay them flat on your beading mat. You will notice they sit side-by-side in a single line.
Step 2: The Critical First Turn
This is the exact moment where 90% of beginners make a mistake. The first turn establishes the staggered "up" and "down" bead architecture of the peyote stitch.
- Pick up one new Delica bead.
- Skip the last bead you picked up in your base row (bead #12), and pass your needle through the next bead down (bead #11).
- Pull the thread taut. The new bead you just added will stack directly on top of bead #12, while bead #11 is pushed upward to become an "up" bead.
- Pick up another new bead, skip bead #10, and pass through bead #9.
- Repeat this "pick up one, skip one" pattern until you reach the stop bead.
At the end of this row, you should have a series of high beads and low beads. The high beads are your anchor points for the next row.
Step 3: Building the Fabric
To begin row three, you do not need to pick up a turning bead. Simply pass your needle through the first "up" bead of the previous row to secure your position. Pick up one new bead, skip the next "down" bead, and pass through the following "up" bead. The new bead will naturally slot into the gap, locking the fabric together. Continue this pattern, adding rows until your band reaches the desired length.
Troubleshooting Tension and Edge Failures
Perfecting your tension is what separates amateur crafts from high-end beading jewelry making. If your beadwork looks like a potato chip—curling at the edges and warping in the middle—you are suffering from uneven tension.
The "Pull-Through" vs. "Pickup" Tension
Tension in peyote stitch happens in two phases. The pickup tension is how tightly you hold the beads on the needle before passing through the work. The pull-through tension is how hard you yank the thread once the needle is through the beads. You must maintain a steady, moderate pull-through tension. If you pull too hard, the fabric will pucker and become rigid. If you pull too loosely, the thread will show between the beads, creating a sloppy, webbed appearance.
Managing Thread Memory and Wax
Nylon threads like KO have a "memory" and will retain the curl from the spool, which can cause your edges to warp. Always pre-stretch your nylon thread by pulling it firmly between your hands in sections before beading. If you are using nylon, apply a light coating of microcrystalline wax (not beeswax, which can rot over time and attract dirt). Wax coats the fibers, reduces friction, and helps the thread glide through the 0.8mm bead holes without snapping.
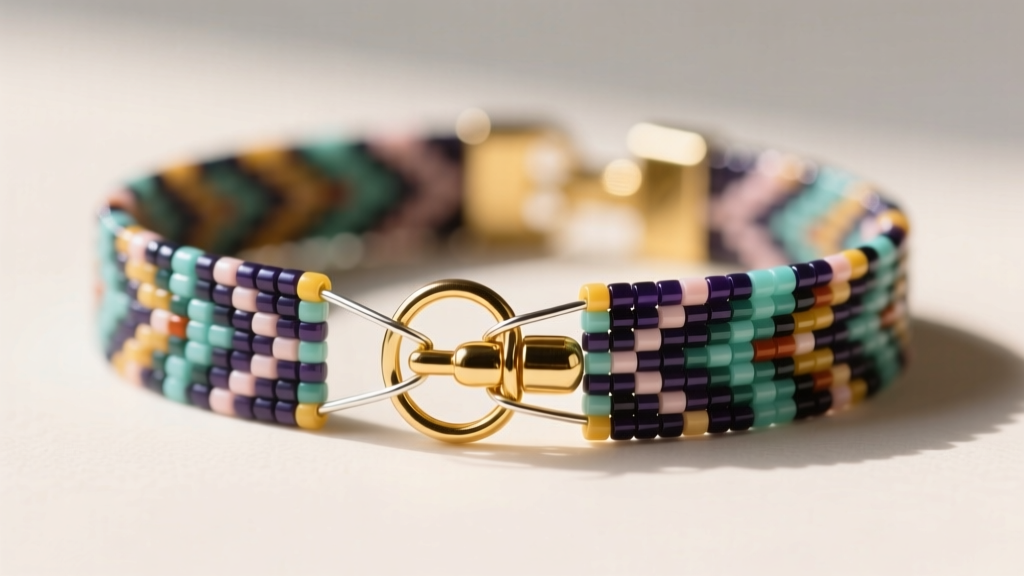
Securing and Finishing Your Beaded Fabric
A beautiful peyote stitch band is useless if the finishing techniques compromise the structural integrity. Never use glue on your thread tails. Cyanoacrylate (super glue) will chemically degrade gel-spun threads like Fireline, causing them to become brittle and snap.
Weaving in Tails
To finish, weave your needle back into the beadwork, following the existing thread path. Pass through at least 12 to 15 beads, changing direction at least twice to create a mechanical lock. For added security, tie a half-hitch knot around an existing thread bridge between two beads before continuing your weave. Trim the tail flush against the bead using sharp embroidery scissors or a thread burner.
Attaching Findings
To attach a clasp to a flat peyote band, do not simply tie the thread to a jump ring; the thread will eventually saw through the metal. Instead, use a wire guardian (French wire) and a crimp bead. Pass your thread through the crimp, up through the wire guardian, and back down through the crimp and the first few rows of your beadwork. Flatten the crimp using a crimping plier. This transfers the mechanical stress from your thread to the steel or copper wire of the finding, ensuring your beading jewelry making masterpiece lasts a lifetime.
Final Thoughts on Mastery
Mastering the even-count peyote stitch requires patience, an understanding of material tolerances, and a commitment to consistent tension. As you progress, you can experiment with color gradients, increase and decrease techniques for shaping, and tubular peyote for rope necklaces. For further inspiration and advanced patterns, resources like Interweave Beading offer extensive archives of technical designs. Keep your needles sharp, your thread conditioned, and your tension steady.


