Round Pliers Jewelry Making: The Ultimate Beginner Guide
Learn essential round pliers jewelry making techniques for perfect wire loops, jump rings, and wraps. Our beginner guide covers sizes, grips, and pro tips.

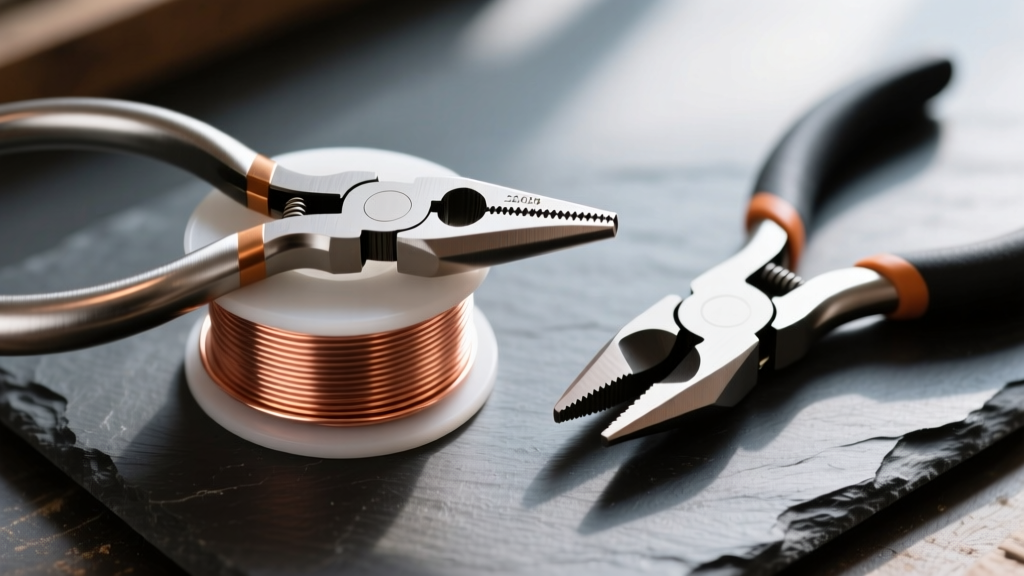
The Backbone of Wire Wrapping: Understanding Round Pliers
If you are stepping into the world of DIY jewelry making, you will quickly discover that round pliers jewelry making techniques form the foundation of almost every wire-wrapped design. Unlike chain-nose or flat-nose pliers that grip and bend, round nose pliers feature smooth, tapered cylindrical jaws designed specifically to create perfectly circular loops, jump rings, and curved hooks. Whether you are crafting a simple beaded necklace or an intricate wire-wrapped pendant, mastering this single tool will elevate your craftsmanship from amateur to professional.
However, simply owning a pair of round pliers is not enough. The difference between a jagged, misshapen loop and a flawless, symmetrical circle lies in your understanding of jaw taper, wire hardness, and grip pressure. In this comprehensive guide, we will break down exactly how to choose, use, and maintain your round pliers to achieve consistent, professional-grade results.
Anatomy of Round Pliers and Jaw Taper
Round nose pliers are defined by their conical jaws. The tip of the jaw is the narrowest point, gradually widening as it meets the joint. This taper is not just a design quirk; it is a built-in measuring tool. The position where you place your wire on the jaw dictates the exact inner diameter (ID) of your loop.
- The Tip (1mm - 1.5mm): Used for micro-loops, tiny jump rings, and wrapping very fine gauge wire (28ga - 26ga).
- The Mid-Jaw (2mm - 3mm): The sweet spot for standard simple loops on 24ga to 20ga wire, fitting most standard chain links and earring hooks.
- The Base (4mm - 5mm): Ideal for large jump rings, heavy-gauge wire (18ga - 16ga), and creating structural curves or clasps.
When shopping for tools, pay attention to the joint. Premium brands utilize a lap joint or box joint that prevents light from shining through when closed, ensuring your pliers will not pinch or shear soft wire at the base of the jaw.
Choosing the Right Tool: Brand and Pricing Comparison
Not all round pliers are created equal. Cheap, stamped-steel tools often have rough spots on the jaws that will permanently mar your wire, especially when working with soft metals like fine silver or copper. Below is a comparison of industry-standard options to help you invest wisely.
| Brand | Material & Joint | Jaw Taper Range | Best For | Price Range (2026) |
|---|---|---|---|---|
| Beadalon | Carbon Steel / Box Joint | 1.5mm - 4.5mm | Absolute beginners, casual crafters | $8 - $15 |
| Wubbers Classic | Steel / Lap Joint | 1.0mm - 3.5mm | Intermediate makers, consistent loops | $22 - $28 |
| Lindstrom RX | Swedish Steel / Precision | 1.2mm - 4.0mm | Micro-wrapping, advanced precision | $60 - $85 |
| Tronex | Tool Steel / Ergonomic | 1.5mm - 5.0mm | Heavy gauge wire, production work | $45 - $65 |
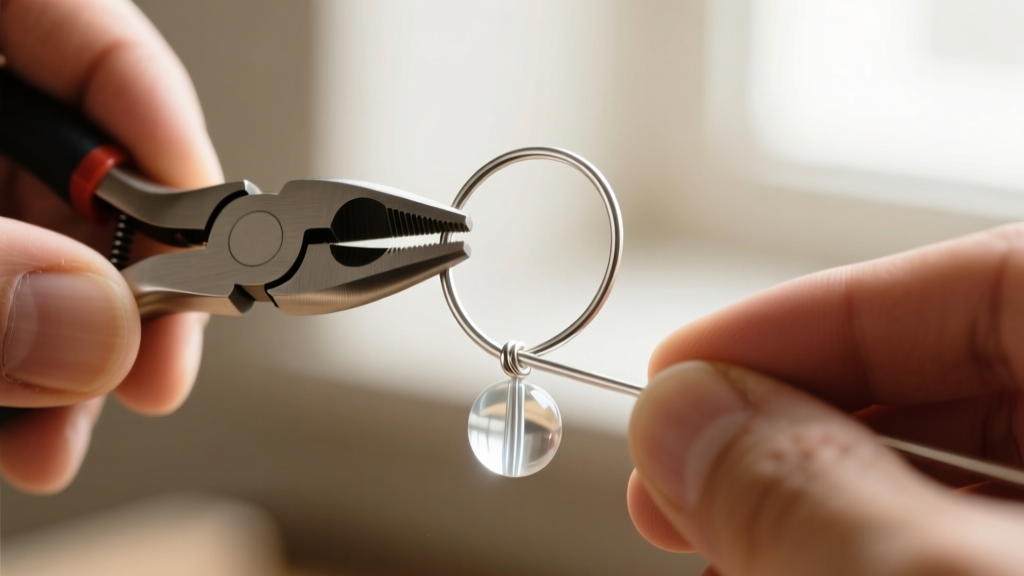
Step-by-Step: Crafting the Perfect Simple Loop
The simple loop is the most common connection point in beaded jewelry. According to the metallurgy and technique guides at Fire Mountain Gems, the secret to a perfect loop is using the correct wire hardness. For simple loops, half-hard wire is preferred because it holds its shape better than dead-soft wire, which can easily pull open under the weight of a heavy gemstone.
The Execution
- Flush Cut: Using flush cutters, snip your wire (e.g., 22-gauge half-hard sterling silver) leaving exactly 6mm of wire extending past the top of your bead.
- The 90-Degree Bend: Use chain-nose pliers to bend the 6mm tail at a strict 90-degree angle, right where it exits the bead.
- Positioning: Open your round pliers and insert the tip of the jaw just below the 90-degree bend. The wire tail should point toward the inside of the plier joint.
- The Roll: Do not pull the wire. Instead, roll your wrist forward, pushing the wire around the tapered jaw. If the wire slips, reposition the pliers and roll again until the tail meets the base of the bend.
- Centering: Use chain-nose pliers to gently nudge the loop so it sits perfectly centered over the bead hole.
Leveling Up: The Wrapped Loop Technique
When working with heavy pendants or expensive gemstones, a simple loop is a structural liability. A wrapped loop locks the wire around its own stem, creating a permanent, unbreakable connection. This technique requires a seamless dance between your round nose pliers and your chain-nose pliers.
Start with a longer tail—about 2 inches of 24-gauge dead-soft wire. Grip the wire with your round pliers at the mid-jaw to form your initial loop. Once the loop is closed, keep the round pliers firmly inserted inside the loop to act as a mandrel and support structure. Using your fingers or a second pair of chain-nose pliers, tightly coil the remaining tail wire around the stem directly below the loop. Make 3 to 4 tight, flush wraps, then snip the excess and tuck the sharp end in with flat-nose pliers. As noted in the wire-working tutorials by Rio Grande, supporting the loop with the plier jaw during the wrapping phase prevents the loop from warping into an oval shape under the tension of the wrap.

Pro-Tips: Solving Common Beginner Frustrations
Even with premium tools, beginners often encounter frustrating issues. Here is how to troubleshoot the most common round pliers jewelry making problems.
Problem: Tool Marks and Marring
If your pliers are leaving tiny dents or scratches in your soft copper or fine silver wire, your grip is too tight, or your jaw surface has microscopic burrs from the factory. The Fix: Dip the jaws of your pliers in a liquid tool dip like Tool Magic, or carefully apply a thin layer of clear nail polish to the jaws. Let it dry completely. This creates a protective, rubberized barrier that prevents metal-on-metal contact.
Problem: Inconsistent Loop Sizes
Making a necklace with 40 beads requires 80 loops. If every loop is a slightly different diameter, the final piece will look sloppy and hang unevenly. The Fix (The Tape Trick): Take a piece of blue painter's tape and wrap it snugly around the jaws of your round pliers. Use a fine-tip permanent marker to draw a line exactly where you want to position the wire for your desired loop size. This visual guide ensures every single loop is placed on the exact same millimeter of the jaw taper, guaranteeing factory-level consistency.
Problem: The Concertina Effect
If you bend the wire, realize it is wrong, and unbend it, the wire will become brittle, wavy, and prone to snapping. This is known as work-hardening. The Fix: Always practice your loops on cheap 20-gauge craft copper wire before cutting into expensive gold-filled or sterling silver wire. Measure twice, bend once.
Tool Maintenance for Longevity
Jewelry tools are precision instruments that require basic upkeep. The joint of your round pliers contains moving metal parts that can accumulate dust, skin oils, and microscopic metal shavings over time. Every few months, apply a single drop of lightweight synthetic sewing machine oil directly into the joint. Open and close the pliers a dozen times to work the oil in, then wipe away any excess with a microfiber cloth to prevent oil from transferring to your jewelry wire. Store your pliers in a dry, lined drawer or a dedicated tool roll to prevent the delicate tapered tips from chipping against other steel tools.
Final Thoughts on Mastering Your Tools
Mastering round pliers jewelry making techniques is a rite of passage for every jewelry artisan. By understanding the physics of your tool's taper, respecting the hardness of your wire, and employing clever tricks like the painter's tape method, you will eliminate frustration and produce beautiful, durable jewelry. Invest in the best pliers your budget allows, practice your wrist-rolling motion, and let your creativity flow seamlessly from your hands into your designs.


