Fixing Bezel Settings for Jewelry Making: Troubleshoot Gaps and Cracks
Learn how to troubleshoot bezel settings for jewelry making. Fix gapping, prevent scratched cabochons, and stop stone cracks with expert metalworking tips.

Mastering bezel settings for jewelry making is a definitive rite of passage for any metalsmith. When executed perfectly, a bezel setting offers a sleek, modern, and highly secure housing for a cabochon. However, the journey from a soldered bezel cup to a finished piece is fraught with potential failures. Gapping, scratched stones, and catastrophic cabochon fractures are incredibly common, especially when the physics of metal manipulation are misunderstood. This comprehensive troubleshooting guide dives deep into the metallurgy and mechanics of bezel setting, providing actionable solutions to rescue your workbench from frustration.
The Physics of a Gap: Why Your Bezel Won't Sit Flush
Nothing ruins the professional appearance of a ring or pendant faster than a visible light gap between the bezel wall and the stone. This gapping is rarely a issue with the stone's cut; it is almost always a failure in metal preparation and tool selection. To troubleshoot this, we must first look at the material you are pushing.
Fine Silver vs. Sterling: The Metallurgy of the Push
If you are using sterling silver (.925) for your bezel wire, you are fighting an uphill battle against metal memory. Sterling silver contains 7.5% copper, which causes it to work-harden rapidly and develop stubborn firescale during soldering. When you attempt to push work-hardened sterling over a stone, it will inevitably spring back, leaving a gap. According to Ganoksin's Bezel Setting Basics, fine silver (.999) is the undisputed industry standard for bezel wire. Fine silver lacks copper, meaning it does not develop firescale and remains remarkably soft and pliable even after soldering. If you are experiencing persistent spring-back and gapping, switch to .999 fine silver bezel wire immediately.
Troubleshooting Guide: Gapping and Light Leaks
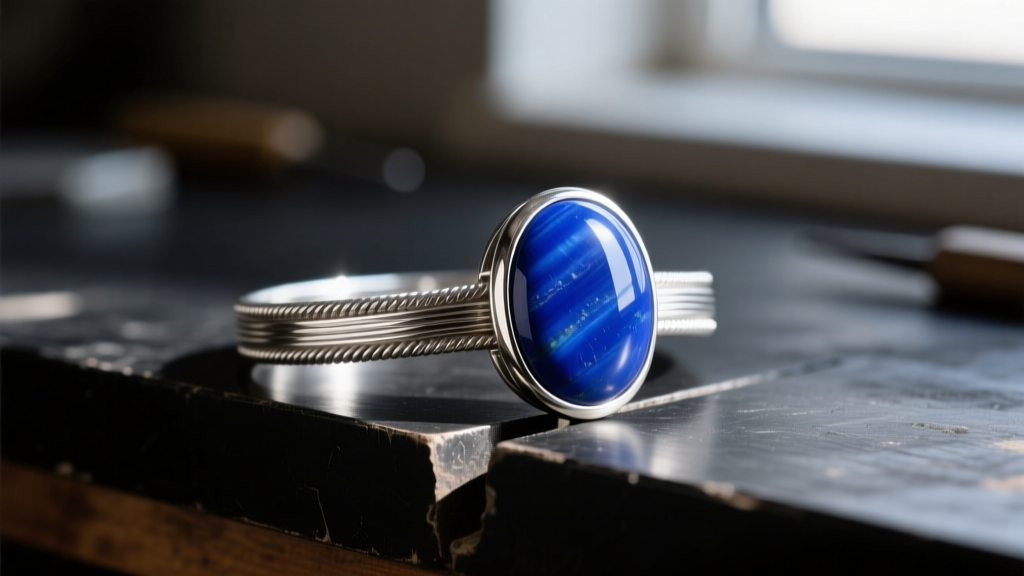
Even with fine silver, gapping can occur if the bezel wire is simply too thick for the stone's profile. A common beginner mistake is purchasing 24-gauge (0.51mm) or 22-gauge (0.64mm) bezel wire because it feels substantial. In reality, thicker wire requires exponentially more force to push over the curvature of a cabochon. This excessive force leads to tool slippage and uneven metal distribution.
| Bezel Wire Gauge | Thickness (mm) | Ideal Stone Type & Profile | Risk Level for Gapping |
|---|---|---|---|
| 22 Gauge | 0.64mm | Large, flat-edged agates or jaspers | High (Requires heavy hammering) |
| 24 Gauge | 0.51mm | Medium stones with steep domes | Moderate (Prone to buckling) |
| 26 Gauge | 0.40mm | Most standard cabochons (Turquoise, Opal) | Low (Excellent balance) |
| 28 Gauge | 0.32mm | Small stones, fragile gems, low domes | Very Low (Pushes easily by hand) |
The Fix: For 90% of standard cabochons, 26-gauge or 28-gauge fine silver wire is ideal. If your bezel is already soldered and too thick to push by hand, do not force it with a standard pusher. Instead, use a brass or copper hammer and a specialized bezel punch to gently peen the metal down in a controlled, even manner.
Solving the "Scratched Cabochon" Crisis
You are pushing the metal perfectly, the gap is closing, and then—disaster. Your pusher slips, leaving a deep, jagged scratch across the polished surface of your lapis lazuli or malachite. This happens because standard steel bezel pushers often have microscopic burrs or sharp edges left over from manufacturing.
Tool Preparation and the Painter's Tape Trick
Before a bezel pusher ever touches your jewelry piece, it must be prepped. Take your steel pusher and sand the working face with 600-grit sandpaper, followed by 1200-grit, and finish with a quick polish on a buffing wheel with rouge. The face should be completely smooth and slightly rounded, never sharp or flat-edged.
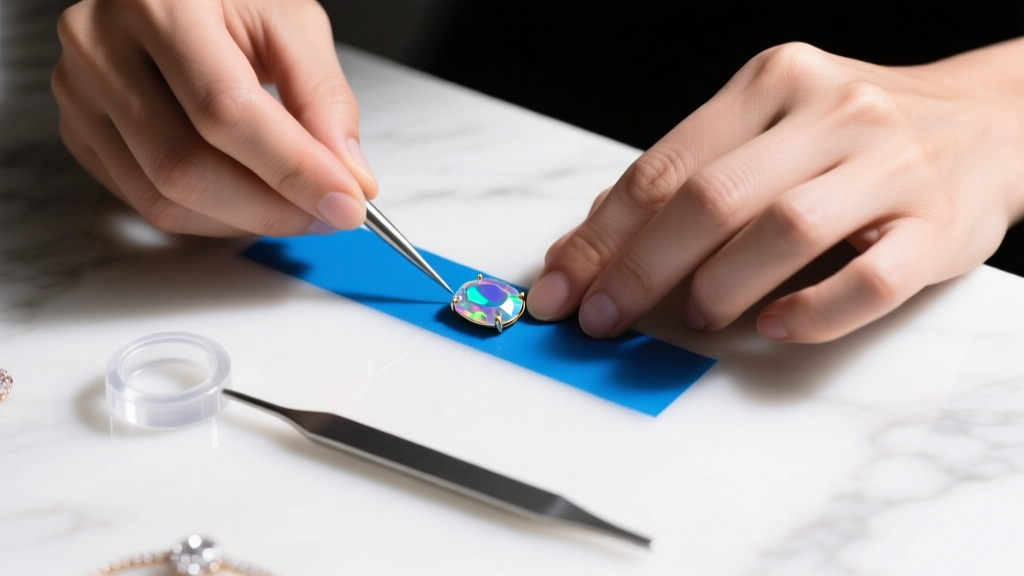
Furthermore, protect the stone. Applying two layers of 3M blue painter's tape directly over the cabochon creates a sacrificial barrier. The tape provides just enough friction to grip the bezel wire while ensuring that if your tool slips, it glides across the tape rather than gouging the stone. Avoid standard beige masking tape, as the heat generated by friction can melt the adhesive onto your stone.
Preventing Stone Fractures: The Star Pattern Technique
Opals, turquoise, and moonstones are notoriously fragile. On the Mohs scale of mineral hardness, turquoise sits at a mere 5 to 6, making it highly susceptible to point-stress fractures. The most common cause of a cracked cabochon is pushing the bezel wire continuously in a circle. This traps a "wave" of excess metal that eventually buckles and snaps the stone.
"Never chase the bezel in a circle. Always use the Star Pattern—push North, then South, then East, then West. This distributes the metal tension evenly across the stone's girdle and prevents localized pressure points that lead to catastrophic cracking."
By utilizing a bezel roller rather than a pusher for fragile stones, you apply a broader, more forgiving surface area of pressure. Roll the metal down gradually, completing the star pattern at least four times before moving to the spaces in between.
Advanced Recovery: What to Do When the Stone Cracks
If the worst happens and your stone fractures during the final push, do not immediately throw the piece away. Depending on the severity of the crack, you have two recovery options:
- The Epoxy Stabilization: If the crack is a tight hairline fracture that hasn't separated the stone, carefully wick a water-thin cyanoacrylate (CA) glue or a specialized lapidary epoxy into the fissure. Once cured, polish the surface with a soft felt wheel and cerium oxide to restore the shine.
- The Intentional Kintsugi Approach: For larger breaks, embrace the flaw. Use a two-part jeweler's epoxy mixed with 24k gold mica powder to fill the crack, turning the break into a deliberate, striking vein of gold reminiscent of the Japanese art of Kintsugi.
Essential Troubleshooting Toolkit
To consistently execute flawless bezel settings, your workbench must be equipped with the right tools. Based on current industry standards and Rio Grande's metallurgical recommendations, here is the ultimate troubleshooting kit:
- PepeTools 130.880 Bezel Pusher: Features a polished, ergonomic wooden handle and a perfectly rounded steel face that minimizes slip-scratches.
- GRS BenchMate with Bezel Roller Attachment: Allows you to use both hands to guide the stone and roller, providing unparalleled control over fragile gems.
- Agate Burnisher: Essential for the final step. After the metal is pushed flush, use an agate burnisher at an 80-degree angle to compress the silver molecules, creating a mirror finish that seals the bezel tightly against the stone.
- 3M Blue Painter's Tape (Delicate Surface): The ultimate insurance policy against tool slips.
Troubleshooting bezel settings is less about brute force and more about understanding material science. By selecting the correct gauge of fine silver, prepping your tools to a mirror finish, and utilizing tension-distributing pushing patterns, you will eliminate gaps, scratches, and cracks from your jewelry making repertoire.


