Troubleshooting Beading Wire for Jewelry Making: Breaks & Kinks
Master troubleshooting beading wire for jewelry making. Learn to fix kinks, prevent fraying, and choose the right strand count and gauge.

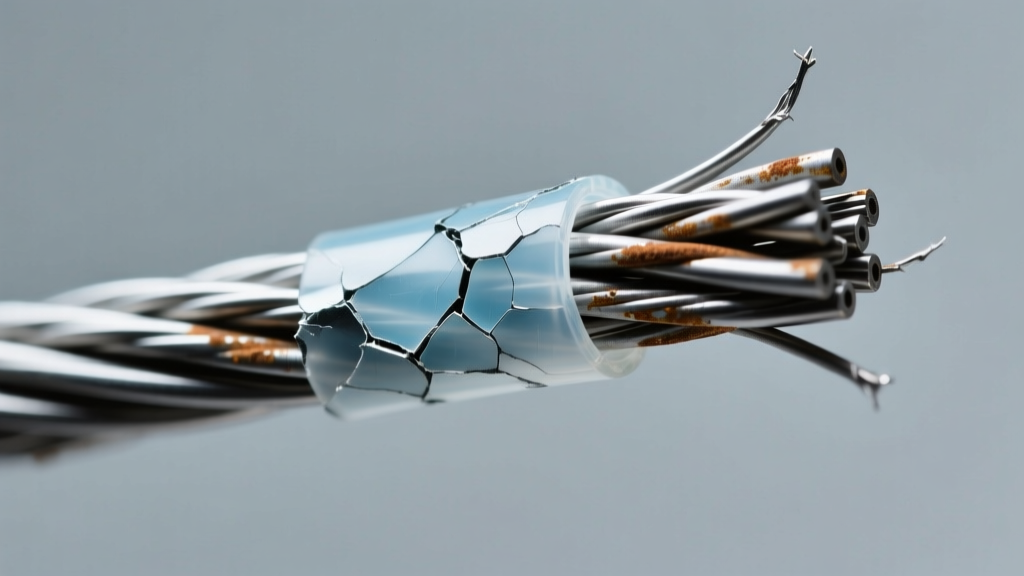
There is nothing more devastating to a jewelry maker than hearing the sharp ping of a snapped necklace, followed by the chaotic scatter of expensive gemstones across a hardwood floor. When you are selecting beading wire for jewelry making, you are not just choosing a string; you are engineering the structural backbone of your design. Modern beading wire is a marvel of micro-engineering, typically consisting of a multi-strand stainless steel core encased in a protective nylon or polyurethane jacket. However, this complex construction introduces specific failure modes that beginners and even seasoned artisans frequently misdiagnose.
In this comprehensive troubleshooting guide, we will dissect the anatomy of wire failures, from irreversible work-hardening kinks to abrasive clasp friction. By understanding the metallurgy and physics behind these breaks, you can elevate your craft from fragile hobbyist projects to heirloom-quality, commercial-grade jewelry.
Diagnosing the 3 Most Common Wire Failures
Before you can fix a broken piece, you must understand why it failed. Beading wire does not simply 'snap' without reason; it leaves forensic evidence at the break site. Let us examine the primary culprits behind structural failure.
1. The Dreaded Kink (Work Hardening)
A kink occurs when the wire is bent past its yield point, causing the microscopic steel strands inside the nylon jacket to cross over one another and lock. Many beginners attempt to 'massage' or bend the kink back into a straight line. Never do this. Bending a kinked wire induces rapid work hardening. The steel strands become brittle, and the wire will inevitably snap at that exact stress point within days of wear. If you kink your wire, the only professional solution is to cut it out and re-string the section. To prevent kinking, always unspool wire by pulling it straight from the edge of the spool, never wrapping it around your fingers.
2. Abrasion and Fraying at the Clasp
If your wire breaks exactly at the loop of the clasp or the jump ring, you are experiencing abrasive friction. Every time the wearer moves, the metal clasp acts like a microscopic saw against the nylon coating of your wire. Over time, the nylon wears away, exposing the steel core to moisture and repetitive bending stress. The solution is not a thicker wire, but a wire guardian (also known as a French wire or wire protector). These horseshoe-shaped metal findings take the abrasive brunt of the clasp movement, increasing the lifespan of the connection point by over 400%.
3. Tension Snaps (The Heavy Bead Problem)
When a wire snaps in the middle of a strand, it is usually due to tension and compression. If you string heavy, large-hole beads (like 14mm lapis lazuli or heavy metal focals) on a wire that is too thin, the beads act as individual hammers. As the necklace drapes and moves, the heavy beads collide, creating micro-shockwaves that fatigue the steel core. This requires matching the wire gauge not just to the bead hole size, but to the bead's mass.
The Strand Count and Gauge Troubleshooting Matrix
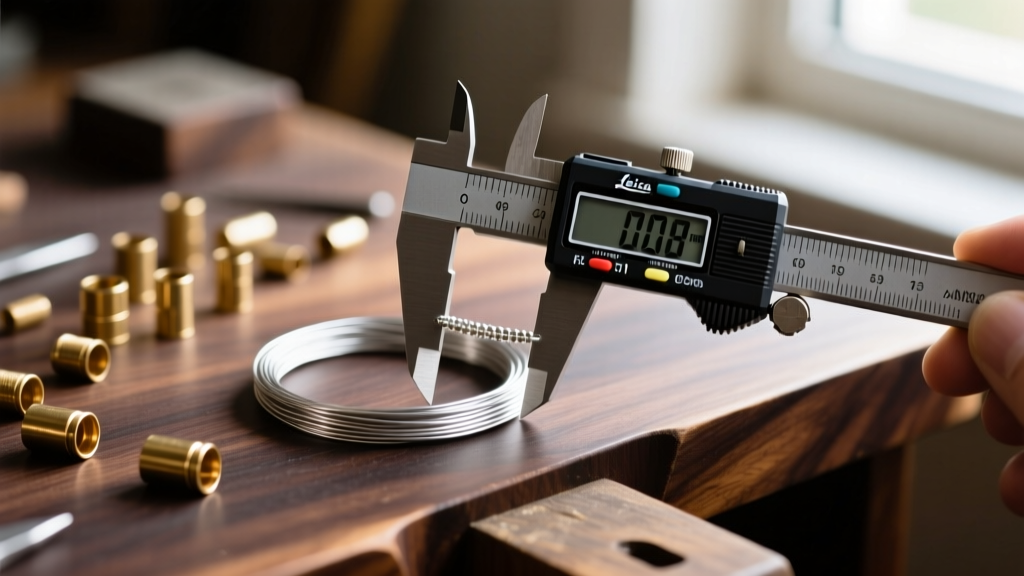
The most common mistake in DIY jewelry making is treating all beading wire as identical. Wire is categorized by two metrics: gauge (the overall diameter of the wire) and strand count (the number of individual steel micro-wires twisted inside the nylon jacket). Use the matrix below to troubleshoot your current design failures.
| Overall Gauge | Strand Count | Drape Quality | Best Application | Common Failure Risk |
|---|---|---|---|---|
| .010" - .013" | 7-Strand | Stiff / Wiry | Seed beads, lightweight pearls, illusion necklaces | Kinks easily; snaps under heavy bead weight |
| .014" - .015" | 19-Strand | Moderate Drape | Standard glass beads, small crystals, everyday wear | Fraying if crimped too tightly with base metal tubes |
| .018" - .019" | 49-Strand | Supple / Fluid | Semi-precious gemstones, heavy metal beads, premium lines | >Crimp tube slippage if tube inner diameter is mismatched|
| .021" - .024" | 49-Strand | Fluid but Thick | Large lampwork beads, heavy turquoise, multi-strand clasps | Will not fit through standard gemstone drill holes |
Pro Tip: If your design requires the drape of silk thread but the strength of steel, always default to a 49-strand wire. The higher strand count distributes kinetic energy across more micro-cables, making it highly resistant to kinking and fatigue.
Fixing Clasp Slippage and Crimp Tube Disasters
A secure crimp is the single most critical mechanical joint in beaded jewelry. If your wire is slipping out of the crimp tube, or if the crimp tube is cracking open, you are likely suffering from metallurgical mismatch or improper tooling.
The Base Metal vs. Precious Metal Crimp Problem
Many beginners purchase cheap, base-metal crimp tubes (often made of soft brass or aluminum) to save money. However, base metal crimps have a high 'memory'—meaning they tend to slowly spring back open after being compressed, eventually releasing the wire. According to technical guides from Fire Mountain Gems, you should always use sterling silver or gold-filled crimp tubes for professional work. Precious metals are softer, malleable, and will permanently fold and lock onto the nylon coating without springing back.
The Two-Step Micro-Crimper Technique
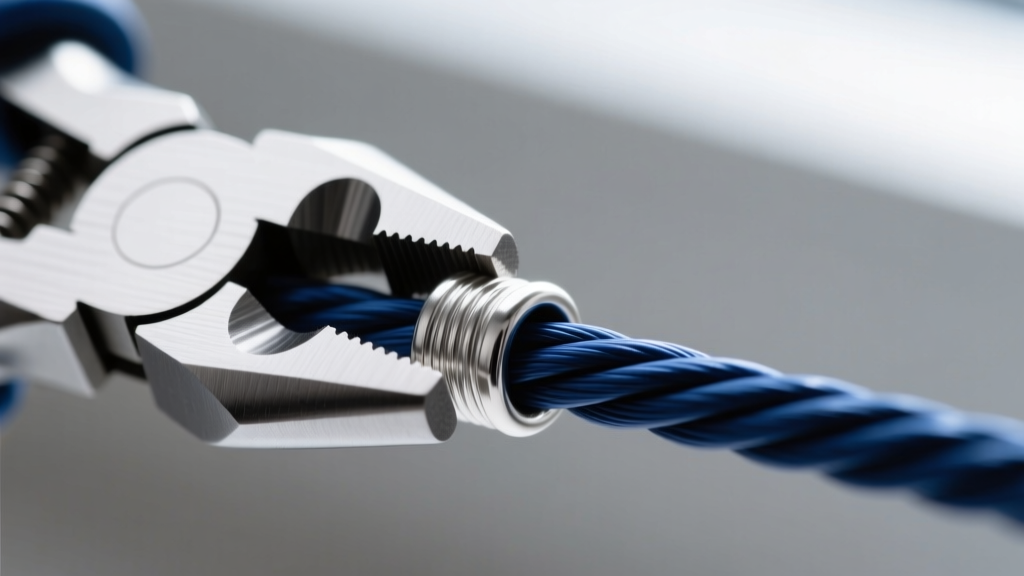
Do not use standard flat-nose pliers to smash crimp tubes. Smashing creates sharp edges that cut into the nylon jacket, leading to the exact fraying issues we diagnosed earlier. Instead, use a dedicated micro-crimping tool:
- Step 1 (The Oval): Place the crimp tube in the back notch of the pliers and squeeze. This creates a U-shape, separating the two passes of the wire so they do not cross and cut each other.
- Step 2 (The Fold): Move the U-shaped crimp to the front notch and squeeze again. This folds the U in on itself, creating a tight, rounded, bead-like cylinder that securely locks the wire without sharp edges.
Brand Diagnostics: Soft Flex vs. Beadalon vs. Accu-Flex
Not all beading wire for jewelry making is manufactured to the same tolerance. When troubleshooting persistent issues, the brand of your wire might be the hidden variable.
"The difference between a hobbyist necklace and a master-crafted piece often lies in the microscopic tolerances of the nylon extrusion process. Premium wires use aerospace-grade polyamide coatings that resist UV degradation and sweat acidity."
- Soft Flex: Widely considered the industry gold standard for high-end designers. Their .019" 49-strand wire uses a uniquely supple polyamide coating that mimics the drape of thread. It is highly resistant to kinking but comes at a premium price point (approx. $18-$25 per 30ft spool).
- Beadalon (Artistic Wire): The most ubiquitous brand, offering excellent consistency and a massive variety of colors. Their standard 49-strand is slightly stiffer than Soft Flex, making it easier for beginners to handle when stringing rigid geometric beads. Beadalon's official resources provide excellent color-matching guides for their nylon jackets.
- Accu-Flex: Known for their 'Pro' series, which features a slightly thicker nylon wall. This makes the wire incredibly resistant to abrasion from sharp-edged beads (like crystal bicones or rough-cut stones), though it sacrifices a bit of fluid drape.
Preventative Maintenance and Storage Protocols
Even the highest quality 49-strand wire will fail if stored improperly. The nylon coating is susceptible to environmental degradation. To ensure your inventory and finished pieces last for decades, follow these storage protocols:
- Avoid UV Exposure: Prolonged sunlight breaks down the molecular bonds in the nylon jacket, causing it to turn yellow and become brittle. Store spools in opaque, UV-blocking containers.
- Climate Control: Extreme temperature fluctuations cause the steel core and the nylon coating to expand and contract at different rates, leading to micro-delamination. Keep your studio between 65°F and 75°F.
- The 'Hang or Coil' Rule: Never toss finished necklaces into a drawer where they will knot. Hang them on a padded jewelry rack or coil them loosely in individual anti-tarnish zip bags to prevent the wire from taking on a permanent, stressed memory shape.
Troubleshooting beading wire for jewelry making is ultimately an exercise in material science. By respecting the physical limits of the steel core, matching the strand count to the kinetic load of your beads, and executing flawless crimp joints, you eliminate 99% of structural failures. Stop blaming the beads, upgrade your wire engineering, and create pieces that stand the test of time.


