Troubleshooting Lux Jewelry Lounge Permanent Jewelry Weld Issues
Master pulse arc welding with our troubleshooting guide to achieving flawless Lux Jewelry Lounge permanent jewelry standards at home.

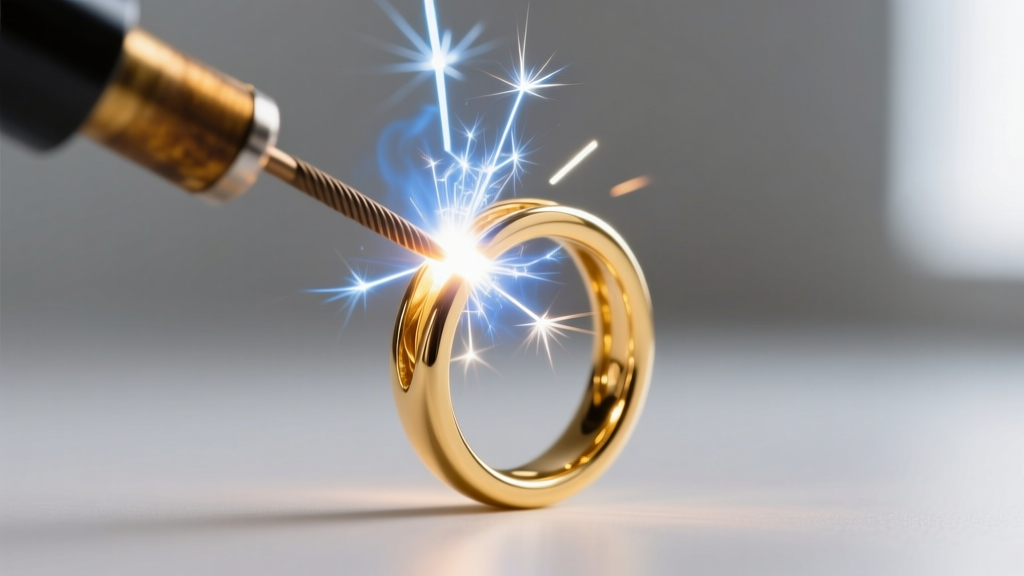
The permanent jewelry industry has evolved rapidly, shifting from simple craft-fair setups to high-end, appointment-only studios. When clients seek out the quintessential lux jewelry lounge permanent jewelry experience, they are not just paying for a welded chain; they are investing in flawless metallurgy, invisible seams, and premium material grades. For DIY makers and mobile welders attempting to replicate this luxury standard at home, the learning curve can be steep. Pulse arc welding is unforgiving, and even minor environmental or mechanical variables can result in brittle welds, blowouts, or severe discoloration.
This comprehensive troubleshooting guide dives deep into the metallurgical and mechanical realities of permanent jewelry welding. We will diagnose the most common failure modes, provide exact machine settings for premium chains, and outline the post-weld finishing protocols required to achieve a true luxury-grade result.
Defining the Luxury Standard: Materials and Tolerances
Before troubleshooting the weld, you must audit your materials. High-end lounges do not use hollow-core chains or low-grade base metals plated in gold. The luxury standard demands solid 14k or 18k gold, or at minimum, high-quality 14k gold-filled wire with a brass core. Furthermore, the jump ring used to close the bracelet must perfectly match the chain's wire gauge and alloy composition.
A common DIY mistake is using a 22-gauge jump ring to connect a 20-gauge chain. When the pulse arc welder fires, the energy disperses unevenly due to the differing thermal masses. The thinner jump ring will vaporize (blowout) before the thicker chain link reaches its melting point. For a standard 1.5mm 14k gold cable chain (typically 20-gauge wire), your jump ring must be cut from 20-gauge wire with an outer diameter (OD) of 3.0mm to 3.5mm to ensure a flush, gap-free closure.
Pulse Arc Troubleshooting Matrix
Dialing in a pulse arc welder (such as a Sunstone PUK or Orion) requires balancing voltage (energy) and pulse time (duration). Below is a diagnostic matrix for the most frequent weld failures encountered when working with fine 14k gold chains.
| Visual Symptom | Failure Mode | Root Cause | Actionable Solution |
|---|---|---|---|
| Hole or missing metal at the seam | Blowout | Voltage too high; pulse time too long for the wire gauge. | Reduce voltage by 3-5V. For 20ga 14k gold, start at 18V and 6ms pulse time. |
| Weld looks intact but snaps easily | Cold Weld | Insufficient energy to overcome surface tension; oxide layer blocking fusion. | Increase voltage by 2V. Ensure jump ring is filed perfectly flush with no gaps. |
| Dark, sooty, or sponge-like texture | Porosity / Oxidation | Argon gas flow is too low, or atmospheric oxygen is contaminating the weld pool. | Check argon hose for leaks. Increase flow rate to 2.0 CFH. Ensure weld is in the gas pocket. |
| Asymmetrical weld bead; melted on one side | Arc Deflection | Tungsten electrode is dull, contaminated, or ground incorrectly. | Resharpen electrode longitudinally. Clean tip with a brass wire brush. |
| Chain links fused together away from the seam | Stray Arcing | Chain is not held taut; tweezers are conductive and grounding the arc. | Use ceramic-tipped or copper tweezers. Maintain firm, even tension on the chain. |
The Argon Gas Factor: Solving Porosity and Discoloration
If you are struggling with dark, brittle welds that crack during the tumbling process, your shielding gas is likely the culprit. Pulse arc welding relies on Argon gas to displace atmospheric oxygen and nitrogen, which cause rapid oxidation and nitride formation in molten gold. For permanent jewelry, you must use 99.995% pure welding-grade Argon.
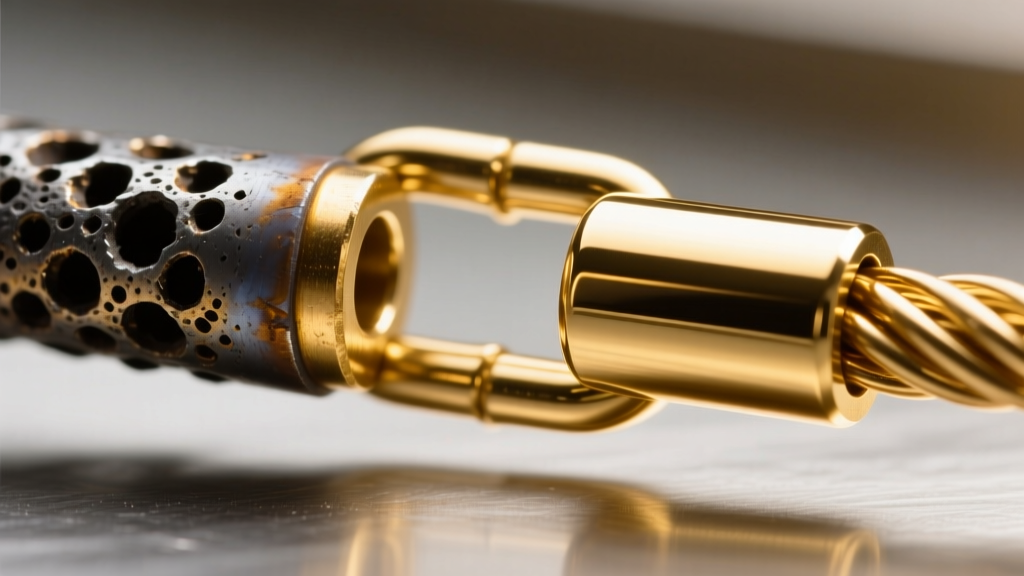
Many DIY kits ship with cheap, unregulated gas valves. To achieve a luxury finish, invest in a proper dual-gauge Argon regulator. Set your flow rate between 1.5 and 2.0 Cubic Feet per Hour (CFH). If the flow is too low, oxygen infiltrates the weld pool, causing the dark soot. If the flow is too high (above 3.0 CFH), the gas turbulence will actually draw ambient air into the weld zone, creating the exact same porosity issues. Furthermore, ensure your welding chamber or handheld wand is positioned correctly; the weld joint must sit squarely in the center of the gas envelope, roughly 2mm to 3mm below the electrode tip.
Electrode Geometry and Arc Stability
The tungsten electrode is the needle that threads the electrical arc into the metal. According to welding experts at Sunstone Welders, the geometry of the tungsten tip dictates the shape and stability of the plasma arc. A poorly sharpened electrode will cause the arc to wander, leading to melted adjacent links or weak, off-center welds.
Always sharpen your tungsten electrode using a dedicated diamond or boron nitride sharpener. Crucially, the grinding marks must run longitudinally (parallel to the length of the electrode), never circumferentially. Circumferential grooves act as insulators, forcing the electrical current to jump erratically off the side of the tip. Maintain a precise 45-degree bevel on the tip. If the tip turns blue or black during use, it has oxidized and must be re-sharpened immediately to maintain the crisp, micro-second arc required for fine jewelry.
Post-Weld Finishing Protocols
A successful weld is only half the battle. The hallmark of a premium studio is a seam that is completely invisible to the naked eye and smooth against the client's skin. Raw pulse arc welds often leave a microscopic 'dimple' or a slight raised bead due to the surface tension of the cooling gold.
Step 1: Pickling
Immediately after welding, the joint may show minor heat tint. Submerge the bracelet in a warm (140°F) pickle solution. While traditional jewelers use Sparex 2 (sodium bisulfate), many modern DIY makers prefer a food-grade citric acid solution, which is safer for home studios and effectively strips copper oxides from the 14k gold surface without degrading the alloy.
Step 2: Rotary Tumbling
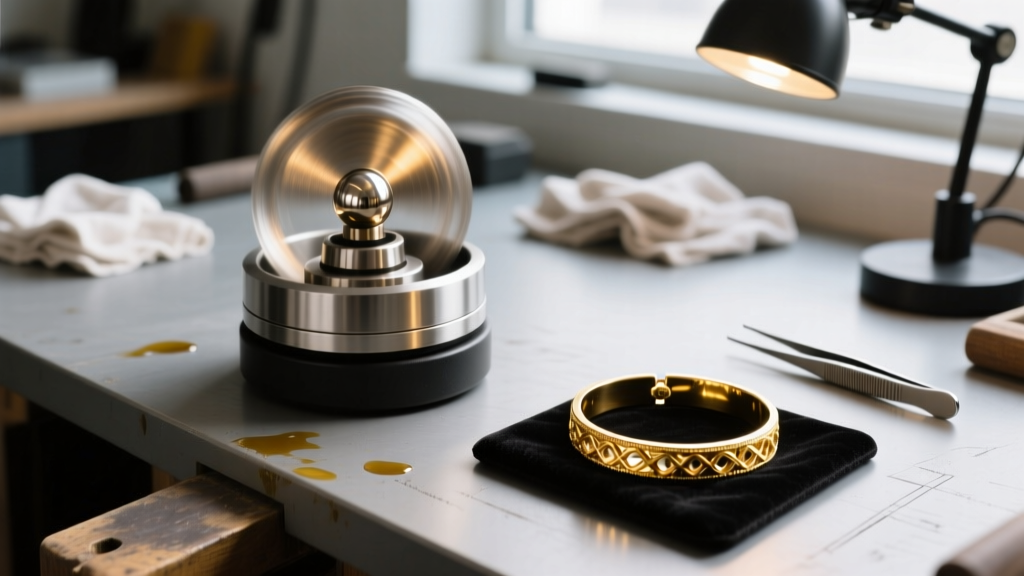
To burnish the weld seam and work-harden the chain, place the bracelet in a rotary tumbler. Use a 3:1 ratio of stainless steel shot to distilled water, adding a single drop of mild dish soap as a lubricant. Tumble for exactly 45 minutes. The steel shot will gently peen the weld bead flat, blending it seamlessly into the surrounding jump ring and chain links. For deeper insights on finishing techniques, the Rio Grande educational library offers extensive guides on mass finishing and tumbling media selection.
Step 3: The Final Polish
For the ultimate 'lounge-level' shine, finish the piece with a quick pass using a soft muslin buffing wheel charged with jeweler's rouge (iron oxide). Keep the wheel speed low (under 3,000 RPM) to avoid catching the delicate chain links, which can result in the chain whipping around and causing severe injury. Alternatively, a magnetic pin finisher can be used to polish the microscopic interior crevices of the chain links that the muslin wheel cannot reach.
Summary: Precision is the Ultimate Luxury
Replicating the high-end results of a luxury studio requires moving beyond basic 'zap and go' methodologies. By strictly matching your jump ring gauges, meticulously maintaining your tungsten electrode, regulating your Argon flow to a precise 2.0 CFH, and executing a disciplined tumbling protocol, you can eliminate weak seams and discoloration. Permanent jewelry is an exercise in micro-metallurgy; master these variables, and your DIY setup will consistently produce heirloom-quality, invisible welds that rival any high-end appointment lounge.


