Fixing Wire Breakage & Slipping Stones When Making Jewelry
Master troubleshooting for making jewelry with wire. Fix breakage, slipping cabochons, and work-hardening issues with our expert repair guide.

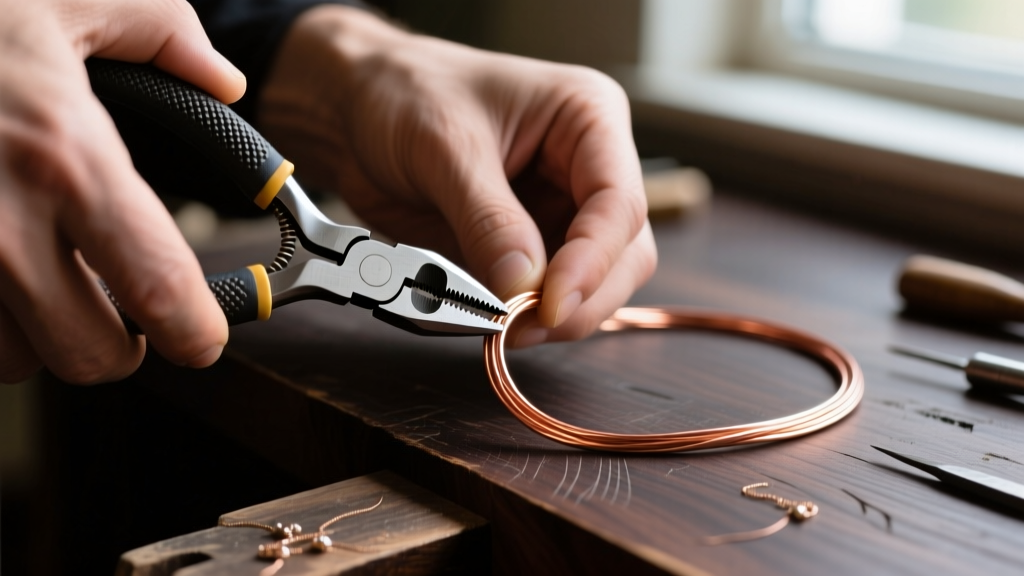
There are few experiences more frustrating in the world of DIY crafts than spending hours meticulously wrapping a piece, only to have the wire snap or the center stone pop out the moment you apply tension. When making jewelry, especially wire-wrapped pendants and structural rings, you are essentially acting as a metallurgist and a structural engineer. The failures you encounter are rarely random; they are the direct result of metal fatigue, incorrect temper selection, or flawed mechanical locking techniques.
This comprehensive troubleshooting guide dives deep into the physics and metallurgy of wire art. We will move past generic advice and explore the exact failure modes of non-ferrous metals, providing you with actionable, professional-grade solutions to salvage broken pieces and engineer stronger designs from the start.
The Anatomy of Wire Failure in DIY Jewelry
Before you can fix a broken wire wrap, you must understand why it failed. Wire failures generally fall into three categories: tensile overload, shear stress, and metal fatigue. Tensile overload occurs when you pull a wire beyond its yield strength, causing it to stretch and eventually snap. Shear stress happens at sharp, 90-degree bends where the outer edge of the wire is stretched while the inner edge is compressed. However, the most common culprit when making jewelry is metal fatigue.
Metal fatigue is the progressive weakening of a material caused by repeated cyclic loading or bending. At a microscopic level, bending wire causes dislocations in its crystal lattice structure. As you bend the wire back and forth to adjust a wrap, these dislocations multiply and tangle, increasing the metal's hardness but destroying its ductility. Once the metal reaches its maximum hardness threshold (full-hard or spring-hard), it becomes brittle and will fracture without warning.
Troubleshooting Snapping and Brittle Wire
If your wire is snapping while you are still in the middle of a complex weave or wrap, you are likely over-manipulating the metal. This is a common issue when working with high-silver alloys like Argentium or standard sterling silver, which work-harden significantly faster than pure copper or brass.
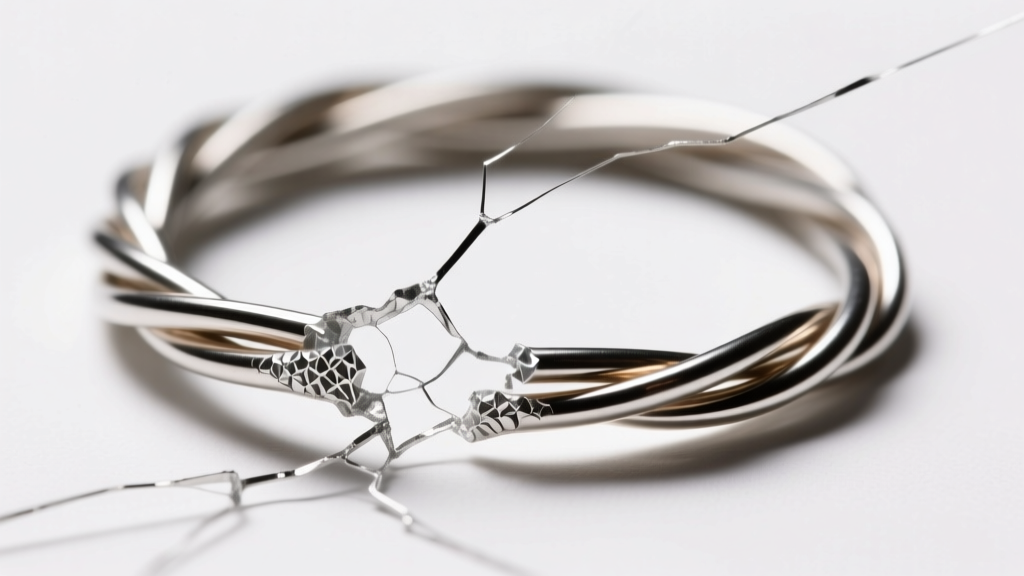
Understanding Work Hardening and Annealing
When dead soft wire (typically around 60 HV on the Vickers hardness scale) is manipulated, it transitions to half-hard (approx. 105 HV) and eventually full-hard (approx. 140 HV). If a wire becomes stiff and unyielding mid-project, do not force it with pliers; the resulting micro-fractures will compromise the piece's structural integrity.
The Fix: You must anneal the wire to reset its crystal lattice. For sterling silver and copper, use a butane torch to heat the wire evenly until it reaches a dull cherry red (approximately 1200°F for sterling). Immediately quench it in water or a mild citric acid pickle solution. This process relieves the internal stresses and returns the wire to a dead soft state, allowing you to continue making jewelry without fear of spontaneous snapping. Always refer to Rio Grande's metallurgy guides for precise annealing temperatures for specific alloys.
Diagnosing Tool-Induced Micro-Fractures
Sometimes the wire isn't the problem; your tools are. Using standard hardware store pliers with serrated teeth will gouge the surface of your wire. These tiny gouges act as stress concentrators, creating weak points where cracks will initiate and propagate under tension.
- Solution 1: Invest in precision smooth-jaw pliers from brands like Tronex or Lindstrom.
- Solution 2: Apply Tool Magic or dip your plier jaws in Plasti Dip to create a temporary, non-marring rubberized coating.
- Solution 3: Keep a cup bur and a polishing cloth on hand to gently file away any accidental tool marks before they can propagate into structural fractures.
Why Cabochons Slip Out of Wire Wraps (And How to Fix It)
A slipping cabochon is a hallmark of improper tension management and a lack of mechanical locking. Many beginners rely entirely on the friction of the wire pressing against the stone. However, as the metal relaxes over time or experiences minor impacts, that friction is lost, and the stone falls out. According to gemological setting principles outlined by the Gemological Institute of America (GIA), a secure setting must incorporate a mechanical lock that physically prevents the stone from escaping its bezel.
The 45-Degree Locking Bend Technique
To troubleshoot a slipping stone, you must integrate locking bends into your frame wires. Instead of wrapping the securing wire flat against the cabochon, use your chain-nose pliers to create a sharp 45-degree inward kink in the wire just above the stone's girdle (the widest point). This kink acts as a physical ratchet. Even if the wire's overall tension relaxes, the stone cannot slide past the angled kink.
| Stone Weight (Carats) | Cabochon Height (mm) | Min. Base Wire Gauge | Recommended Wire Temper |
|---|---|---|---|
| Under 10 ct | 3mm - 5mm | 20-Gauge (0.81mm) | Dead Soft |
| 10 - 25 ct | 5mm - 8mm | 18-Gauge (1.02mm) | Dead Soft / Half-Hard |
| 25 - 50 ct | 8mm - 12mm | 16-Gauge (1.29mm) | Half-Hard |
| Over 50 ct | 12mm+ | 14-Gauge (1.63mm) | Half-Hard |
Note: If your stone is slipping and you are using a gauge smaller than recommended for its weight, the base wire is flexing. You must rebuild the frame with a heavier gauge to provide adequate rigidity.
Clasp and Jump Ring Fatigue: Solving Structural Weak Points
The connection points in your jewelry bear the highest dynamic loads. A common catastrophic failure when making jewelry is the distortion and subsequent opening of jump rings, leading to lost pendants and broken chains.
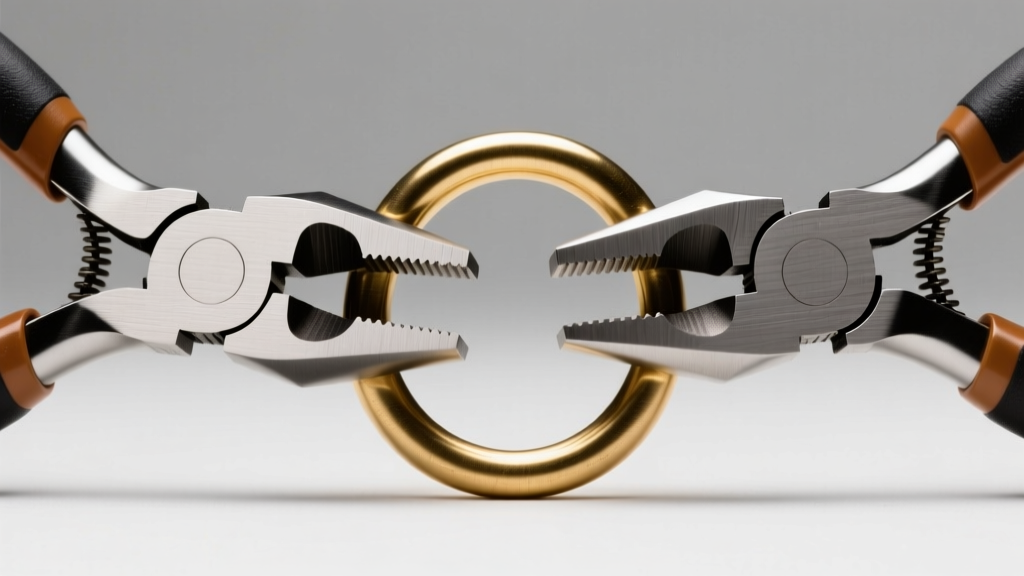
The Lateral Twist vs. The Pull-Apart Mistake
Pulling a jump ring open by pushing the ends away from each other (laterally distorting the circle) permanently warps the ring and weakens the metal at the apex of the bend. When the ring is pushed back together, it will never sit perfectly flush, leaving a gap that will catch on clothing and eventually pull apart.
The Fix: Always open jump rings using a lateral twisting motion. Grip one side of the split with flat-nose pliers and the other side with chain-nose pliers. Twist one hand toward you and the other away from you. This preserves the circular geometry of the ring and maintains the work-hardening achieved during the manufacturing of the jump ring.
Upgrading to Soldered or Work-Hardened Rings
For heavy pendants (over 30 grams), standard open jump rings are insufficient. You have two professional troubleshooting options:
- Soldering: Use a micro-torch and hard silver solder to permanently fuse the jump ring shut. This increases the break strength by over 400%.
- Work-Hardening: If you cannot solder, use a mandrel and a rawhide mallet to strike the closed jump ring firmly. This compresses the metal grains at the seam and work-hardens the ring, making it significantly more resistant to pulling open under tension.
Essential Troubleshooting Toolkit for Wire Artisans
You cannot effectively troubleshoot and repair fine jewelry without the correct diagnostic and repair tools. Keep the following items at your bench to instantly address structural failures:
- Nylon Jaw Pliers: Essential for straightening kinked wire without marring the surface and for gently squeezing wrapped weaves tighter if a stone becomes loose.
- Magnifying Visor (3x to 5x): Allows you to inspect the inside of a weave for micro-fractures and tool marks before they result in a total break.
- Cup Burs (Sizes 0.5mm to 1.5mm): Used in a flex shaft to smoothly round off the sharp ends of cut wire, preventing them from scratching the wearer or catching on fabric.
- Liver of Sulfur: While primarily a patina solution, applying a weak liver of sulfur bath to a finished piece will highlight stress fractures and gaps in your weaves, as the dark oxidation pools in the microscopic crevices caused by metal fatigue.
Final Thoughts on Structural Integrity
Troubleshooting wire failures is a rite of passage for anyone serious about making jewelry. By shifting your mindset from simply 'bending metal' to actively managing work hardening, tensile strength, and mechanical locking, you will drastically reduce your failure rate. Remember that every snapped wire and slipped stone is a data point, revealing a mismatch between your material's physical properties and the structural demands of your design. Master these metallurgical principles, and your handmade pieces will not only look professional but will endure the rigors of daily wear for a lifetime.


