Best Tools for Jewelry Making: Step-by-Step Wire Wrapping Setup
Master wire wrapping with our step-by-step guide to the best tools for jewelry making. Learn plier selection, gauge matching, and bench setup.

The Core Trio: Selecting Pliers and Cutters
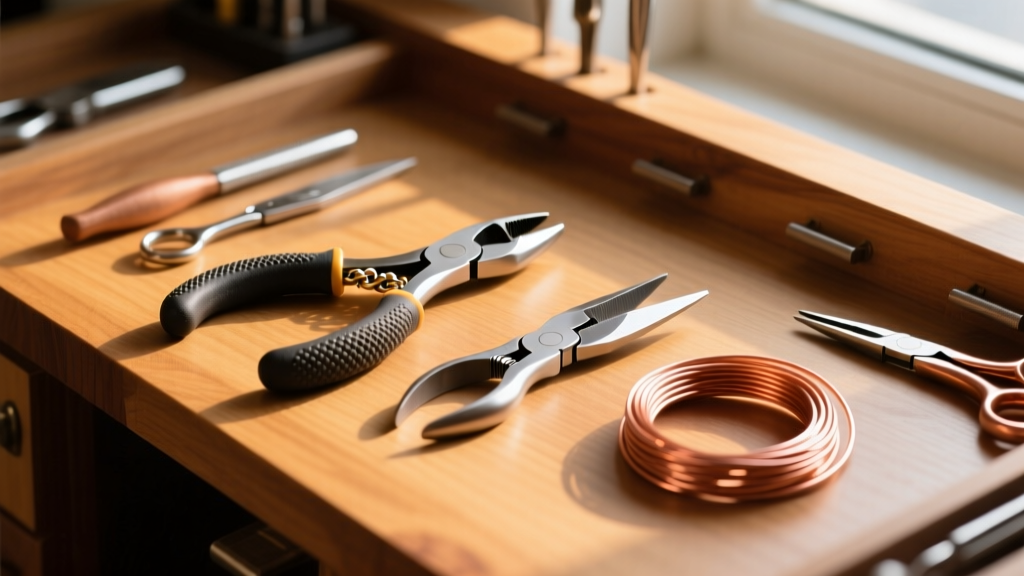
When investing in tools for jewelry making, beginners often make the mistake of purchasing massive, 50-piece kits filled with stamped steel pliers that feature serrated teeth. For wire wrapping and precision beading, serrated teeth are the enemy. They will mar soft metals like sterling silver, fine silver, and copper, leaving permanent indentations that require hours of filing and sanding to remove. According to the educational resources at Ganoksin, the world's largest jewelry-making community, selecting the right metallurgy and jaw profile is the foundation of professional-grade wire work.
Chain-Nose vs. Flat-Nose Pliers
Chain-nose pliers feature a tapered tip that is flat on the inside. This taper allows you to reach into tight spaces, such as closing a 3mm jump ring or tucking a 24-gauge wire tail. Flat-nose pliers have a wider, uniform rectangular jaw. They provide superior gripping power for bending sharp 90-degree angles in thicker structural wires (18-gauge and above). Always ensure the interior jaws are completely smooth and polished.
The Importance of Box-Joint Construction
Cheap pliers use a 'lap joint,' where two pieces of steel overlap and are pinned together. Over time, lap joints develop lateral play, meaning the tips no longer align perfectly when closed. Premium brands like Lindstrom and Tronex utilize a 'box joint,' where the steel interlocks. This provides zero lateral play, which is absolutely critical when you need the tips of your pliers to meet flush to close a jump ring without leaving a visible seam.
Flush Cutters and the Bevel Rule
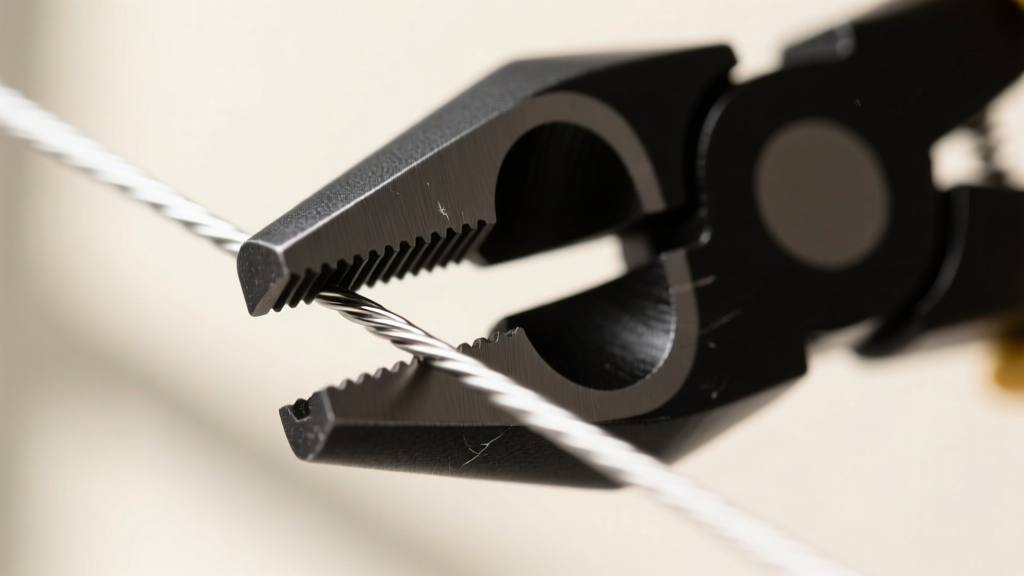
A micro-shear flush cutter is non-negotiable. However, the most common failure mode for beginners is using them backward. The cutting edge of a flush cutter has a flat side and a beveled (pinched) side. The flat side must always face your workpiece. If you cut with the bevel facing the workpiece, you will leave a sharp, pinched tail that will scratch the wearer and ruin the symmetry of your wire wrap.
Step-by-Step: Assembling Your Ergonomic Bench
Your physical setup dictates your endurance and precision. Wire wrapping requires repetitive micro-movements that can quickly lead to carpal tunnel syndrome or tendonitis if your bench is improperly configured.
- Bench Height: Your work surface should be at or slightly above elbow height when seated. This prevents you from hunching over and straining your cervical spine.
- Lighting: Overhead room lighting is insufficient. You need an adjustable articulating desk lamp equipped with a 5000K daylight LED bulb. This color temperature accurately renders the true color of gemstones and highlights the scratches on your metal.
- Bench Pin: While primarily used for sawing, a wooden bench pin clamped to your desk provides a firm, non-marring surface to brace your work against when bending heavy-gauge wire.
- Tool Mats: Line your work area with a rubberized bench mat. This prevents expensive sterling silver wire from bouncing onto the floor if dropped and provides a slight cushion that protects your cutter blades if accidentally knocked over.
Matching Wire Gauges to Tool Pressure
Wire temper and gauge dictate how much physical force your tools need to apply. Dead soft wire bends easily but work-hardens quickly. Half-hard wire offers structural integrity but requires more torque from your pliers. Suppliers like Rio Grande categorize wire by both gauge and temper, and matching these to your tool's leverage ratio is vital.
| Wire Gauge | Diameter (mm) | Primary Use | Recommended Tool Jaw Type |
|---|---|---|---|
| 28-26g | 0.32-0.40mm | Weaving, micro-coiling | Fine chain-nose, nylon-jaw |
| 24-22g | 0.51-0.64mm | Binding, small loops | Standard chain-nose, round-nose |
| 20-18g | 0.81-1.02mm | Structural frames, ear wires | Flat-nose, heavy-duty cutters |
| 16-14g | 1.29-1.63mm | Clasps, heavy bangles | Flat-nose, bail-making pliers |
Pro Tip: When working with 28-gauge weaving wire, use nylon-jaw pliers to pull the wire taut. Metal jaws will stretch and snap ultra-fine wire if you apply too much tension.
Tool Maintenance: Preventing Rust and Blade Dulling
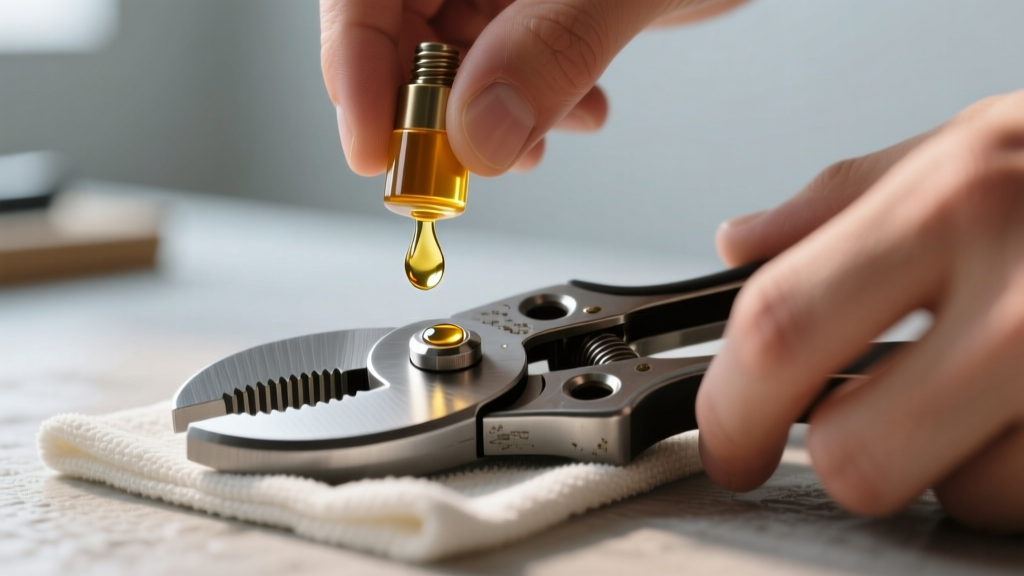
High-carbon steel tools are prone to oxidation from the natural oils and acids in your skin. Wipe down your pliers and cutters with a microfiber cloth after every session. Once a month, apply a single drop of synthetic sewing machine oil to the pivot joint and work it in by opening and closing the tool. This prevents the joint from seizing and ensures a smooth, buttery action.
Critical Warning: Never use your standard jewelry flush cutters to cut memory wire, steel wire, or titanium. These hardened metals will instantly chip and dent the soft, precision-ground edges of your micro-shear cutters. Always keep a dedicated pair of heavy-duty memory wire shears (which use a scissor-like shear action rather than a pinch-cut) in your toolkit. Brands like Wubbers offer specialized cutters specifically heat-treated for hardened metals.
Step-by-Step First Project: The Perfect Wire-Wrapped Loop
Now that your tools for jewelry making are selected and maintained, let's execute the most fundamental technique in wire wrapping: the perfect loop. We will use 20-gauge half-hard sterling silver wire.
Step 1: The Initial Bend
Grip your 20g wire about 1 inch from the end using your flat-nose pliers. Apply firm, even pressure to bend the wire to a strict 90-degree angle. The flat jaw ensures the bend is sharp and crisp, not rounded.
Step 2: Forming the Loop
Switch to your round-nose pliers. Grip the short end of the wire at the very tip of the plier jaws (for a small loop) or further down the barrel (for a larger loop). Roll your wrist away from you, wrapping the wire around the jaw until it meets the 90-degree bend, forming a complete circle.
Step 3: The Wrap
Remove the round-nose pliers. Grip the newly formed loop flatly with your chain-nose pliers. Take the long tail of the wire and begin wrapping it tightly around the stem (the wire directly below the loop). Make 3 to 4 tight, parallel coils. Do not overlap the coils; they should sit side-by-side like a spring.
Step 4: The Flush Cut and Tuck
Take your flush cutters. Remember the bevel rule: place the flat side of the blade against the stem wire, cutting the tail as close to the base as possible. Finally, use the very tip of your chain-nose pliers to gently squeeze and 'tuck' the remaining micro-millimeter of the cut wire tail inward, ensuring it will not snag on fabric or skin.
'The difference between an amateur and a professional wire wrapper isn't just talent; it is an obsessive attention to tool maintenance and an understanding of how metal behaves under pressure.' — Master Jeweler's Bench Manual
By investing in high-quality, smooth-jawed tools and respecting the metallurgy of your wire, you eliminate the most common frustrations in DIY jewelry making. Your loops will close flush, your wire will remain unmarred, and your hands will thank you after hours at the bench.


