How to Fix Jewelry Chain Breaks: Expert Troubleshooting
Learn how to fix jewelry chain breaks with our expert troubleshooting guide. Discover repair methods for rope, box, and snake chains by metal type.

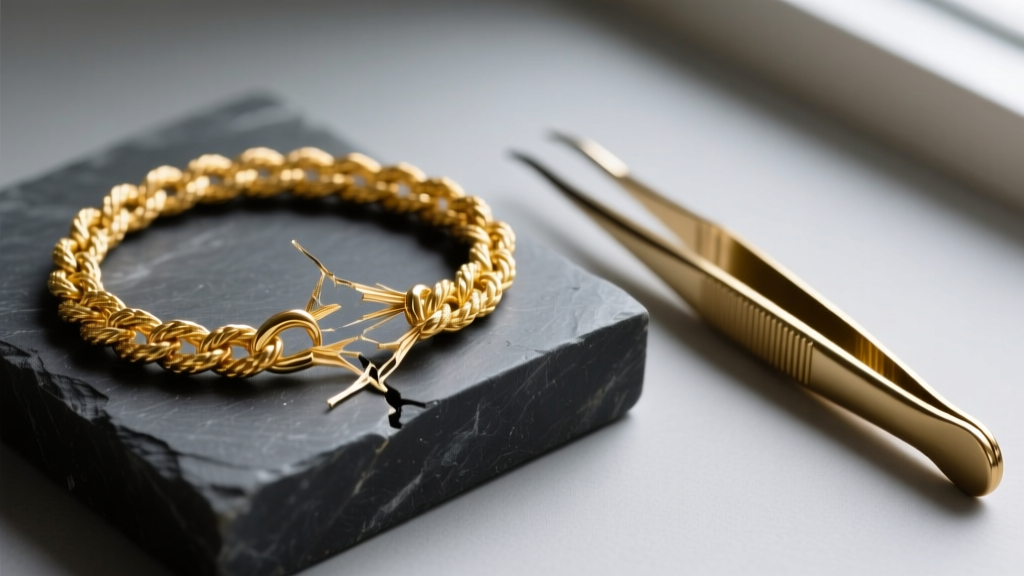
There are few things more frustrating than reaching for your favorite necklace only to find it snapped. When you need to fix jewelry chain damage, the solution is rarely as simple as applying a drop of superglue or bending a link back into place. Chain breakage is usually the result of tensile stress, metal fatigue, or snagging, and the correct repair method depends entirely on the chain's link geometry and metallurgical composition. As a senior jewelry repair specialist, I have seen countless chains ruined by well-meaning but misinformed DIY attempts. This troubleshooting guide will help you diagnose the failure, understand the material science behind the repair, and decide whether to attempt a home fix or hand it over to a professional bench jeweler.
Diagnosing the Failure: Link Geometry Matters
Before you can fix jewelry chain damage, you must identify the chain style. The physical structure of the links dictates whether a traditional torch solder will work or if advanced laser welding is mandatory.
- Cable and Curb Chains: These consist of distinct, individual interlocking links. They are the most forgiving to repair. A broken link can often be isolated, and the chain can be reconnected using a replacement jump ring or traditional soldering.
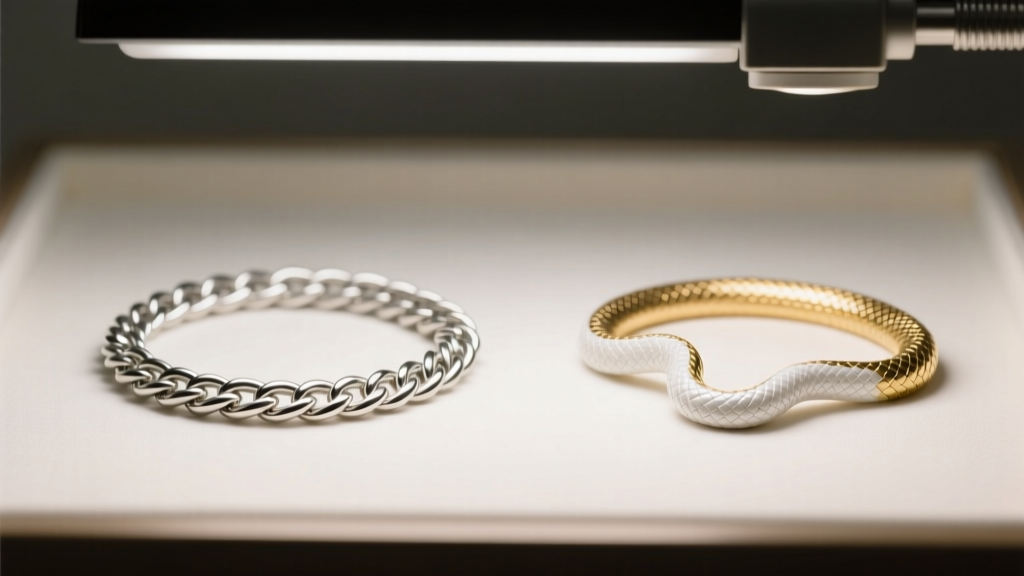
- Rope Chains: Woven and twisted, rope chains mimic the look of a twisted rope. Because the links are densely packed and soldered together during manufacturing, isolating a single break without melting adjacent links is nearly impossible with a standard torch.
- Box, Snake, and Herringbone Chains: These are 'fluid' chains. They behave more like a solid metal tube than a series of links. Never attempt to torch solder a snake or box chain. The heat will destroy the temper of the metal, causing the chain to kink and permanently lose its fluid drape. These require precision laser welding.
Metallurgy and Soldering Temperatures
Understanding the melting point of your chain's metal is critical. If you apply too much heat, you will melt the chain itself; too little, and the solder will not flow. According to metallurgical standards outlined by the Gemological Institute of America (GIA), different alloys require specific solder grades and fluxes to prevent oxidation during the repair.
| Metal Type | Melting Point | Required Solder Grade | Flux Type | Recommended Repair Method |
|---|---|---|---|---|
| Sterling Silver (925) | 1,640°F (893°C) | Hard or Medium Silver Solder | Fluoride-based (e.g., Handy Flux) | Torch or Laser |
| 14k Yellow Gold | 1,535°F (835°C) | 14k Yellow Hard Solder | Borax-based Paste | Torch or Laser |
| 18k White Gold | 1,700°F (926°C) | White Gold Solder (requires rhodium plating post-repair) | Boric Acid & Alcohol | Laser Preferred |
| Platinum (950) | 3,215°F (1,768°C) | Platinum Laser Wire | No flux required (argon shield) | Laser Welder Only |
For silver and gold cable chains, a jeweler uses a micro-torch and a heat sink (like copper tweezers) to draw heat away from adjacent links. For platinum, traditional torch soldering is highly risky due to the extreme temperatures required, which can easily damage any gemstones set in nearby pendants or links.
The Troubleshooting Decision Tree
Use this framework to determine your next steps when you discover a broken chain.
Scenario A: The Jump Ring or Clasp Pulled Apart
The Fix: This is a mechanical failure, not a metal fracture. If the jump ring simply stretched open, you can often fix jewelry chain connections at home using two pairs of flat-nose pliers. Grip the split jump ring on either side of the break and twist it laterally (never pull it apart outward, which distorts the circle). Close it tightly. If the gap remains visible, take it to a jeweler to be soldered shut for a permanent fix.
Scenario B: A Single Link Snapped on a Cable Chain
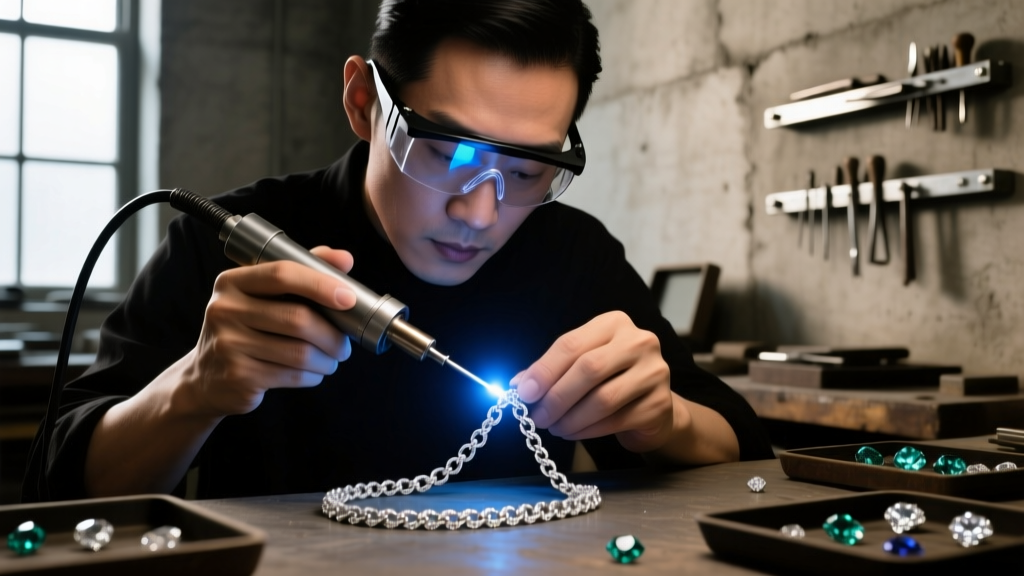
The Fix: If you have basic jewelry making skills, you can remove the damaged link and insert a new soldered jump ring. However, for chains thinner than 1.5mm, the links are too small for standard pliers. A professional will use a microscope and a micro-torch to fuse the link seamlessly. Suppliers like Rio Grande provide specialized micro-soldering equipment for these precise bench repairs.
Scenario C: A Kinked or Snapped Snake/Box Chain
The Fix: Stop handling the chain immediately. Snake chains are notorious for work-hardening and snapping when bent. The only viable solution is a professional laser welder. The laser uses a concentrated pulse of light to melt a microscopic amount of filler wire into the break without transferring heat to the surrounding links, preserving the chain's articulation.
Cost Analysis: DIY vs. Professional Pricing
When deciding whether to fix jewelry chain damage yourself or hire a professional, consider the hidden costs of failure. A botched DIY soldering attempt can result in melted links, forcing a complete chain replacement.
- DIY Jump Ring Replacement: $0 - $5 (Cost of basic findings and pliers).
- Professional Torch Solder (Cable/Curb Chains): $25 - $45. This includes cleaning, fluxing, soldering, and pickling in an acid bath to remove oxidation.
- Professional Laser Welding (Rope/Snake/Box Chains): $55 - $120. Laser time is billed at a premium due to the equipment cost and the high level of skill required to match the filler wire to the exact karat and color of the chain.
- Clasp Upgrades: $30 - $80. Upgrading a weak spring ring clasp to a heavy-duty lobster clasp or a magnetic neodymium lock.
Preventative Maintenance to Avoid Future Snaps
Once you fix jewelry chain breaks, you must address the root cause to prevent recurrence. Most chain snaps occur at the clasp due to repetitive stress or snagging on clothing.
'The weakest point of any necklace is the connection between the chain and the clasp. Upgrading to a laser-soldered lobster clasp with a reinforced catch ring will eliminate 80% of common chain failures.' — Master Bench Jeweler Protocol
Additionally, remove fluid chains (snake, herringbone, omega) before sleeping. The lateral pressure of tossing and turning will easily crush the hollow or interlocking links of these specific styles. Store chains flat or hanging vertically to prevent microscopic kinks that eventually lead to metal fatigue and catastrophic tensile failure.


