Step-by-Step Restoration: The Roma Shoe Repair & Jewelry Standard
Learn the step-by-step mixed-media restoration techniques used by top multi-service artisans like Roma Shoe Repair & Jewelry for leather and metal goods.

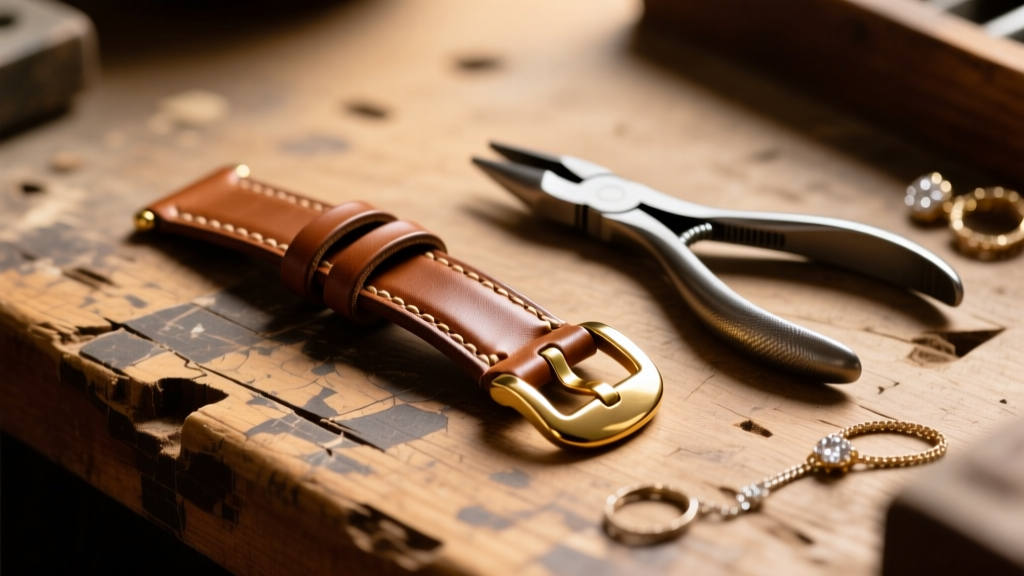
The Intersection of Leather and Metalsmithing
When luxury accessories blend organic materials with precious metals, standard repair protocols fall short. In 2026, the most sought-after restoration benchmarks are set by multi-disciplinary ateliers. The methodology championed by the renowned Roma Shoe Repair & Jewelry serves as the gold standard for mixed-media restoration, bridging the gap between traditional cordwaining and fine metalsmithing. This step-by-step guide breaks down how master artisans seamlessly merge these disciplines to rescue high-end leather goods, bespoke footwear, and metal-accented jewelry accessories.
Mixed-media items—such as leather cuffs with 14k gold rivets, equestrian boots with sterling silver spurs, or luxury watch straps with titanium deployant clasps—require a dual-diagnostic approach. A failure in the leather often accelerates corrosion in the metal, and vice versa. Understanding the chemical and physical interactions between tannins, skin oils, and metal alloys is the first step in comprehensive accessory restoration.
Step 1: Diagnostic Assessment and Material Grading
Before applying any solvent or abrasive, a thorough material audit is mandatory. Artisans at top-tier shops evaluate both the organic and inorganic components to determine the failure mode. For instance, vegetable-tanned leather is highly susceptible to water spotting and acidic sweat degradation, which can cause adjacent brass hardware to develop verdigris (copper carbonate corrosion).
| Material Combination | Common Failure Mode | Diagnostic Indicator | Primary Remediation Strategy |
|---|---|---|---|
| Full-Grain Leather & Brass | Verdigris corrosion & leather dry rot | Green powdery residue near rivets | Mechanical brass polishing, leather re-fatliquoring |
| Suede & Zamak (Zinc Alloy) | Galvanic pitting & suede matting | White oxidation on hardware, stiff nap | Ultrasonic Zamak cleaning, suede nap raising |
| Exotic Skin & 316L Steel | Crevice corrosion at hinge points | Micro-pitting in steel, scale lifting | Passivation treatment, scale re-adhesion |
According to experts at Tandy Leather, identifying the exact tanning process is critical; applying a standard alkaline cleaner to chrome-tanned leather can strip its protective finish, while using it on vegetable-tanned leather will cause permanent darkening and structural weakening.
Step 2: Hardware Extraction and Jewelry-Grade Polishing
The Roma Shoe Repair & Jewelry standard dictates that hardware should be removed from the leather substrate whenever possible before polishing. This prevents abrasive compounds from embedding into the leather pores, which can cause long-term discoloration and accelerate stitching degradation.
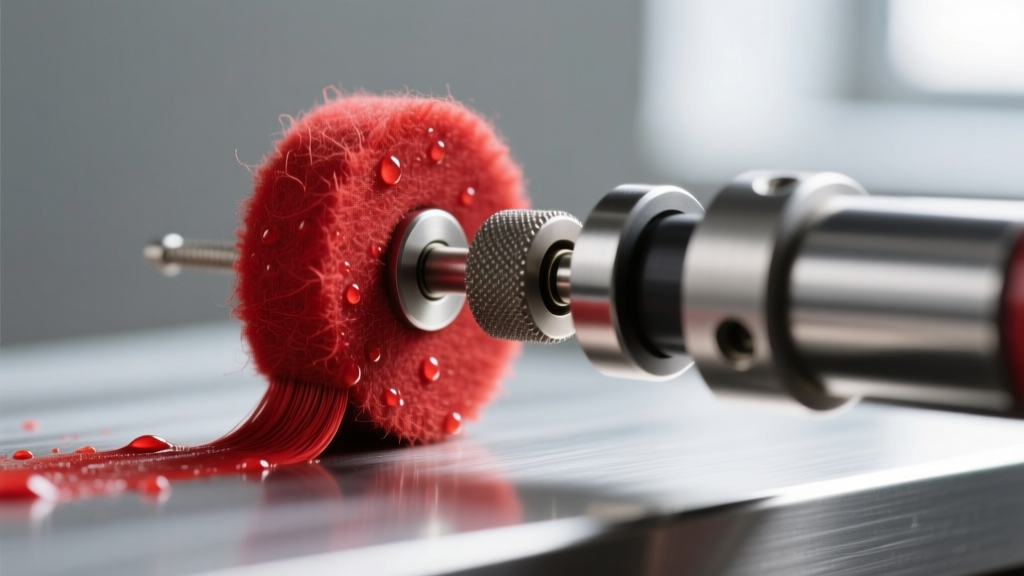
The Multi-Stage Polishing Protocol
Once the hardware is extracted using precision screwdrivers and non-marring nylon-jaw pliers, it undergoes a jewelry-grade polishing sequence:
- Ultrasonic Degreasing: Hardware is submerged in a heated ultrasonic cleaner with a mild ammonia-free surfactant to remove skin oils and embedded grit.
- Cutting Stage (Tripoli Compound): For brass, copper, and heavily oxidized silver, a treated muslin wheel loaded with Tripoli compound is used at 3,400 RPM to level micro-scratches.
- Coloring Stage (Jeweler's Rouge): A loose cotton buff with red iron oxide (rouge) brings precious metals to a mirror finish.
- Platinum & White Gold (Zam or White Diamond): Harder metals require specialized compounds like Zam to achieve a high luster without rounding the edges of milgrain or engraving details.
As noted by the metalsmithing authorities at Ganoksin, maintaining the original geometry of cast hardware is paramount. Over-polishing can erase hallmarks and weaken the structural integrity of thin-walled clasps and buckle frames.
Step 3: Leather Remediation and the Saddle Stitch
With the hardware secured, attention shifts to the leather. The goal is to restore tensile strength and moisture balance without altering the patina that gives vintage and bespoke pieces their character.
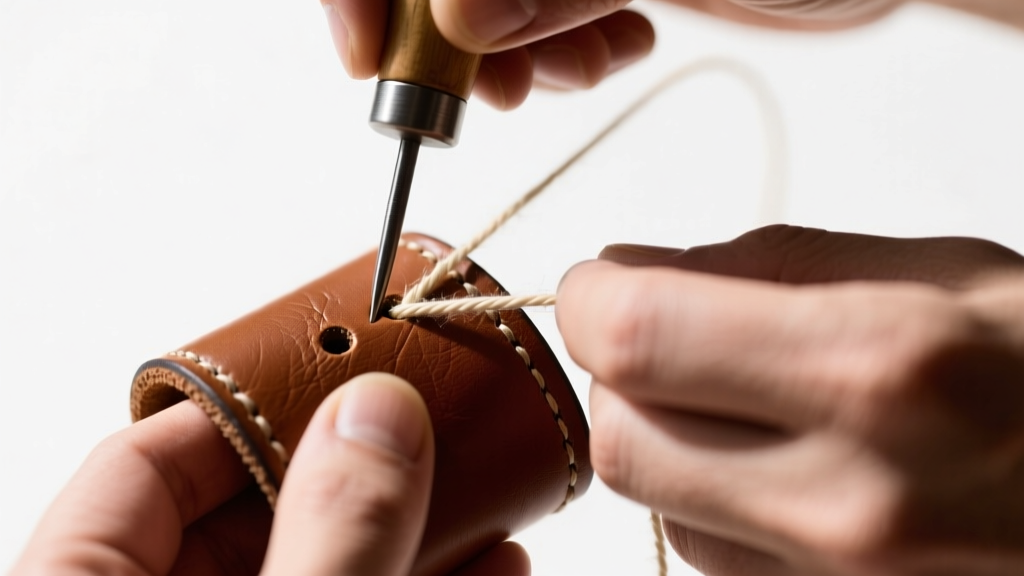
Skiving, Cementing, and Stitching
When strap ends are frayed or buckle holes are elongated beyond repair, the artisan must perform a splice or complete replacement. This involves skiving—thinning the flesh side of the leather to create a seamless overlap joint. The joint is secured using Barge All-Purpose Cement, which requires a precise application protocol:
- Apply a thin, even coat to both surfaces.
- Allow to flash off (dry to the touch) for 15-20 minutes.
- Heat-activate the adhesive using a heat gun at exactly 120°F (49°C).
- Press firmly and allow to cure under clamping pressure for 24 hours.
For structural seams, machine stitching is never acceptable in high-end restoration. Artisans utilize the traditional saddle stitch using two needles and waxed linen or polyester thread (such as Fil Au Chinois). Unlike a lockstitch, if one loop of a saddle stitch breaks, the entire seam will not unravel. The Weaver Leather Supply tutorials emphasize that using a pricking iron to maintain exact stitch spacing (typically 6 to 8 stitches per inch for heavy goods) is what separates a master repair from a mediocre patch job.
Step 4: Reassembly, Sealing, and Quality Control
Reattaching polished hardware to conditioned leather requires careful isolation to prevent cross-contamination. Stainless steel or brass rivets are set using a quiet hand-press or a rawhide mallet to avoid marring the freshly polished metal surfaces. For micro-screws in luxury watch straps or bespoke handbag clasps, a drop of blue Loctite (threadlocker) is applied to the threads to prevent vibration-induced loosening.
The final step in the Roma Shoe Repair & Jewelry methodology is the application of a micro-crystalline wax, such as Renaissance Wax. Originally developed by the British Museum, this pH-neutral sealant provides a hard, moisture-resistant barrier that protects both the leather from ambient humidity and the metal hardware from tarnishing, without the cloudy buildup associated with silicone-based sprays.
When to Seek a Multi-Disciplinary Professional
"True restoration is not about making an item look new; it is about honoring the original artisan's intent while engineering longevity into the materials."
While minor leather conditioning and basic silver polishing can be done at home, any repair involving structural hardware replacement, exotic skin re-adhesion, or the dismantling of integrated metal-leather hinges should be entrusted to a multi-disciplinary professional. Attempting to solder a broken brass buckle while it is still attached to a leather strap will instantly scorch the organic material, resulting in irreversible damage. By following the comprehensive, step-by-step standards outlined above, you ensure that your most cherished mixed-media accessories remain functional, beautiful, and structurally sound for decades to come.


