How to Solder Jewelry: Expert Metallurgy & Techniques
Learn how to solder jewelry with expert precision. Deep dive into solder grades, flux chemistry, and temperature control for silver and gold repairs.

The Metallurgy of Jewelry Soldering
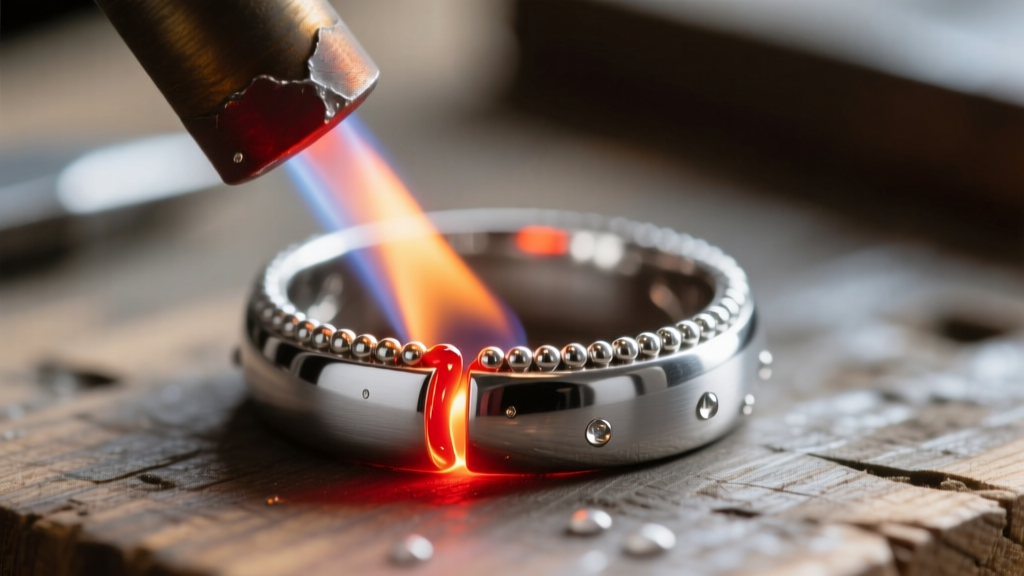
Understanding how to solder jewelry at a professional level requires moving beyond the basic concept of "melting metal." True jewelry soldering relies on capillary action and eutectic alloys. Unlike welding, where base metals are melted and fused, soldering uses a filler metal (solder) engineered to melt and flow at a temperature significantly below the solidus point of the host metal.
For capillary action to draw the molten solder into a seam, the joint gap must be meticulously controlled. The optimal clearance for silver and gold soldering is between 0.001 and 0.005 inches. If the gap is too wide, the solder will not bridge; if it is too tight, flux inclusions and oxidation will become trapped, resulting in a brittle, failed joint. Heat must be applied to the thicker sections of the metal, allowing thermal conductivity to draw the molten solder toward the heat source, rather than applying the flame directly to the solder chip.
Decoding Solder Grades and Melting Points
Silver and gold solders are categorized by their flow temperatures. This step-down grading system allows jewelers to perform multiple soldering operations on a single piece (such as sizing a ring, attaching a head, and adding a jump ring) without melting previous joints. According to metallurgical data from Rio Grande, the standard sterling silver solder grades are as follows:
| Solder Grade | Silver Content (Ag) | Solidus (Melt) °F | Liquidus (Flow) °F | Primary Use Case |
|---|---|---|---|---|
| IT (Extra Hard) | 80% | 1425°F | 1490°F | Initial fabrication, heavy structural joints |
| Hard | 76% | 1365°F | 1425°F | Ring shanks, primary chain links |
| Medium | 70% | 1275°F | 1365°F | Secondary attachments, jump rings, bezels |
| Easy | 65% | 1240°F | 1325°F | Final repairs, catching missed seams |
Why Flow Temperature Matters More Than Melt Temperature
Novices often confuse the solidus (melt) temperature with the liquidus (flow) temperature. The solder begins to turn slushy at the solidus point, but it will not exhibit the capillary flow necessary to penetrate a seam until it reaches the liquidus point. When learning how to solder jewelry, your visual cue is not just the color change of the solder, but the sudden, rapid "flash" or "jump" of the metal as it hits the liquidus state and wicks into the joint.
Flux Chemistry: Borax vs. Fluoride-Based Compounds
Flux is the chemical gatekeeper of a successful solder joint. Its primary role is to dissolve existing oxides, prevent new oxides from forming during heating, and lower the surface tension of the molten solder. However, not all fluxes are chemically equal.
- Borax (Sodium Borate): Ideal for gold and high-temperature platinum work. It forms a glassy shield that blocks oxygen. However, borax is notoriously ineffective at dissolving copper oxides, which are prevalent when heating sterling silver (92.5% Ag, 7.5% Cu).
- White Flux (Potassium Fluoride): The industry standard for sterling silver. As detailed in Ganoksin's technical archives, potassium fluoride actively attacks and dissolves cupric oxide (the black firescale that forms on silver), allowing the solder to wet the surface properly.
- Prip’s Flux (Anti-Firescale): A mixture of boric acid, alcohol, and water. The entire piece is dipped and heated to create an invisible boron glaze before any localized soldering begins. This prevents the copper within the sterling alloy from migrating to the surface and oxidizing.
Step-by-Step Joint Preparation and Execution
Flawless soldering is 80% preparation and 20% execution. A poorly fitted joint will fail regardless of the torch or solder used.
1. Surface Tension and Fit-Up
Before applying flux, the mating surfaces must be perfectly flat and free of oils. Use a barrette needle file or fine sandpaper (400-grit) to brighten the joint surfaces. For a ring shank, ensure the two ends meet with zero light passing through the seam. If the joint relies on a "V" groove rather than a flush butt-joint, the capillary draw will be compromised, leading to a starved joint.
2. Heat Management and Torch Selection
The choice of torch dictates your thermal control. For precision work, the Smith Little Torch (Oxy-Acetylene) remains the undisputed champion. Using a #0 or #1 tip, a jeweler can isolate heat to a 1mm area, crucial for soldering a jump ring near a heat-sensitive gemstone. For heavier thermal mass items, like a thick cast cuff bracelet, an Oxy-Propane setup with a broader, bushier flame is required to bring the entire mass up to temperature evenly, preventing the solder from flowing before the base metal reaches the liquidus threshold.
3. Quenching and Pickling Protocols
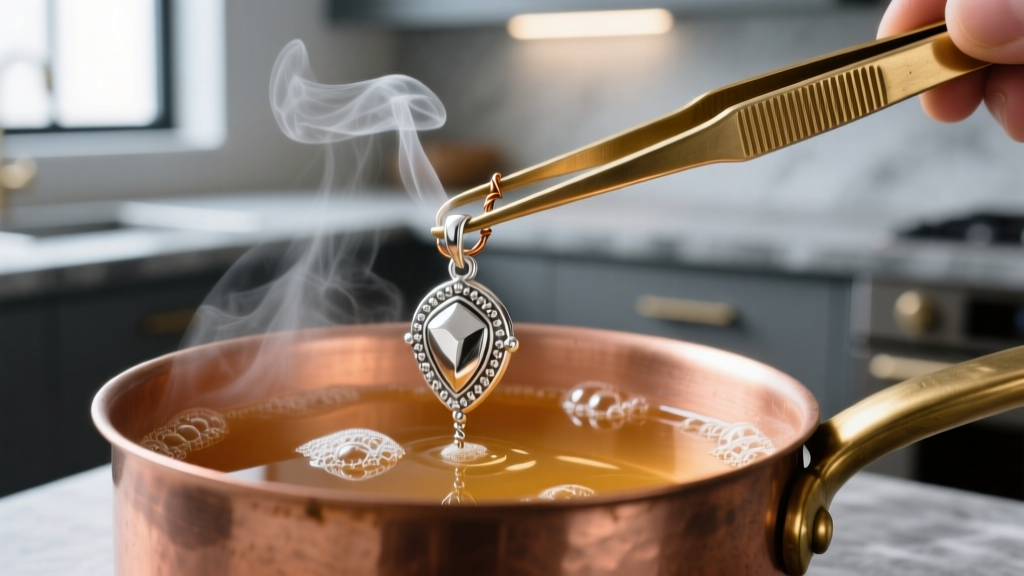
Once the solder flashes and flows, immediately remove the heat. Allow the piece to cool until the red glow dissipates, then quench in water. The thermal shock helps loosen the glassy flux residue. Next, the piece must be pickled to remove oxidation. The standard pickle is Sparex #2 (Sodium Bisulfate), maintained in a copper pot at 140°F–160°F. Crucial Warning: Never use steel tweezers in the pickle pot. The chemical reaction will cause copper from the pot to plate onto the steel, and subsequently onto your jewelry, ruining the finish.
Troubleshooting Common Soldering Failures
Even master jewelers encounter metallurgical anomalies. Here is how to diagnose and correct the most frequent issues:
- Solder "Balls Up" and Refuses to Flow: The base metal is oxidized, or the wrong flux was used. The solder is melting, but the surface tension of the oxide layer repels it. Fix: Quench, re-clean with pumice, and switch to a fluoride-based white flux.
- Pitted or Porous Solder Seam: Overheating the joint caused the zinc or copper elements within the solder alloy to vaporize (boil out), leaving microscopic voids. Fix: Use a softer flame, keep the torch moving, and remove heat the exact second the solder flashes.
- Solder Flows Onto the Face of the Metal: The joint gap is too wide (>0.005"), or the seam was dirty, causing the solder to seek a cleaner surface area with better thermal conductivity. Fix: File the joint flush and ensure tight mechanical contact before heating.
When to Delegate to a Laser Welder
While mastering how to solder jewelry with a torch is foundational, modern repair scenarios sometimes demand alternative technology. If you are sizing a ring featuring a tension-set diamond, working with titanium, or repairing a chain adjacent to an epoxy-set pearl, traditional soldering is too risky. In these 2026 edge cases, utilizing a pulsed laser welder (such as an Orion or Sunstone unit) is mandatory. Laser welding operates by melting the base metals directly with a focused light beam in an argon gas shield, eliminating the need for solder alloys, fluxes, and broad heat distribution.


