How to Authenticate and Restore a Vintage 60s Jewelry Box
Discover expert techniques to authenticate, clean, and restore a vintage 60s jewelry box, from Lucite polishing to replacing degraded linings.

The Anatomy of a 1960s Jewelry Box: Materials and Construction
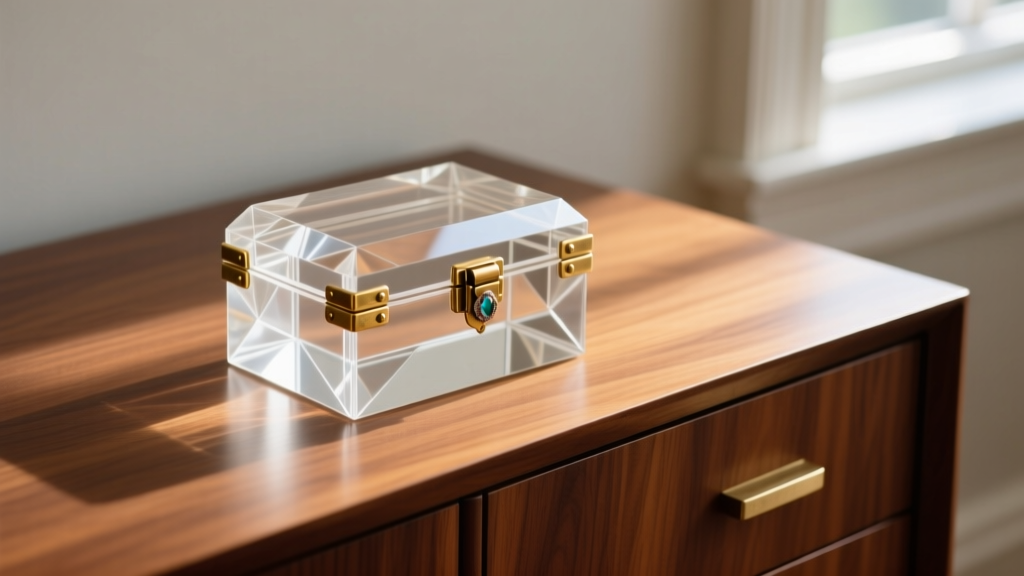
The 1960s marked a radical departure in jewelry storage design. Moving away from the ornate, floral-motif wooden boxes of the 1950s, the 1960s embraced the Space Age and Mid-Century Modern aesthetics. When evaluating a vintage 60s jewelry box, understanding the specific materials of the era is critical for both authentication and proper restoration. The defining material of the decade was Lucite, a brand name for poly(methyl methacrylate) or PMMA. According to the Science History Institute, Lucite became a staple in consumer goods post-WWII, but it was in the 1960s that designers fully exploited its optical clarity and moldability.
Acrylic Thickness and Solvent Welding
Authentic high-end 60s acrylic boxes were not glued; they were solvent-welded. Craftsmen used methylene chloride or chloroform to melt the acrylic seams together, creating a bond that is essentially a single piece of plastic. When inspecting a seam on a genuine 60s piece, you will not see a bead of adhesive. Instead, look for a slight optical distortion or a 'ghost line' where the solvent altered the refractive index of the PMMA. Furthermore, quality vintage boxes utilized thick acrylic sheets, typically ranging from 3/16-inch to 1/4-inch, giving them a substantial, glass-like heft that modern, mass-produced reproductions entirely lack.
Hardware: Stamped Brass vs. Pot Metal
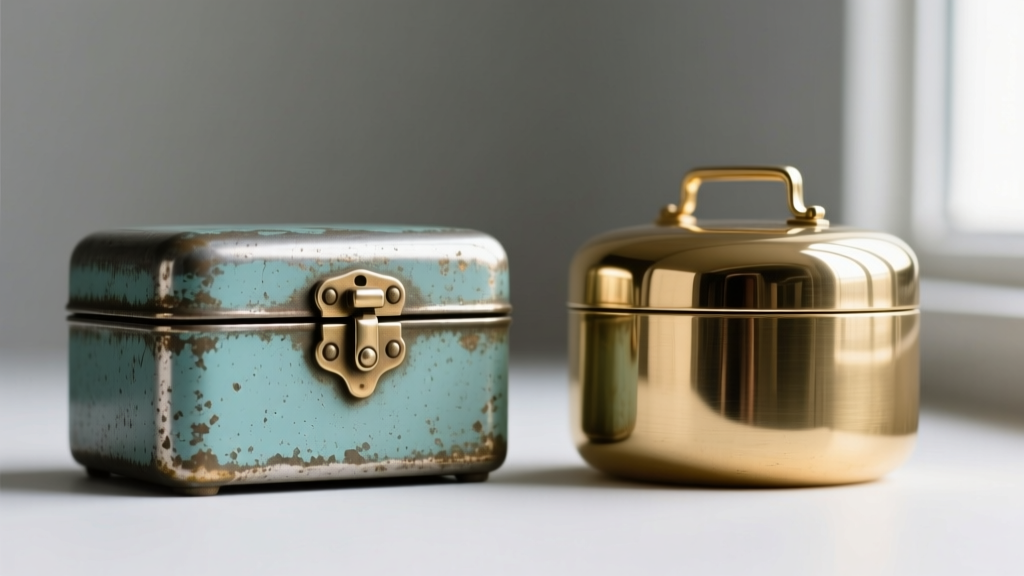
The hardware on a 60s jewelry box is a primary authentication marker. High-end manufacturers like Doron Hill or Maxim used heavy, stamped brass hinges and clasps, often plated in 24k gold or rhodium. However, many mid-tier boxes utilized pot metal (zinc alloy) hardware. Over six decades, pot metal is prone to 'zinc pest'—a slow, crystalline degradation that causes the metal to pit, swell, and eventually crumble. Identifying the base metal is crucial before applying any chemical cleaners, as brass polish will strip the protective lacquer off plated pot metal and accelerate its destruction.
Authentication Framework: Spotting True 60s Pieces
The vintage market is currently flooded with modern acrylic boxes manufactured to mimic the Mod and Space Age aesthetics of the 1960s. To separate genuine artifacts from contemporary pastiches, collectors and conservators rely on a specific set of physical indicators. Below is a technical comparison framework to aid in your assessment.
| Feature | Genuine 1960s Original | Modern Reproduction |
|---|---|---|
| Seam Construction | Solvent-welded (no adhesive residue, slight optical warping at joints) | UV-cured adhesive (visible glue lines, fluorescent under blacklight) |
| Material Weight | Heavy, dense PMMA (often 1/4-inch thick) | Lightweight, thin extruded acrylic or polystyrene |
| Interior Lining | Rayon flocking, crushed velvet, or early synthetic suedes (often degraded) | Polyester microfiber or modern synthetic velvet (pristine condition) |
| Hardware Patina | Natural oxidation, micro-scratches, potential pot-metal pitting | Uniform machine finishing, clear-coated, zero micro-wear |
| Odor Profile | Faint musty scent, old adhesive, or metallic tang | Smells of modern factory plastics or chemical off-gassing |
Technical Restoration: Cleaning and Repairing
Restoring a 60s jewelry box requires a conservative approach. The goal is to stabilize the piece and restore its optical clarity without erasing the historical patina of the hardware. Acrylic is notoriously soft, ranking only about 3 to 4 on the Mohs hardness scale, making it highly susceptible to micro-scratching.
Polishing Lucite Without Micro-Scratching
Never use ammonia-based glass cleaners (like Windex) or paper towels on vintage Lucite. Ammonia causes environmental stress cracking in older PMMA, and the wood pulp in paper towels will leave a web of micro-scratches. Instead, use a dedicated plastic polish system, such as the Novus Plastic Polish kit.
- Novus #3 (Heavy Scratch Remover): Use only for deep gouges. Apply with a clean, damp cotton cloth using circular motions.
- Novus #2 (Fine Scratch Remover): The workhorse for general cloudiness and fine swirl marks. This will restore the optical clarity of the 60s acrylic.
- Novus #1 (Clean & Shine): A final anti-static finish that repels dust and leaves a high-gloss protective layer.
Always use high-grade, lint-free microfiber cloths, and ensure the cloth is completely free of trapped dust particles before buffing.
Hardware Stabilization
If your box features original brass hardware, clean it gently with a mild solution of distilled water and castile soap. Avoid harsh abrasive pastes. If the brass is lacquered (common in the 60s to prevent tarnishing), do not polish it, as you will strip the lacquer. For pitted pot metal, the best conservation approach is stabilization rather than aggressive polishing. Apply a thin coat of microcrystalline wax (such as Renaissance Wax) to seal the surface and halt further oxidation.
The Hidden Danger: Anti-Tarnish Considerations for Vintage Storage
While a restored 60s jewelry box is a stunning display piece, it can be a hostile environment for your precious metals. The internal construction of vintage boxes often poses a severe tarnish risk to sterling silver and copper alloys.
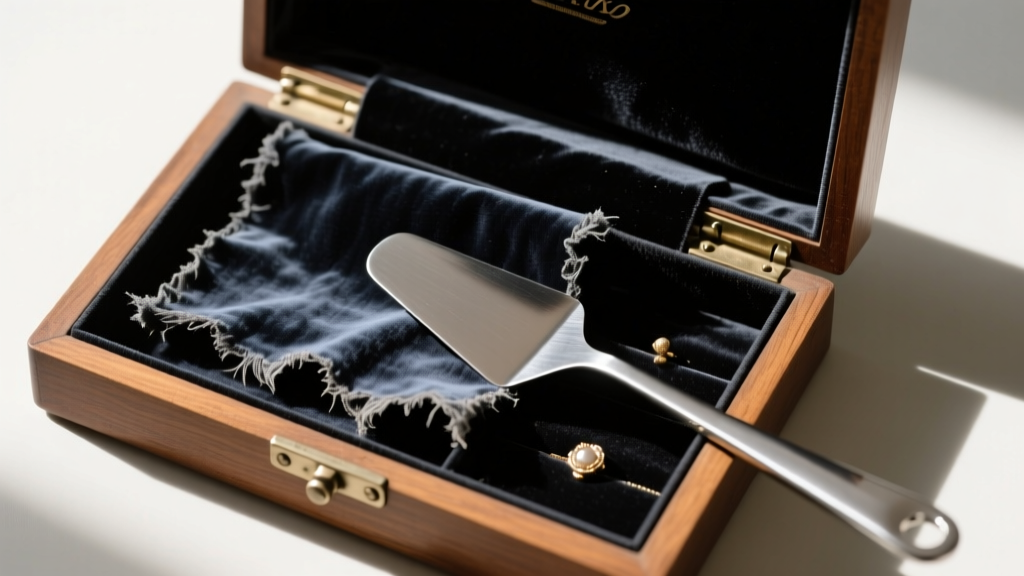
Conservation Warning: The structural armatures inside 1960s jewelry boxes were frequently made from highly acidic wood-pulp cardboard, and the velvet linings were adhered using early synthetic rubber cements. As these adhesives and cardboards degrade, they off-gas volatile organic compounds (VOCs) and sulfur, which react with silver to form silver sulfide—the black tarnish that plagues vintage jewelry collections.
Remediating the Interior for Archival Storage
If you intend to use a vintage 60s jewelry box for daily storage, you must address the interior chemistry. The American Institute for Conservation emphasizes the importance of using chemically stable, acid-free materials in contact with metal artifacts.
- Remove Degraded Linings: Carefully lift the old velvet and foam padding. Use a plastic spatula to scrape away the brittle, yellowed rubber cement. Clean the bare acrylic or wood substrate with mineral spirits to remove adhesive residue.
- Seal the Armature: If the internal cardboard structure is too fragile to remove, seal it entirely using a water-based acrylic sealant or line it with aluminum foil tape to create an impermeable vapor barrier against sulfur off-gassing.
- Install Modern Anti-Tarnish Linings: Replace the old velvet with modern, chemically treated anti-tarnish flannel (such as Pacific Silvercloth) or 100% unbleached cotton flannel.
- Use Archival Adhesives: Affix the new lining using a pH-neutral, acid-free PVA glue (like Lineco Neutral pH Adhesive). Unlike vintage rubber cements, archival PVA will not off-gas harmful sulfur compounds as it cures.
Sourcing, Valuation, and Final Thoughts
When sourcing a 60s jewelry box, provenance and designer marks heavily dictate valuation. Pieces attributed to iconic Mid-Century designers or featuring intricate, hand-poured Lucite elements (like embedded glitter, geometric color-blocking, or carved starbursts) command premium prices, often ranging from $150 to over $600 at specialized auction houses. Conversely, unmarked, mass-produced acrylic boxes from the late 60s generally sit in the $40 to $80 range.
Ultimately, restoring a vintage 60s jewelry box is an exercise in balancing historical preservation with functional utility. By understanding the chemical realities of PMMA, the metallurgical quirks of mid-century hardware, and the hidden archival dangers of vintage adhesives, you can rescue these Space Age artifacts and safely integrate them into your modern jewelry organization system.


