2026 Gift Guide: Crafting the Perfect DIY Wooden Jewelry Box
Discover how to craft and gift a custom DIY wooden jewelry box in 2026. Match wood types, linings, and hardware to anniversaries, weddings, and more.

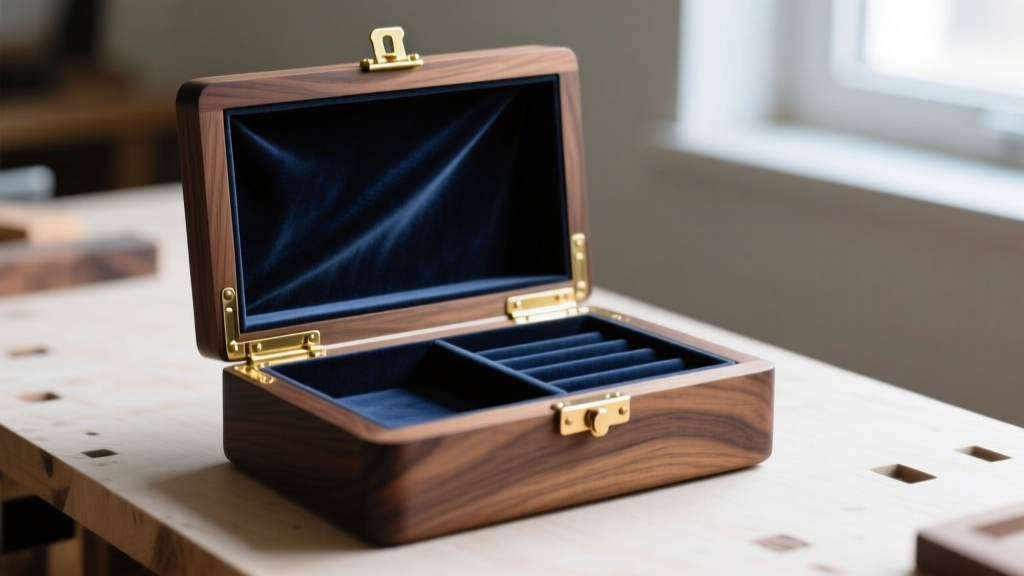
In an era dominated by mass-produced goods and digital gift cards, the act of giving a handmade, heirloom-quality present has become the ultimate expression of thoughtfulness. As we navigate the 2026 gifting season, a DIY wooden jewelry box stands out not just as a storage solution, but as a deeply personal artifact. Whether you are an experienced woodworker or a passionate beginner armed with a weekend kit, building a custom jewelry organizer allows you to tailor every grain, joint, and compartment to the recipient's specific collection and aesthetic.
However, crafting a jewelry box requires more than just basic carpentry; it demands an understanding of material science, gemology, and preservation. The wrong wood finish can tarnish sterling silver, and acidic linings can degrade delicate pearl nacre. This comprehensive guide will walk you through matching your DIY build to the occasion, selecting preservation-grade materials, and avoiding the common pitfalls that ruin fine jewelry.
Matching the Build to the Occasion
Every milestone deserves a specific aesthetic and functional approach. When designing your DIY wooden jewelry box, consider the recipient's lifestyle and the types of jewelry they wear most frequently. A minimalist maple box suits a modern graduate, while a rich, dovetailed walnut chest is ideal for a 25th silver anniversary.
| Occasion | Recommended Wood | Interior Lining | Hardware & Details |
|---|---|---|---|
| Wedding / Anniversary | American Black Cherry (ages to a deep, warm red) | Pacific Silvercloth (Champagne or Ivory) | Solid Brass Quadrant Hinges, Ring Rolls |
| Graduation / Milestone | Hard Maple with Ebony accents | Acid-Free Micro-Suede (Slate Grey) | Brushed Nickel Clasp, Modular Dividers |
| Heirloom / Legacy | Figured Black Walnut or Mahogany | Jewelers Velvet (Navy or Emerald) | Brusso Stop Hinges, Secret Drawer |
| Travel / Everyday | White Oak (highly durable, water-resistant) | Ultra-Suede (Charcoal) | Magnetic Snap Closure, Leather Handle |
The Science of Wood Selection and Linings
The most critical mistake novice woodworkers make is choosing a wood based solely on its exterior appearance while ignoring its chemical properties. According to preservation guidelines outlined by the Gemological Institute of America (GIA), pearls and organic gemstones are highly susceptible to acidic environments and prolonged exposure to certain volatile organic compounds (VOCs).
Woods to Avoid
Never use Aromatic Cedar or Pine for the interior structure or trays of a jewelry box. Cedar contains thujaplicins and natural acidic oils that are fantastic for repelling moths in a closet but are actively corrosive to sterling silver and can strip the nacre off pearls over time. Pine is too soft, prone to denting, and often weeps sap when exposed to the heat of a sunlit vanity.
The Right Linings
For silver-heavy collections, standard velvet is insufficient. You must use Pacific Silvercloth, a specialized cotton flannel embedded with microscopic silver particles. These particles act as a sacrificial anode, intercepting and absorbing hydrogen sulfide gases in the air before they can react with the recipient's silver jewelry. For gold and platinum, an acid-free micro-suede or ultra-suede provides a luxurious, non-abrasive surface that won't scratch high-polish finishes.
Hardware: The Make-or-Break Failure Points
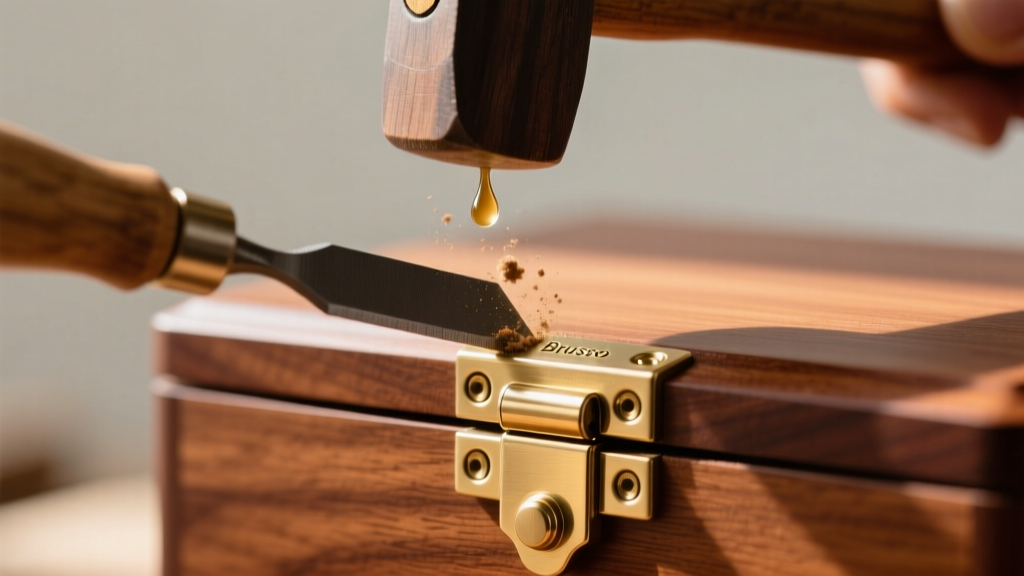
A beautifully joined box will quickly become a source of frustration if the hardware fails. The lid of a jewelry box is subjected to thousands of articulation cycles. Standard butt hinges found at big-box hardware stores will eventually sag, causing the lid to misalign or, worse, fall backward and snap the hinge mortise.
For a true heirloom DIY wooden jewelry box, invest in solid brass stop hinges (such as those manufactured by Brusso). These hinges feature an integrated 95-degree stop mechanism that prevents the lid from over-extending. While they cost between $40 and $85 a pair—compared to $5 for standard hinges—they are non-negotiable for high-end builds. When installing them, use a sharp chisel and a marking gauge to ensure the mortises are perfectly flush; even a 1/32-inch gap will cause the brass to bind and squeak.
Finishing Techniques That Protect Fine Jewelry
The exterior finish protects the wood, but the interior finish protects the jewelry. This is where many well-intentioned DIYers inadvertently cause damage. Modern polyurethanes, lacquers, and oil-based varnishes undergo a prolonged off-gassing process. The VOCs released during this curing phase (which can last for months in an enclosed, unventilated box) create a micro-climate that accelerates silver tarnishing and can cloud the surface of porous stones like turquoise and opals.
The Safe Finishing Protocol
- Exterior: You can use high-quality wipe-on polyurethane or hard wax oils (like Rubio Monocoat) on the outside of the box, provided you let it cure in a well-ventilated garage for at least 14 days before assembling the interior.
- Interior: Seal the raw interior wood with Zinsser Bullseye Shellac. Shellac is a natural, non-toxic resin secreted by the lac bug. It dries in minutes, seals the wood pores completely, and emits zero harmful off-gassing once the alcohol carrier evaporates. Follow up with a light coat of odorless, pure beeswax for a soft sheen.
For a deep dive into traditional, jewelry-safe woodworking finishes, Popular Woodworking Magazine offers extensive archives on using shellac and natural waxes for heirloom cabinetry and small boxes.
Gifting the Experience: DIY Kits and Workshops
In 2026, experiential gifting continues to trend upward. If you want to give the gift of a DIY wooden jewelry box but lack the woodworking tools or time to build one yourself, consider gifting a premium box-making kit or a weekend workshop voucher.
High-end kits (ranging from $120 to $250) come with pre-dimensioned, kiln-dried hardwood blanks, pre-cut lining templates, and the necessary brass hardware. They allow the recipient (or you and the recipient together) to experience the joy of cutting dovetails, routing hinge mortises, and applying the final wax finish, without the massive overhead of purchasing a full woodshop. When wrapping a kit, include a high-quality Japanese pull saw and a set of beech-handled chisels to elevate the unboxing experience.
Final Presentation and Packaging
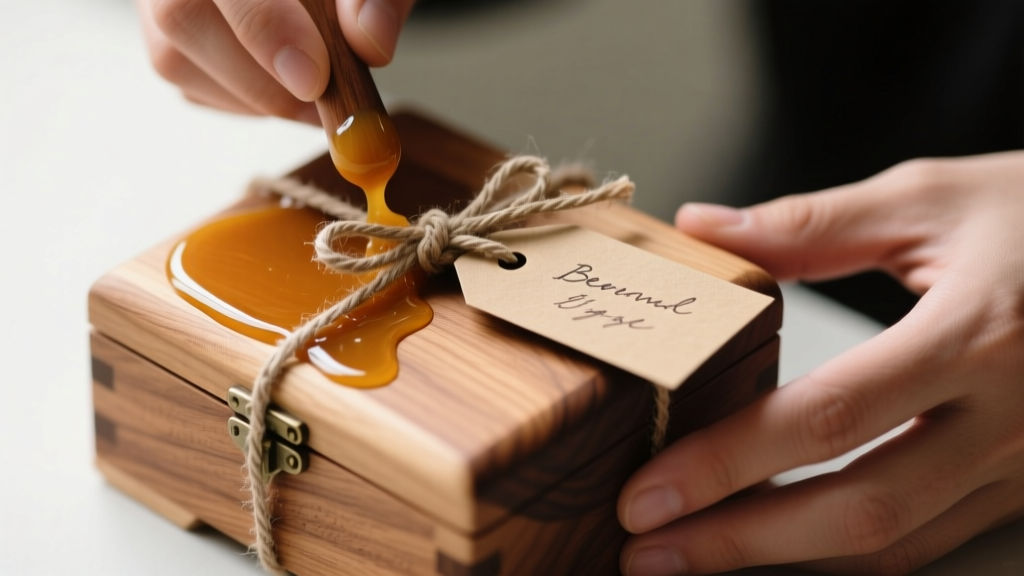
The presentation of a handmade box should reflect the hours of labor poured into it. Avoid glossy, commercial wrapping paper. Instead, wrap the finished DIY wooden jewelry box in a heavy, natural linen cloth tied with a leather cord or waxed cotton twine. Include a handwritten note detailing the specific wood species used, the origin of the lumber (e.g., 'Salvaged Appalachian Black Walnut'), and the date of completion. This transforms a simple wooden container into a documented family heirloom, ready to hold decades of memories, milestones, and precious metals.


