How to Fix a Sagging Picture Frame Jewelry Holder Mesh
Is your picture frame jewelry holder sagging or tarnishing silver? Learn expert DIY fixes for mesh tension, wood off-gassing, and wall mount failures.

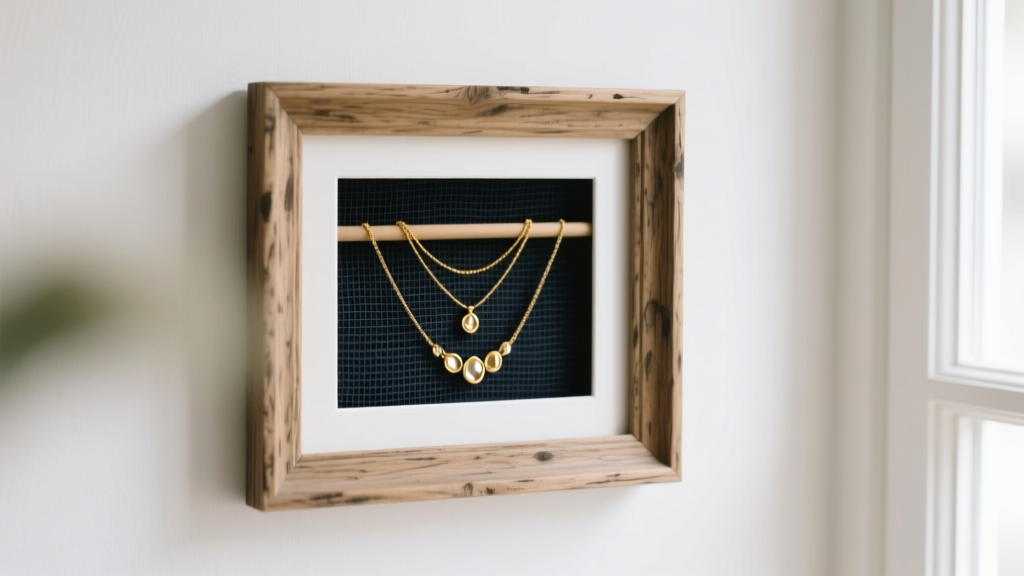
The Anatomy of a Failing Picture Frame Jewelry Holder
The picture frame jewelry holder is a staple of bedroom organization, offering a beautiful, visible display for your favorite pieces. However, mass-produced models are notorious for three critical failure points: sagging wire mesh, accelerated silver tarnishing, and catastrophic wall-mount failures. When you load a standard 12x16 inch frame with 30 to 40 necklaces, bracelets, and earrings, you are introducing significant static weight and dynamic stress (from pulling items off hooks). Over time, cheap materials yield to physics and chemistry, leaving you with a damaged collection and a ruined wall. In this troubleshooting guide, we will diagnose these specific failure modes and provide professional-grade DIY solutions to permanently reinforce your setup.
Troubleshooting Mesh Sag and Hook Slippage
The most common visual defect in aging organizers is the 'belly sag'—a downward bulge in the center of the mesh where heavy pendants cluster. This occurs because manufacturers typically use 22-gauge galvanized chicken wire. The hexagonal pattern of chicken wire lacks structural rigidity; it distributes weight poorly and permanently deforms under localized stress. Furthermore, the thin zinc galvanization wears off at the cut edges, leading to rust stains on your delicate chains.
Upgrading to 19-Gauge Welded Stainless Steel
To permanently solve mesh sag, you must replace the chicken wire with a rigid grid. The ideal material is 19-gauge 304 stainless steel welded wire mesh with a 1/2-inch by 1/2-inch grid pattern. Unlike woven chicken wire, welded mesh features rigid intersections that resist shear deformation. The 304 stainless steel alloy contains 18% chromium and 8% nickel, making it entirely impervious to the humidity fluctuations in a bedroom or bathroom environment.
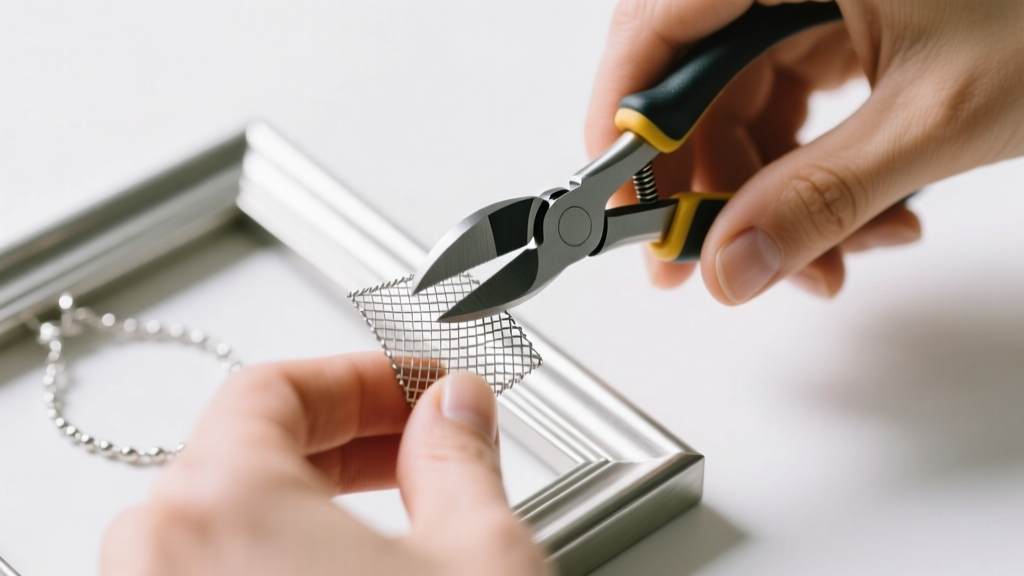
Step-by-Step Mesh Replacement:
- Remove the Backing: Carefully pry out the metal flex tabs holding the backing board and original mesh in place using a flathead screwdriver.
- Cut the New Mesh: Use heavy-duty aviation snips (not standard wire cutters, which will crush the 19-gauge wire) to cut the stainless steel mesh 1 inch larger than the frame's inner dimensions on all sides.
- Tension and Staple: Lay the frame face down. Center the mesh and pull it taut. Using a heavy-duty manual staple gun, drive 3/8-inch galvanized staples every 2 inches along the inner lip of the wooden frame. Fold the excess wire back and staple it down to prevent sharp protrusions.
Solving the Tarnish Problem: Wood Off-Gassing and Acidic Liners
If you notice your sterling silver and copper alloys tarnishing rapidly despite being stored in a dry room, the culprit is likely the frame itself. Budget-friendly frames are constructed from Medium-Density Fiberboard (MDF) or unsealed particleboard. These composite woods are bound together with urea-formaldehyde resins. As the wood ages, it off-gasses formaldehyde and acetic acid vapors. According to preservation standards outlined by institutions like the Gemological Institute of America (GIA), acidic micro-environments drastically accelerate the oxidation of metals, converting the surface of sterling silver (925 Ag) into black silver sulfide.
Frame Material Comparison and Off-Gassing Risks
| Frame Material | Weight (12x16) | Off-Gassing Risk | Required Mitigation |
|---|---|---|---|
| MDF / Particleboard | 3.5 - 5.0 lbs | High (Acetic Acid) | Seal with polyurethane or line with barrier film |
| Solid Pine / Oak | 4.0 - 6.0 lbs | Moderate (Tannins) | Apply Renaissance Wax to interior rim |
| Acrylic / Polystyrene | 1.5 - 2.5 lbs | None (Inert) | None required |
Applying Anti-Tarnish Barriers
If you cannot replace your MDF frame, you must seal it. Apply two coats of water-based polyurethane to the raw interior edges of the frame and the backing board. Allow 48 hours for complete curing and off-gassing of the sealant itself. Once cured, line the backing board with Pacific Silvercloth—a 100% cotton flannel embedded with microscopic silver particles that intercept and neutralize hydrogen sulfide gases before they reach your jewelry. Alternatively, slip 3M Anti-Tarnish strips into the bottom corners of the frame cavity, replacing them every six months.
Wall Mounting Failures: Why Your Frame Keeps Falling
A fully loaded 12x16 inch picture frame jewelry holder is surprisingly heavy. The frame (4 lbs), glass or acrylic front (2 lbs), wire mesh (1 lb), and 40 pieces of jewelry (2 to 4 lbs) easily push the total static load past 10 pounds. When you yank a stubborn clasp off a hook, you introduce dynamic force that can momentarily spike the pull-out load to over 20 pounds. The small, ribbed plastic drywall anchors included in most hardware kits rely purely on friction and are rated for a maximum of 8 pounds in standard 1/2-inch drywall. This is a recipe for a torn wall and a shattered frame.
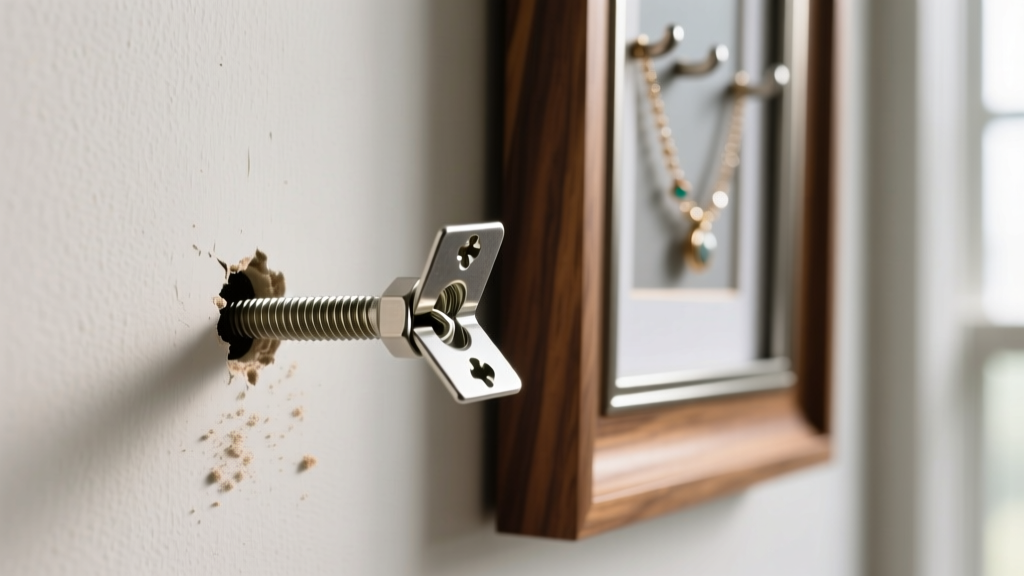
Calculating Load and Choosing the Right Anchor
To secure your organizer permanently, you must bypass drywall friction and utilize mechanical toggles or structural studs.
- The Stud Method (Best): Use a magnetic or electronic stud finder to locate the wooden framing behind the drywall. Drive a 2-inch #8 wood screw directly through the frame's D-ring or sawtooth hanger into the center of the stud. This provides over 150 lbs of shear strength.
- The Toggle Bolt Method (Drywall Only): If a stud is unavailable, use a 1/8-inch butterfly toggle bolt. Drill a 1/2-inch hole through the drywall. The spring-loaded metal wings will pass through the hole and snap open on the backside, distributing the load across a 3-inch span of the drywall's back paper. A 1/8-inch toggle bolt in 1/2-inch drywall boasts a pull-out strength of approximately 42 pounds, more than enough to handle the dynamic stress of removing heavy statement necklaces.
Preventing Clasp Snagging and Metal Micro-Scratches
Even with upgraded stainless steel mesh, the factory-cut intersections of the wire can harbor microscopic metal burrs. When you slide a delicate 14k gold chain or a high-polish platinum link across these burrs, they act like tiny files, creating micro-scratches that dull the metal's luster over time. To solve this, lightly sand the entire surface of your newly installed mesh with 400-grit sandpaper to knock down any sharp protrusions. Follow this by wiping the mesh with a lint-free cloth dampened with isopropyl alcohol. Finally, apply a very thin, even coat of clear Plasti Dip or brush-on polyurethane to the wire intersections. This creates a smooth, rubberized polymer barrier that protects soft precious metals from abrasion while maintaining the structural integrity of the steel grid beneath. By addressing mesh tension, chemical off-gassing, and structural mounting, your picture frame jewelry holder will transition from a frustrating liability into a permanent, museum-quality display.


