Troubleshooting Your Jewelry Display Rack: Fix Tipping & Tangles
Learn how to troubleshoot your jewelry display rack. Expert fixes for tipping, necklace tangles, and tarnish-causing off-gassing materials.

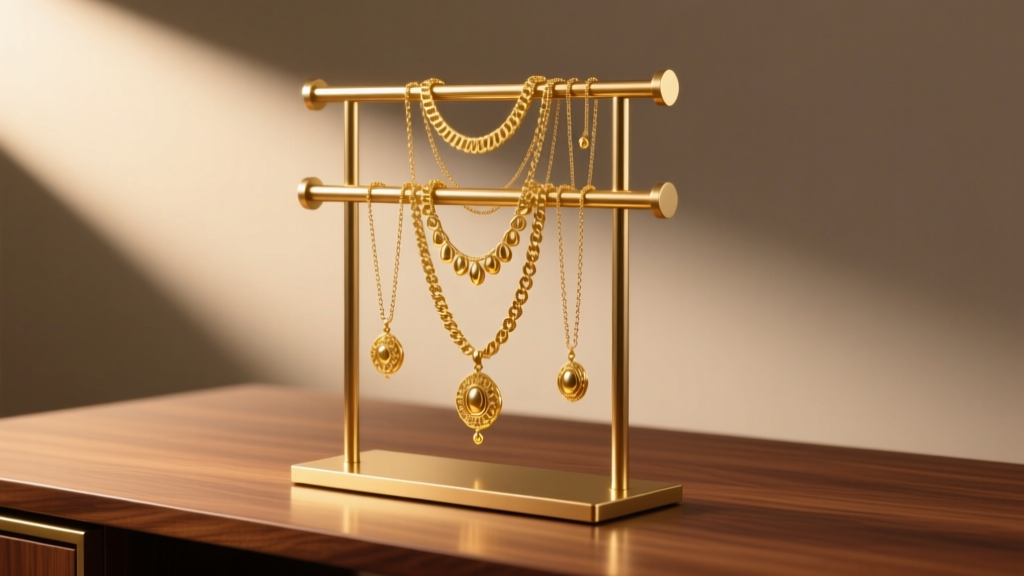
The Physics of Rack Instability: Why Your Display Keeps Tipping
A beautifully curated collection loses its impact the moment it crashes to the floor. In 2026, the market is flooded with aesthetically pleasing but structurally deficient jewelry display racks. The most common failure mode is gravitational tipping, caused by an inadequate base-to-height ratio. According to basic principles of statics, a freestanding display requires a base width that is at least one-third of its total height to maintain a safe center of gravity. If you are using an 18-inch tall tiered rack, the base must be a minimum of 6x6 inches. Many mass-produced MDF (medium-density fiberboard) and hollow acrylic racks fail this test, featuring narrow 4x4 inch bases that become dangerously top-heavy once loaded with brass cuffs, resin earrings, or gemstone-heavy necklaces.
Diagnostic Checklist for Top-Heavy Racks
Before modifying your display, perform a simple tilt test. Place the empty rack on a flat surface and gently push the top edge. If it begins to lift off the table before reaching a 15-degree angle, it is a tipping hazard. Next, load the rack with your heaviest items on the top tier. If the rack wobbles when a nearby door is closed or when heavy footsteps occur, the center of mass is too high, and the base lacks sufficient ballast.
The Ballast Method: Step-by-Step Stabilization
You do not need to replace an unstable rack; you simply need to lower its center of gravity. The most effective troubleshooting technique is the ballast method. Purchase a 1/8-inch thick steel or lead-free brass base plate cut to the exact dimensions of your rack's footprint. A 6x6 inch steel plate of this thickness weighs approximately 1.2 pounds, which is usually enough to anchor a standard display. Attach the plate to the bottom of the rack using 3M VHB 4910 double-sided tape for acrylic racks, or four 1/2-inch wood screws for MDF and solid wood racks. For a non-permanent fix, apply a generous bead of QuakeHold Museum Wax to the bottom four corners of the rack, pressing it firmly onto your vanity or shelf. This clear, non-toxic adhesive provides immense shear strength and prevents sliding without damaging your furniture.
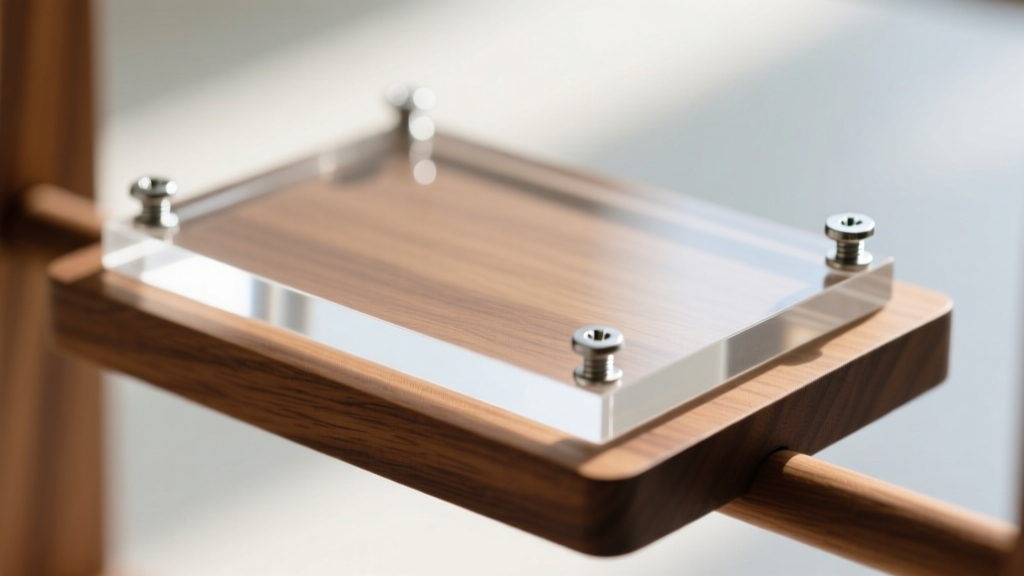
Solving the Spaghetti Effect: Untangling Tiered Necklace Racks
Necklace tangling on tiered displays is not a user error; it is a failure of spatial engineering. When chains are hung too closely together, kinetic friction and static electricity cause them to intertwine—a phenomenon jewelers refer to as the spaghetti effect. This is particularly problematic with flat-profile chains that act like interlocking gears when they brush against one another. To troubleshoot this, you must upgrade your rack's hook spacing and depth variance.
"The coefficient of friction between two metal chains increases exponentially when they are subjected to minor vibrations, such as those from a nearby HVAC vent or foot traffic. Staggering the vertical depth of display hooks is the only reliable way to prevent interlocking." — Independent Jewelry Merchandising Report, 2025.
Spatial Requirements by Chain Type
Not all chains require the same amount of lateral clearance. When retrofitting your jewelry display rack with new 12-gauge steel wire hooks or acrylic pegs, adhere to these minimum spacing guidelines:
- Cable and Curb Chains (Low Friction): Require a minimum of 2.5 inches of lateral spacing. These round-profile chains slide past each other relatively easily.
- Box and Wheat Chains (Medium Friction): Require a minimum of 3.5 inches of lateral spacing. Their angular edges can catch on adjacent links if placed too closely.
- Herringbone, Snake, and Omega Chains (High Friction): Require a minimum of 4.5 inches of lateral spacing. These flat, tightly woven chains act like Velcro when they overlap and must be isolated on dedicated, widely spaced hooks.
If your current rack cannot accommodate these widths, troubleshoot by staggering the hook lengths. Bend alternating hooks so that one extends 2 inches outward and the next extends 4 inches outward. This creates a 3D spatial matrix that prevents the pendants and lower chain segments from colliding.
Chemical Sabotage: Stopping Off-Gassing and Tarnish
Perhaps the most insidious problem with budget-friendly jewelry display racks is chemical off-gassing. Unsealed MDF, raw oak, and certain plywood adhesives continuously emit acetic acid, formaldehyde, and hydrogen sulfide gases. According to the Canadian Conservation Institute, these volatile organic compounds (VOCs) create a micro-environment that aggressively accelerates the formation of silver sulfide (Ag2S), turning your sterling silver black in a matter of weeks. If you store fine jewelry on a raw wood or poorly sealed rack, you are actively sabotaging your collection.
| Rack Material | Off-Gassing Risk Level | Primary Chemical Emitted | Impact on Sterling Silver |
|---|---|---|---|
| Unsealed MDF / Particleboard | Critical | Formaldehyde & Acetic Acid | Severe, rapid tarnishing |
| Raw Oak or Walnut | High | Acetic Acid (Tannins) | Moderate to severe tarnishing |
| Sealed Birch / Maple | Low | Negligible (if poly-sealed) | Minimal impact |
| Acrylic / Polycarbonate | None | None | Safe for long-term display |
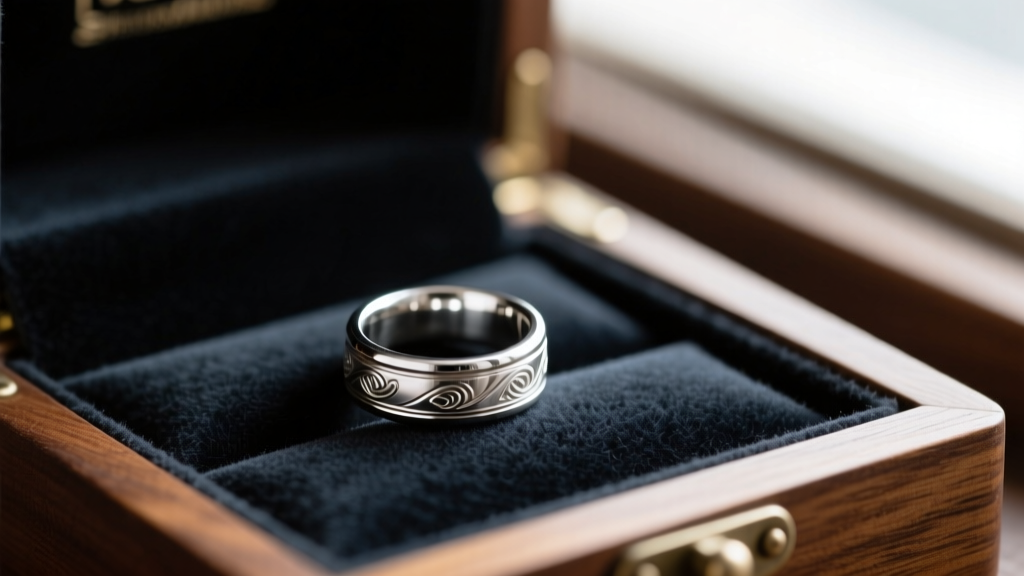
How to Retrofit a Toxic Rack
If you own a beautiful wooden display rack that is causing your silver to tarnish, you can troubleshoot the issue by sealing the wood and introducing chemical scavengers. First, remove all jewelry and take the rack to a well-ventilated area. Apply two coats of Zinsser B-I-N shellac-based primer. Shellac is a natural resin that creates an impermeable vapor barrier, trapping acidic gases inside the wood. Once dry, line the base and shelves of the rack with Pacific Silvercloth or 3M Anti-Tarnish Strips. The Gemological Institute of America (GIA) recommends using specialized anti-tarnish fabrics that contain embedded zinc or silver particles to absorb sulfur compounds before they reach your jewelry. Never use standard craft felt or velvet, as these fabrics often contain sulfur-based dyes and sizing agents that will accelerate tarnish.
Quick-Reference Adhesive Guide for Rack Modifications
When troubleshooting and upgrading your display rack, choosing the wrong adhesive can result in permanent damage to both the rack and your jewelry. Use this reference chart to select the correct bonding agent for your specific modification needs:
| Modification Task | Rack Material | Recommended Adhesive | Cure Time |
|---|---|---|---|
| Attaching steel ballast plates | MDF / Solid Wood | Two-part Epoxy (e.g., J-B Weld Clear) | 24 Hours |
| Securing acrylic base extensions | Acrylic / Polycarbonate | 3M VHB 4910 Double-Sided Tape | 72 Hours (Full Strength) |
| Adding velvet lining to shelves | Sealed Wood / Metal | 3M Super 77 Multipurpose Spray | 15 Minutes |
| Temporary anti-slip footing | Any Material | QuakeHold Museum Wax | Instant |
Final Thoughts on Display Maintenance
A jewelry display rack should be a functional asset, not a liability. By diagnosing the structural flaws causing your rack to tip, re-engineering the hook spacing to eliminate chain friction, and neutralizing the chemical off-gassing of cheap wood composites, you can transform a frustrating piece of furniture into a professional-grade merchandising tool. Regular maintenance—including wiping down acrylic hooks with isopropyl alcohol to remove skin oils and replacing anti-tarnish strips every six months—will ensure your collection remains pristine, untangled, and perfectly presented for years to come.


