Expert Guide: Building a Jewelry Box DIY Wood Project for Heirlooms
Master your jewelry box DIY wood project with expert advice on lumber selection, anti-tarnish linings, and precision joinery for heirloom storage.

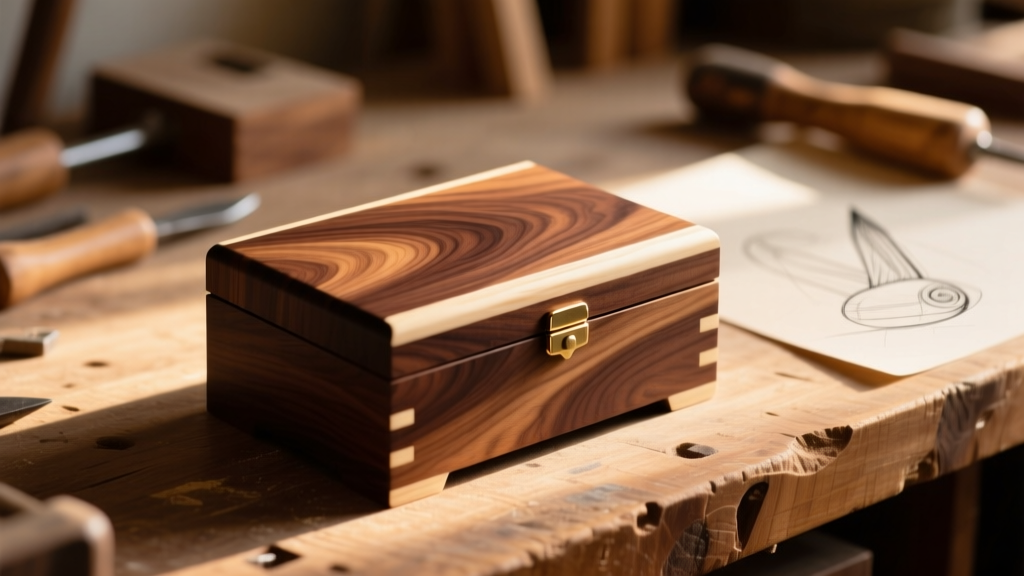
The Foundation: Wood Selection and the Acid Off-Gassing Problem
When embarking on a jewelry box DIY wood project, the most common mistake novice woodworkers make is selecting lumber based solely on visual grain patterns while ignoring chemical compatibility. Jewelry storage requires a highly controlled microclimate. Certain woods and engineered panels actively emit volatile organic compounds (VOCs) and organic acids that will rapidly corrode precious metals and degrade organic gems like pearls and tortoiseshell.
According to conservation guidelines published by the Canadian Conservation Institute, wood naturally emits acetic acid and formaldehyde as it ages. Oak, for instance, is notoriously high in tannic and acetic acids, making it a poor choice for the interior carcase of a jewelry box unless hermetically sealed. Similarly, MDF and plywood off-gas urea-formaldehyde resins, which cause severe silver tarnish and gold pitting over time.
For an heirloom-grade DIY build, you must select dimensionally stable, low-acid hardwoods. The Wood Database provides comprehensive Janka hardness and shrinkage ratings that are critical for ensuring your drawers do not bind during seasonal humidity shifts.
| Wood Species | Janka Hardness (lbf) | Tangential Shrinkage | Acid / Tannin Profile | Best Application |
|---|---|---|---|---|
| American Black Walnut | 1,010 | 6.6% | Low acid, high oil | Main carcase, veneers |
| North American Cherry | 950 | 9.2% | Moderate acid (requires sealing) | Drawer fronts, dividers |
| Hard Maple | 1,450 | 9.9% | Very low acid | Drawer runners, trays |
| Honduran Mahogany | 900 | 4.3% | Low acid, highly stable | Large carcases, lids |
Precision Joinery for Structural Longevity
A jewelry box is subjected to repetitive micro-movements: drawers sliding, lids lifting, and trays being removed. Relying on butt joints reinforced with brad nails or standard wood glue will inevitably result in failure as the end-grain absorbs moisture and expands. For a true heirloom piece, mechanical interlocking joinery is non-negotiable.
Dovetail Ratios and Drawer Construction
Half-blind dovetails should be used to join the front of the drawers to the sides, ensuring the end-grain is hidden from the exterior while providing immense mechanical strength. For hardwoods like walnut and cherry, a pin-to-tail ratio of 1:8 is the standard. This steeper angle prevents the tails from shearing under the lateral stress of a loaded drawer being pulled open. Through dovetails are best reserved for the main carcase corners or the back panel of drawers, where visibility is less of a concern but structural rigidity is paramount.
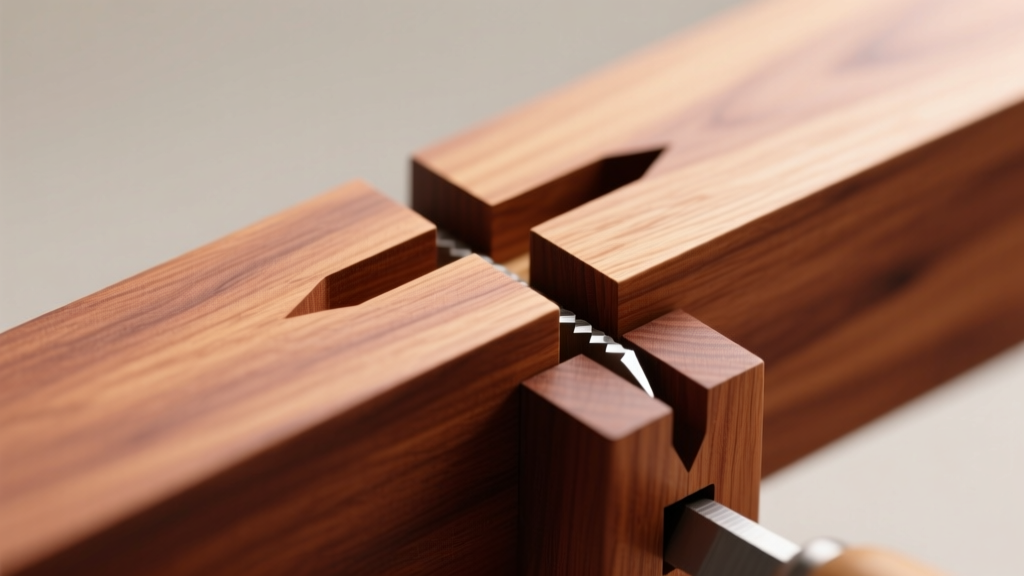
When cutting your joinery, leave the drawer sides exactly 1/32-inch undersized relative to the carcase opening. This tolerance accounts for the seasonal expansion of the wood across the grain, preventing the drawer from locking up during high-humidity summer months. Finish the drawer runners with a thin coat of paraffin wax to ensure frictionless gliding without the need for metal hardware.
The Interior: Anti-Tarnish Linings and Compartmentalization
The interior environment of your DIY wood jewelry box dictates the preservation quality of the collection it holds. Silver tarnish is primarily caused by hydrogen sulfide (H2S) gas in the ambient air reacting with the copper alloyed in sterling silver. To combat this, the interior must be lined with specialized conservation fabrics.
Sourcing and Installing Anti-Tarnish Fabrics
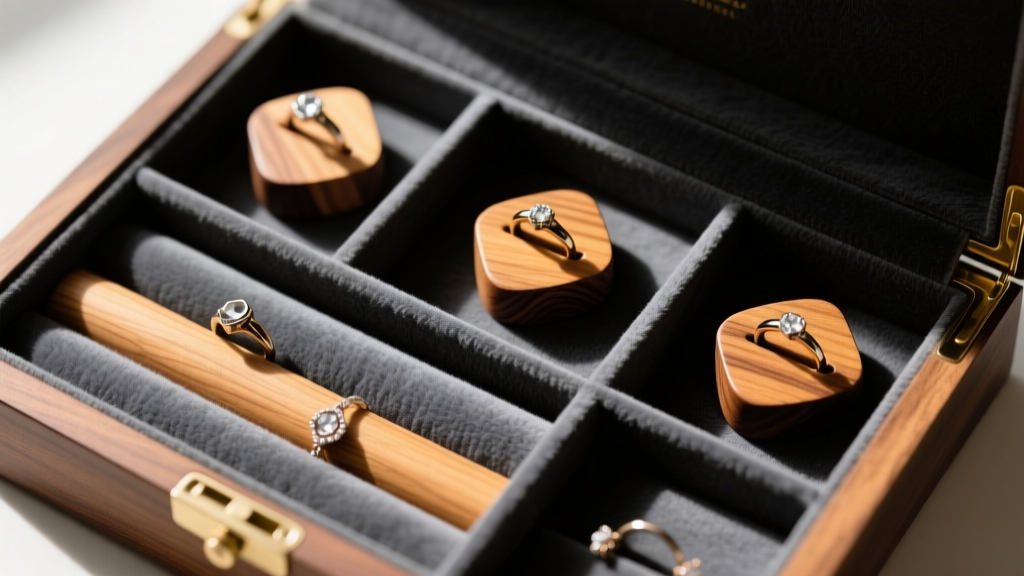
Standard velvet or felt from a craft store will trap moisture and do nothing to neutralize H2S. Instead, source Pacific Silvercloth or LusterLoc treated fabrics. These materials are embedded with microscopic silver particles that act as a sacrificial anode, absorbing the corrosive gases before they can reach the jewelry stored inside.
Installation requires careful adhesive selection. Avoid rubber-based contact cements, as the vulcanization process leaves residual sulfur that will accelerate tarnishing. Instead, use 3M Super 77 Multipurpose Adhesive. Spray the adhesive onto the wooden substrate—not the fabric—and allow it to become tacky for 60 seconds before pressing the fabric down. Crucially, you must leave the box open in a well-ventilated room for a minimum of 72 hours to allow the propellants and solvents in the adhesive to fully off-gas before introducing any jewelry.
Finishing: Sealing the Wood Without Trapping Moisture
Before applying any interior fabric, the raw wood must be sealed to lock in natural acids and prevent moisture exchange. Film-building finishes like polyurethane can trap moisture within the wood if not applied to all six sides of every component, leading to internal warping. Furthermore, some catalyzed lacquers emit trace sulfur during the curing process.
The gold standard for sealing jewelry box interiors is dewaxed blonde shellac. Shellac is a natural resin secreted by the lac bug, dissolved in denatured alcohol. It dries in minutes, seals wood acids completely, and emits zero harmful VOCs once the alcohol flashes off. Apply two thin coats of a 1.5-lb cut shellac using a French polishing pad or a high-quality natural bristle brush. For the exterior carcase, a hard wax oil like Rubio Monocoat or Osmo Polyx-Oil provides a beautiful, repairable, low-luster finish that enhances the chatoyancy of the wood grain without looking like a thick plastic coating.
Hardware Selection: Hinges and Clasps
Hardware is the jewelry of the jewelry box. Cheap, plated steel hinges will rust, bind, and detract from the precision of your woodwork. Invest in solid brass hardware from specialized manufacturers like Brusso or Whitechapel.
For a traditional drop-front or lift-lid design, use solid brass quadrant hinges. These require precise mortising, typically achieved using a dedicated router template and a 1/4-inch upcut spiral bit. The mortise depth must be exactly equal to the thickness of the hinge leaf to ensure the lid sits perfectly flush with the carcase. Finish your brass hardware with a light coat of microcrystalline wax (such as Renaissance Wax) to prevent the brass from oxidizing and leaving green fingerprints on the user's hands.
"A masterfully crafted jewelry box is not merely a container; it is a microclimate. The intersection of precise woodworking and museum-grade conservation materials is what separates a simple DIY craft project from a multi-generational heirloom."
By prioritizing low-acid lumber, mechanical joinery, and chemically inert interior linings, your jewelry box DIY wood project will serve as both a stunning showcase and a fortress against the environmental degradation of precious metals and stones.


