How to Restore a Large Jewelry Box: Vintage Step-by-Step
Learn how to clean, reline, and organize a large jewelry box vintage find. Step-by-step restoration for wood, hardware, and anti-tarnish lining.

The Allure of the Vintage Find
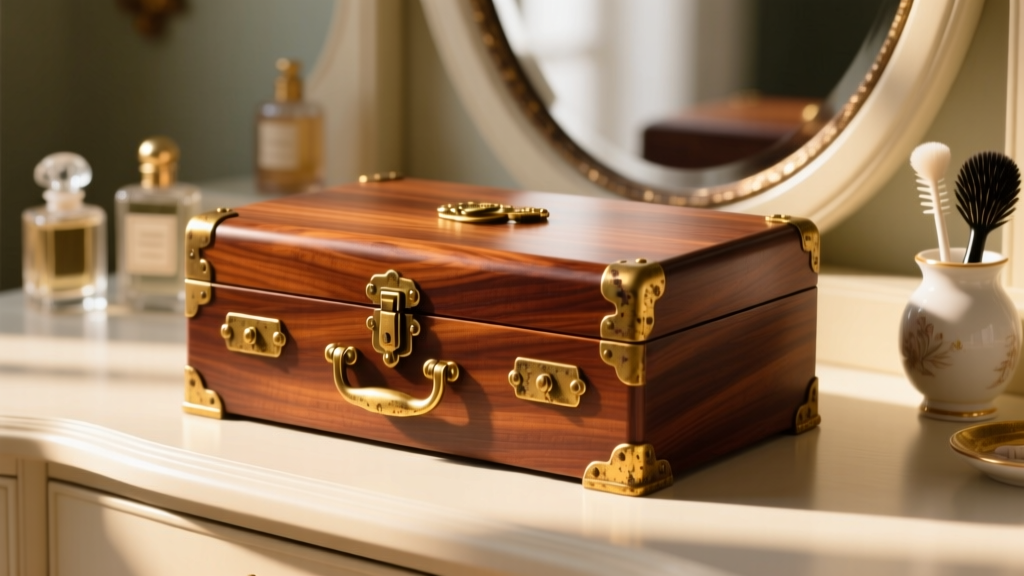
Stumbling upon a large jewelry box vintage collectors piece at an estate sale or flea market is a thrilling experience. Unlike modern, mass-produced MDF boxes wrapped in synthetic leather, vintage boxes from the mid-20th century or earlier were crafted from solid mahogany, burl walnut, or cedar, featuring dovetail joints and solid brass hardware. However, decades of storage often leave these treasures with cloudy finishes, tarnished hinges, and degraded, acidic interior linings that can actually harm your jewelry. According to the Getty Conservation Institute, improper storage environments and acidic materials are the leading causes of accelerated metal tarnishing and gemstone degradation. This comprehensive, step-by-step guide will walk you through professionally restoring and organizing a vintage jewelry box to museum-quality standards, ensuring it safely houses your collection for decades to come.
Phase 1: Deep Cleaning and Wood Restoration
Before applying any waxes or polishes, you must identify the original finish of your large jewelry box vintage piece. Applying the wrong solvent can strip the patina entirely.
Identifying the Finish
Perform a spot test in an inconspicuous area, like the bottom of the box. Dab a cotton swab with denatured alcohol; if the finish becomes sticky or dissolves, it is shellac. If it remains unaffected, try a tiny drop of acetone (nail polish remover). If it softens, it is lacquer. If neither affects it, the box likely has an oil or varnish finish. For shellac and lacquer finishes, avoid liquid cleaners entirely, as they can cause irreversible clouding known as 'blooming'.
The Renaissance Wax Technique
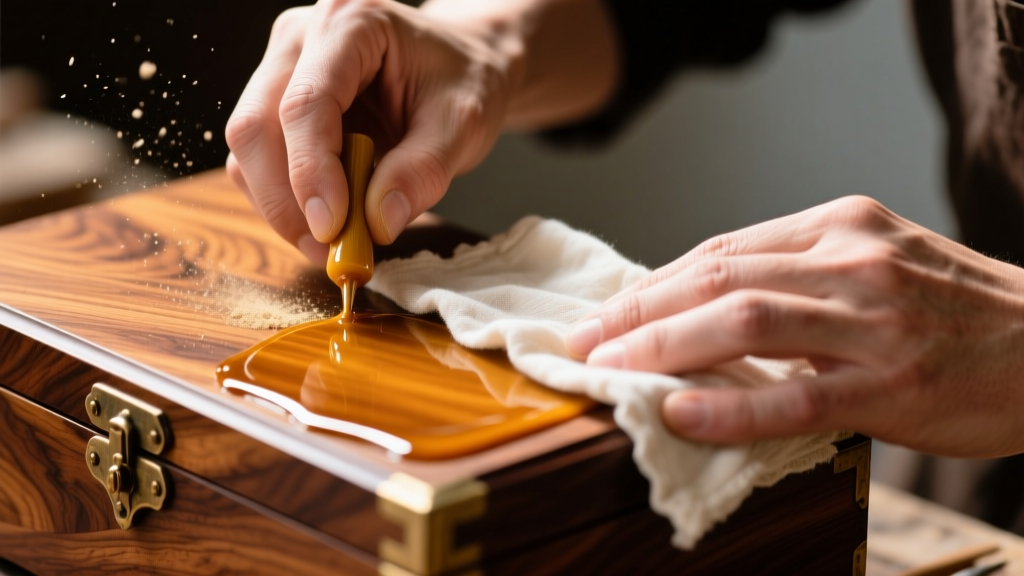
Dust the exterior with a soft, lint-free microfiber cloth. For general grime, use a slightly damp cloth with a drop of pH-neutral dish soap, drying immediately. To restore the luster and protect the wood, apply Renaissance Micro-Crystalline Wax Blend. Originally developed by the British Museum for conservation, this wax does not contain silicone or harsh solvents that build up over time. Apply a thin, even coat with a cotton cloth, let it dry for 10 minutes, and buff vigorously. This seals the wood grain and provides a subtle, authentic satin sheen.
Phase 2: Hardware and Hinge Rehabilitation
Vintage boxes frequently feature solid brass or brass-plated hardware. Test the hinges and clasps with a magnet; if they stick, the base metal is steel or iron, meaning you must be incredibly gentle to avoid rubbing through a thin gold or brass plating. For solid brass, use a high-quality polish like Simichrome or Brasso. Apply with a Q-tip to avoid getting polish on the freshly waxed wood. For steel hinges that squeak or feel stiff, a microscopic drop of synthetic clock oil or PTFE (Teflon) lubricant on the pin will restore smooth movement without attracting dust like standard WD-40 does.
Phase 3: Custom Anti-Tarnish Relining
The original velvet or felt in a large jewelry box vintage find is almost certainly acidic by now, which off-gasses sulfur compounds and accelerates silver tarnish. Relining is the most critical step for jewelry preservation.
Choosing the Right Material
| Material | Tarnish Resistance | Durability | Best For |
|---|---|---|---|
| Pacific Silvercloth | Exceptional (Embeds silver particles) | High | Sterling silver, white gold |
| Acid-Free Suede | Moderate | Very High | Heavy bangles, watches |
| Archival Velvet | Good (If certified acid-free) | Moderate | Diamonds, platinum |
| Standard Craft Felt | Poor (Often contains sulfur) | Low | Avoid entirely |
The Relining Process
Remove the old fabric carefully using a flat spatula. Scrape away residual glue with a plastic scraper to avoid scratching the wood. When adhering the new fabric, never use aerosol spray adhesives (like 3M Super 77), as the propellants and solvents can bleed through the fabric and leave permanent dark stains. Instead, use an archival, pH-neutral adhesive like Lineco Neutral pH Adhesive. Apply a thin layer to the wood tray using a foam brush, wait 60 seconds for it to become tacky, and carefully lay your Pacific Silvercloth or acid-free velvet, smoothing out air bubbles from the center outward. Fold the edges under for a clean, tailored seam.
Phase 4: Strategic Organization for Modern Collections
A beautifully restored box is only half the battle; how you arrange the interior dictates the longevity of your jewelry. The Gemological Institute of America (GIA) emphasizes that improper storage causes more micro-scratches to gemstones than daily wear.
Zoning by Mohs Hardness
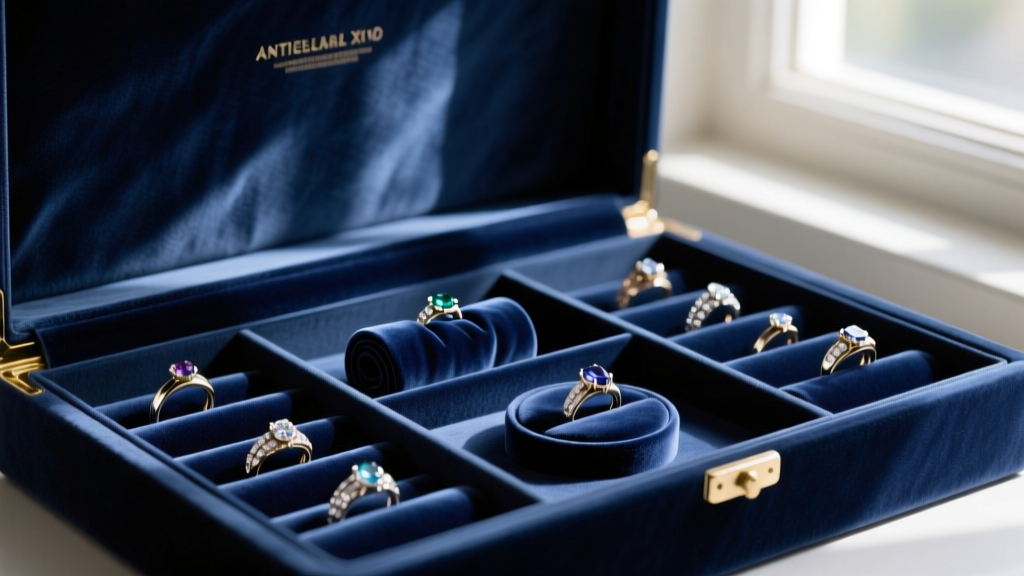
Organize your large jewelry box vintage compartments based on the Mohs scale of mineral hardness. Diamonds (10), sapphires (9), and rubies (9) will easily scratch emeralds (7.5), opals (6), and precious metals. Never toss diamond rings loosely into a tray with gold bracelets. Gold has a hardness of just 2.5 to 3. Utilize individual soft pouches or dedicated ring rolls for high-hardness stones.
Managing Organic Gems
Pearls, coral, and amber are organic and uniquely sensitive. They require a slight amount of ambient humidity to prevent cracking. The Smithsonian Museum Conservation Institute advises against storing pearls in airtight plastic bags or extremely dry environments like safes. Dedicate a specific, softly lined drawer in your vintage box for organics, and wipe them with a damp cloth before storage to remove skin oils and perfumes.
Weight Distribution
Place heavy items like solid cuff bracelets and statement necklaces in the bottom drawers to lower the center of gravity and prevent the box from tipping when drawers are pulled. Use acrylic, non-PVC dividers in shallow top drawers to separate delicate chains, preventing the dreaded 'knotting' effect that weakens fine link chains over time.
Expert Climate Tip: If you live in a high-humidity environment, place a small, rechargeable silica gel canister in the bottom drawer of your vintage box. This passively controls moisture levels, protecting both the wood joinery from swelling and your silver from humidity-accelerated tarnishing.
Conclusion
Restoring a large jewelry box vintage piece is a deeply rewarding project that blends historical preservation with practical luxury. By carefully identifying wood finishes, utilizing conservation-grade waxes, selecting archival anti-tarnish linings, and organizing by gemstone hardness, you transform a forgotten flea market find into a bespoke, museum-quality vault. Your jewelry deserves a sanctuary that honors its craftsmanship, and a properly restored vintage box provides exactly that, standing as a functional heirloom for generations.


