How Do I Make a Jewelry Box as a Personalized Gift?
Learn how do I make a jewelry box for every occasion. This DIY gift guide covers anti-tarnish linings, wood choices, and personalization tips.

The Emotional Weight of a Handcrafted Gift
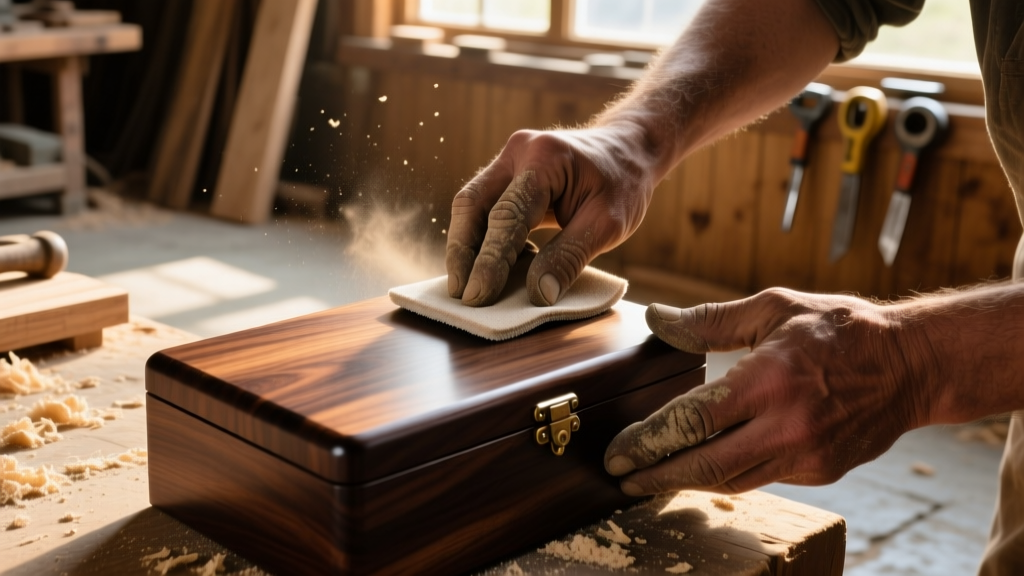
When it comes to milestone celebrations—be it a 10th wedding anniversary, a high school graduation, or a bridesmaid proposal—store-bought gifts often lack a deeply personal touch. If you have ever found yourself asking, "how do i make a jewelry box that feels like a true heirloom?", you are already on the right path. A handcrafted jewelry box is not merely a storage vessel; it is a tactile representation of time, effort, and intimate knowledge of the recipient's style. According to experts at Fine Woodworking, small-scale furniture projects like keepsake boxes offer the perfect canvas for mastering precision joinery while yielding a profoundly meaningful gift. This guide will walk you through designing, building, and finishing a luxury-grade jewelry box tailored to specific life occasions.
Selecting the Right Wood for the Occasion
The species of wood you choose sets the entire tone for the gift. Different woods carry different visual weights, Janka hardness ratings, and symbolic meanings. When planning your build, consider the recipient and the milestone.
- Black Walnut (Juglans nigra): With a Janka hardness of 1,010 lbf and a rich, chocolate-brown heartwood, walnut is the quintessential choice for anniversaries and romantic milestones. It machines beautifully and pairs exceptionally well with brass hardware.
- Hard Maple (Acer saccharum): Rated at 1,450 lbf, maple offers a clean, bright, and modern aesthetic. It is the ideal wood for graduation gifts or professional milestones, providing a blank canvas that highlights intricate joinery rather than wild grain patterns.
- Cherry (Prunus serotina): Cherry darkens and richens over time when exposed to UV light, making it a poetic choice for a new marriage or the birth of a child—a gift that literally matures alongside the relationship.
Pro-Tip: Always ensure your lumber is kiln-dried to a moisture content of 6% to 8% for indoor furniture. Building with wood that is too wet will result in warped lids and cracked panels as it acclimates to the recipient's home.
Step-by-Step: How Do I Make a Jewelry Box from Scratch?
The transition from a simple wooden crate to a luxury jewelry box lies in the joinery and the accommodation of wood movement. Here is the structural framework for a high-end build:
1. Precision Joinery
For a gift-worthy box, abandon butt joints and screws. Opt for half-blind dovetails or 1/4-inch box joints. These joints provide immense mechanical strength and signal high craftsmanship. Use a slow-set, high-quality PVA glue or traditional liquid hide glue, which offers a longer open time for complex assemblies and remains reversible if a mistake is made.
2. Accommodating Wood Movement
Wood expands and contracts across the grain with seasonal humidity changes. If you glue a solid wood bottom panel into a rabbeted frame, it will eventually split. Instead, route a 1/4-inch groove about 1/2-inch up from the bottom edge of your side panels. Insert a 1/4-inch Baltic birch plywood bottom panel into this groove. The plywood is dimensionally stable and will keep the box square without restricting the solid wood sides from moving.
3. The Sanding Progression
A flawless finish requires a disciplined sanding progression. Start at 120-grit to remove tool marks, move to 180-grit to eliminate the 120-grit scratches, and finish with 220-grit. For an ultra-smooth, glass-like feel on woods like maple, wet the grain with a damp cloth to raise the fibers, let it dry, and lightly scuff it with 320-grit sandpaper before applying your finish.
Sourcing and Installing Anti-Tarnish Linings
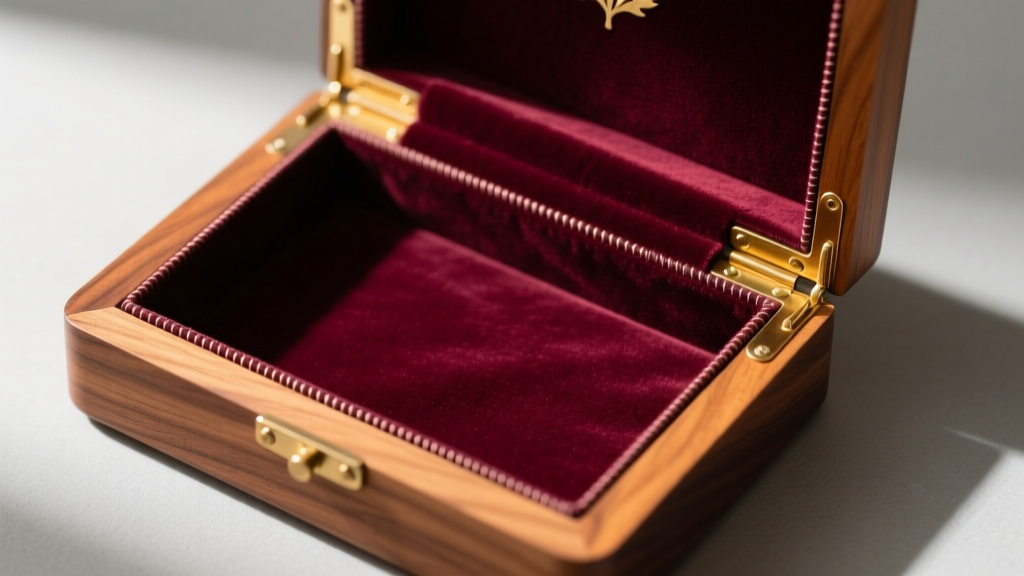
A beautiful box that ruins the jewelry inside is a failed project. Sterling silver tarnishes when it reacts with hydrogen sulfide and moisture in the air, forming silver sulfide. The Gemological Institute of America (GIA) emphasizes that proper storage environments are critical for preserving the luster of precious metals and the integrity of porous gemstones like pearls and opals. Your interior lining must actively combat this.
| Material Type | Best For | Anti-Tarnish Properties | Estimated Cost (per yard) |
|---|---|---|---|
| Pacific Silvercloth | Sterling silver flatware & heavy jewelry | Excellent (embedded with microscopic silver particles to absorb sulfides) | $25 - $35 |
| Zenith Tarnish-Resistant Flannel | Everyday gold, platinum, and costume jewelry | Very Good (chemically treated to neutralize airborne pollutants) | $15 - $22 |
| Standard Velvet / Suede | Visual luxury (non-reactive metals only) | Poor (can trap moisture; requires added anti-tarnish strips) | $10 - $18 |
Installation Technique: Do not use standard spray adhesives, as the off-gassing solvents can damage jewelry finishes and degrade over time. Instead, use an acid-free PVA glue or a specialized archival fabric adhesive. Cut your lining panels from 1/8-inch archival foam-core board, wrap the fabric tightly around the edges, and adhere the fabric to the back of the board. These padded inserts can then be friction-fitted or glued into the box interior, providing a plush, protective, and replaceable lining system.
Hardware Selection: Hinges and Clasps
Hardware is the jewelry of the jewelry box. Cheap, stamped-brass hinges will sag, squeak, and ruin the unboxing experience. Invest in solid, extruded brass hardware. Brands like Brusso manufacture quadrant hinges and stop hinges specifically for fine boxes. A quadrant hinge features a built-in 90-degree stop mechanism, preventing the lid from hyperextending and snapping backward. While a pair of Brusso quadrant hinges may cost between $45 and $65, they provide a heavy, damped, and luxurious opening motion that immediately communicates quality to the gift recipient.
Personalization and Final Finishing
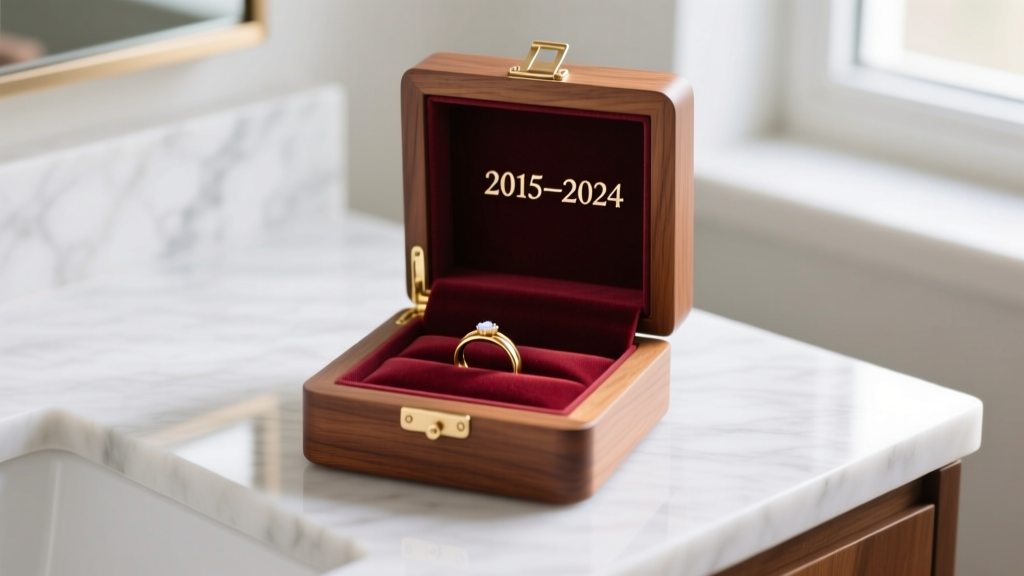
To truly tailor the box to the occasion, incorporate subtle, high-end personalization and a durable, hand-rubbed finish.
Occasion-Specific Personalization
- The Proposal / Engagement: Build a false bottom with a hidden magnetic release. Line the secret compartment with dark suede to house the ring box, keeping the main compartment available for future jewelry.
- Wedding Anniversaries: Use a CNC router or laser engraver to inset a subtle brass wire monogram into the lid, or engrave the coordinates of where the couple first met on the interior of the lid.
- Graduations: Incorporate a small, clear epoxy resin inlay on the lid featuring the school's colors or a tassel thread from their graduation cap.
The Final Finish
Avoid thick, plastic-like polyurethanes that obscure the wood's natural texture. According to finishing experts at Wood Magazine, hardwax oils like Rubio Monocoat 2C or Osmo Polyx-Oil are the gold standard for modern heirloom boxes. These finishes bond molecularly with the wood fibers, providing excellent moisture resistance while leaving a matte, natural-to-the-touch surface. Apply one coat, let it cure for 24 hours, buff it with a white Scotch-Brite pad, and apply a second coat. Finally, buff the exterior with a high-quality carnauba paste wax for a soft, protective sheen.
Learning how do i make a jewelry box from raw lumber to a polished, anti-tarnish haven is a journey of precision and care. By selecting the right materials, respecting wood movement, and integrating luxury hardware, you are not just building a container; you are crafting a generational keepsake that will hold the recipient's most prized possessions for decades to come.


