Best Jewelry Box Painting Ideas & Step-by-Step Refinishing Guide
Transform your storage with our top jewelry box painting ideas. Learn exact prep steps, best paint types, and sealing techniques for a flawless finish.

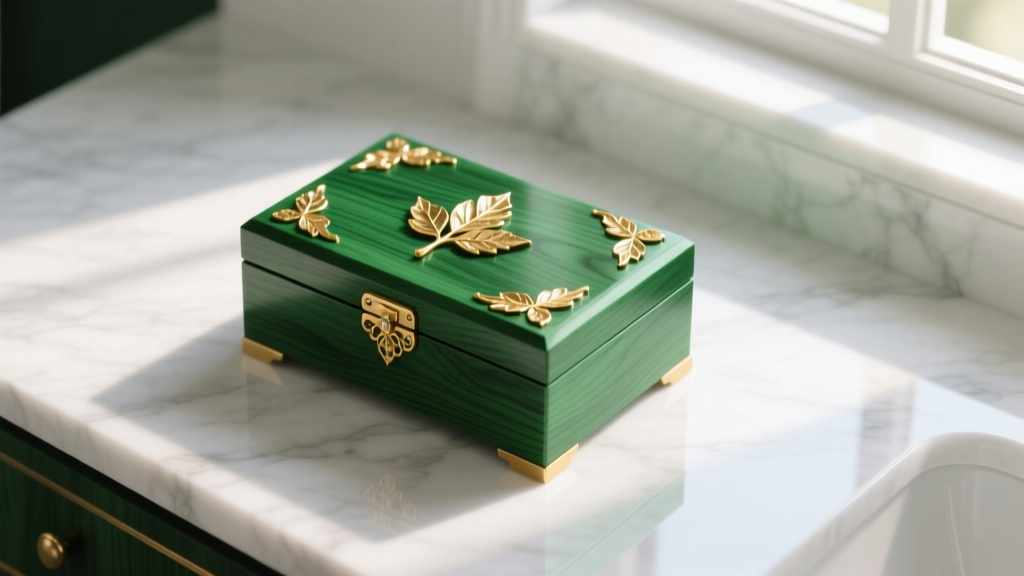
Upcycling and customizing your storage is one of the most rewarding ways to elevate your vanity space. Whether you are rescuing a thrifted mahogany piece or customizing a mass-produced pine organizer, exploring unique jewelry box painting ideas allows you to match your storage to your personal aesthetic. However, a beautiful finish is only as good as the preparation beneath it. Jewelry boxes endure frequent handling, friction from metal clasps, and exposure to cosmetics, meaning your refinishing technique must prioritize durability alongside visual appeal.
In this comprehensive guide, we break down the exact materials, preparation protocols, and expert-approved design concepts to ensure your newly painted jewelry box remains pristine for years to come.
The Foundation: Essential Prep Work & Material Selection
Skipping preparation is the primary reason DIY paint jobs fail, resulting in peeling, chipping, or tannin bleed-through. According to the woodworking experts at Family Handyman, proper surface deglossing and priming are non-negotiable for high-traffic wooden items.
Sanding and Deglossing Specifications
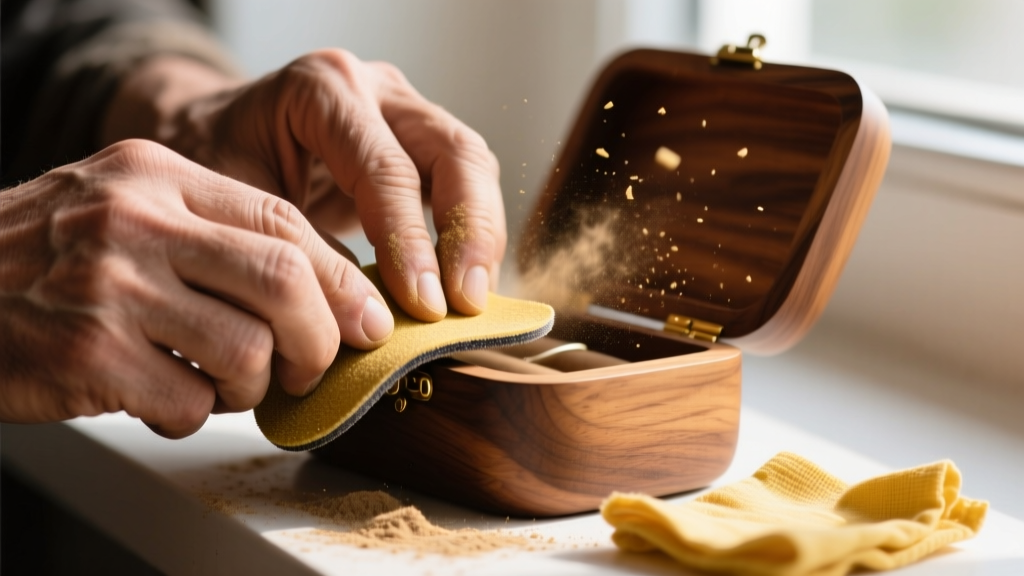
- Initial Scuff Sand: Use 120-grit aluminum oxide sandpaper to remove the existing glossy topcoat. Do not sand down to bare wood unless you are stripping the piece entirely; you only need to dull the finish so the primer has a mechanical "tooth" to grip.
- Detail Sanding: Switch to a 220-grit sanding sponge for the intricate routed edges, cabriole legs, or carved floral motifs common on vintage jewelry boxes.
- Cleaning: Wipe the entire surface with a lint-free microfiber cloth dampened with a TSP (Trisodium Phosphate) substitute to remove sanding dust and invisible cosmetic oils.
Priming for Success
If your jewelry box is made of mahogany, cherry, or knotty pine, you must use a shellac-based primer like Zinsser B-I-N. Water-based latex primers will allow natural wood tannins to bleed through, creating ugly pink or yellow stains on your final paint color. Apply one thin coat of shellac primer and let it cure for 45 minutes before lightly sanding with 320-grit paper.
5 Expert-Approved Jewelry Box Painting Ideas
Once your canvas is prepped, it is time to select a design. Here are five high-end jewelry box painting ideas that range from subtle elegance to bold statements.
1. Faux Marble with Epoxy Resin
Marble is a timeless choice for vanity storage. Instead of using heavy stone, you can achieve a hyper-realistic marble effect using high-density acrylics and a clear epoxy topcoat. Start with a bright titanium white base. While the white is still tacky, use a fine artist's liner brush dipped in diluted raw umber and soft gray to draw organic, intersecting veins. Feather the edges of the veins with a dry, soft-bristled makeup brush to mimic the natural depth of stone. Seal with a two-part tabletop epoxy resin for a glass-like, scratch-proof finish.
2. Geometric Color Blocking
For a modern, mid-century aesthetic, geometric color blocking is highly effective. Use high-quality painter's tape (like FrogTape) to map out sharp triangles or diagonals across the box. Pro-Tip: To prevent paint from bleeding under the tape, paint over the tape edge with your base color or a clear matte medium first. This seals the tape edge. Once dry, apply your contrasting colors—such as matte charcoal and muted terracotta—using a high-density foam roller to avoid brush strokes.
3. Chalk Paint & Distressed Vintage
Chalk paint remains a staple for shabby-chic and French provincial jewelry boxes. Brands like Annie Sloan offer highly pigmented, ultra-matte formulations that require minimal prep. Apply two coats of a soft pastel or muted grey. Once fully cured, use a 220-grit sanding sponge to gently distress the high-wear areas: the corners, the lid's lip, and around the hardware. Finish by rubbing in a clear, soft furniture wax with a lint-free cloth, buffing it to a soft, protective sheen.
4. Metallic Leafing Accents
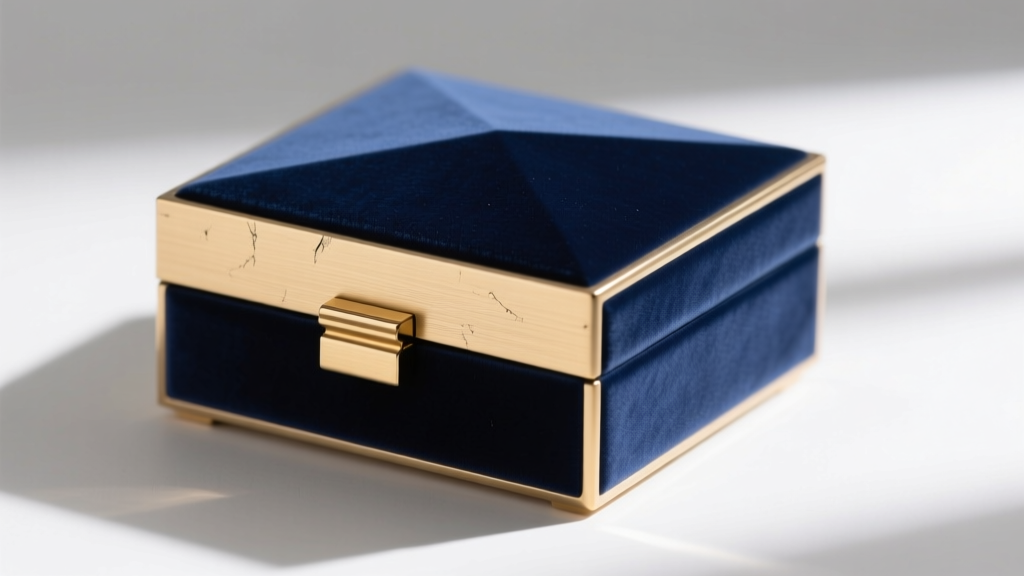
You do not need to paint the entire box in metallics to achieve a luxurious look. Paint the main body in a deep, moody hue like navy blue or forest green. Then, apply a water-based adhesive size to the carved details, the feet, or the interior lid frame. Once the size becomes tacky (usually 15-30 minutes), gently press imitation gold or copper leaf sheets onto the adhesive. Seal the leafing with a specialized metal sealer or dewaxed shellac to prevent the imitation metals from oxidizing and turning green over time.
5. Jewel-Tone Velvet Stenciling
Combine texture and color by integrating velvet flocking into your paint design. Paint the jewelry box in a rich jewel tone, such as amethyst or sapphire. Use a damask or Art Deco stencil and apply a thin layer of stencil adhesive or tacky glue over the pattern. While the adhesive is wet, sprinkle fine velvet flocking powder over the design. Tap off the excess to reveal a raised, velvety texture that contrasts beautifully with the smooth painted wood.
Step-by-Step Painting Execution Guide
The Golden Rule of Painting Furniture: Multiple thin coats will always outperform one thick coat. Thick coats lead to drips, extended drying times, and a gummy texture that chips easily when handling heavy jewelry pieces.
- First Coat: Apply your chosen paint using a synthetic bristle brush (for chalk/milk paint) or a foam roller (for acrylic enamels). Maintain a "wet edge" to prevent lap marks.
- Inter-coat Sanding: Allow the first coat to dry completely according to the manufacturer's instructions. Lightly hand-sand the entire surface with 400-grit sandpaper. This knocks down any dust nibs or raised wood grain.
- Second Coat: Wipe away the micro-dust with a tack cloth and apply the second coat. This coat will lay down much smoother and provide true color opacity.
- Hardware Reattachment: Do not reattach brass or zinc alloy hardware until the paint has fully cured, not just dried to the touch. Screws driven into uncured paint will cause the surrounding finish to pucker and crack.
Paint & Sealant Comparison Chart
Choosing the right chemistry for your project is critical. Use this table to determine the best paint and topcoat combination based on your desired aesthetic and durability requirements.
| Paint Type | Best For | Durability | Required Topcoat |
|---|---|---|---|
| Acrylic Enamel | Modern, smooth, glossy finishes | High | None (self-leveling and hardens) |
| Chalk Paint | Vintage, distressed, matte looks | Low (until sealed) | Furniture Wax or Polycrylic |
| Milk Paint | Authentic antique, chippy effects | Medium | Hemp Oil or Clear Wax |
| Spray Lacquer | Intricate carvings, hard-to-reach areas | High | None |
Troubleshooting Common Finish Failures
Even with meticulous preparation, environmental factors can cause finish imperfections. Here is how to troubleshoot the most common issues encountered when executing jewelry box painting ideas.
- Problem: Paint feels sticky days after application.
Cause: High humidity or applying coats too thickly. Acrylics and enamels cure through evaporation and oxidation. If trapped under a thick skin, the solvents cannot escape.
Solution: Move the piece to a climate-controlled room with a dehumidifier. Do not attempt to sand or seal sticky paint; wait for it to fully harden. - Problem: Visible brush strokes in the final finish.
Cause: Paint drying too quickly or using low-quality brushes.
Solution: Add a paint conditioner like Floetrol to water-based paints. This extends the "open time" of the paint, allowing it to self-level and eliminate brush marks before setting. - Problem: Pink or yellow stains bleeding through white paint.
Cause: Tannin bleed from woods like cedar, mahogany, or oak, or nicotine stains from vintage pieces.
Solution: You must seal the stain. Apply a coat of Zinsser B-I-N shellac primer directly over the stained area, let it dry, and repaint.
Final Curing and Interior Lining
While your paint may feel dry to the touch within hours, full chemical curing can take anywhere from 14 to 30 days depending on the product. During this window, avoid stacking heavy items on the lid or snapping the metal clasps shut with excessive force, as the paint remains somewhat soft and vulnerable to indentation.
Once the exterior is fully cured, turn your attention to the interior. A freshly painted exterior demands an equally refined interior. Remove any old, stained velvet or satin linings. Use a spray adhesive to apply new anti-tarnish treated flannel or crush-proof velvet to the interior panels. According to Bob Vila, ensuring that interior linings are completely free of acidic glues will also protect your silver and copper jewelry from premature oxidation while stored. By combining rigorous preparation with these high-end jewelry box painting ideas, you will create a bespoke storage piece that beautifully safeguards your collection.


